
Grow Summer Squash in Pots? Absolutely! Imagine stepping onto your balcony or into your small backyard and harvesting fresh, vibrant summer squash, all grown by your own hand. It’s easier than you think, and this DIY guide is your ticket to a bountiful harvest, even without acres of land.
For centuries, humans have cultivated squash, with evidence suggesting its domestication dates back thousands of years in the Americas. From the ancient civilizations of Mesoamerica to modern-day gardens, squash has been a staple food source and a symbol of abundance. Now, you can participate in this rich history, adapting traditional gardening practices to suit your modern, space-conscious lifestyle.
Let’s face it, not everyone has the luxury of a sprawling garden. But that shouldn’t stop you from enjoying the satisfaction of growing your own food. That’s where this DIY trick comes in! Growing summer squash in pots is a fantastic solution for apartment dwellers, urban gardeners, or anyone with limited space. It allows you to control the growing environment, protect your plants from pests, and enjoy fresh, delicious squash right at your doorstep. I’m going to show you how to grow summer squash in pots successfully, with simple steps and easy-to-find materials. Get ready to transform your small space into a thriving edible garden!
Growing Summer Squash in Pots: A Comprehensive DIY Guide
Hey there, fellow gardening enthusiasts! I’m so excited to share my secrets for growing delicious summer squash right in containers. Forget needing a huge garden; with a little know-how, you can enjoy fresh, homegrown squash even on a small balcony or patio. Let’s dive in!
Choosing the Right Squash Variety
First things first, not all squash varieties are created equal when it comes to container gardening. You’ll want to opt for bush varieties, which are more compact and manageable than their sprawling vine counterparts. Here are a few of my favorites:
* Zucchini: ‘Black Beauty,’ ‘Bush Baby,’ ‘Eight Ball’ (round zucchini)
* Yellow Squash: ‘Early Crookneck,’ ‘Gold Rush’
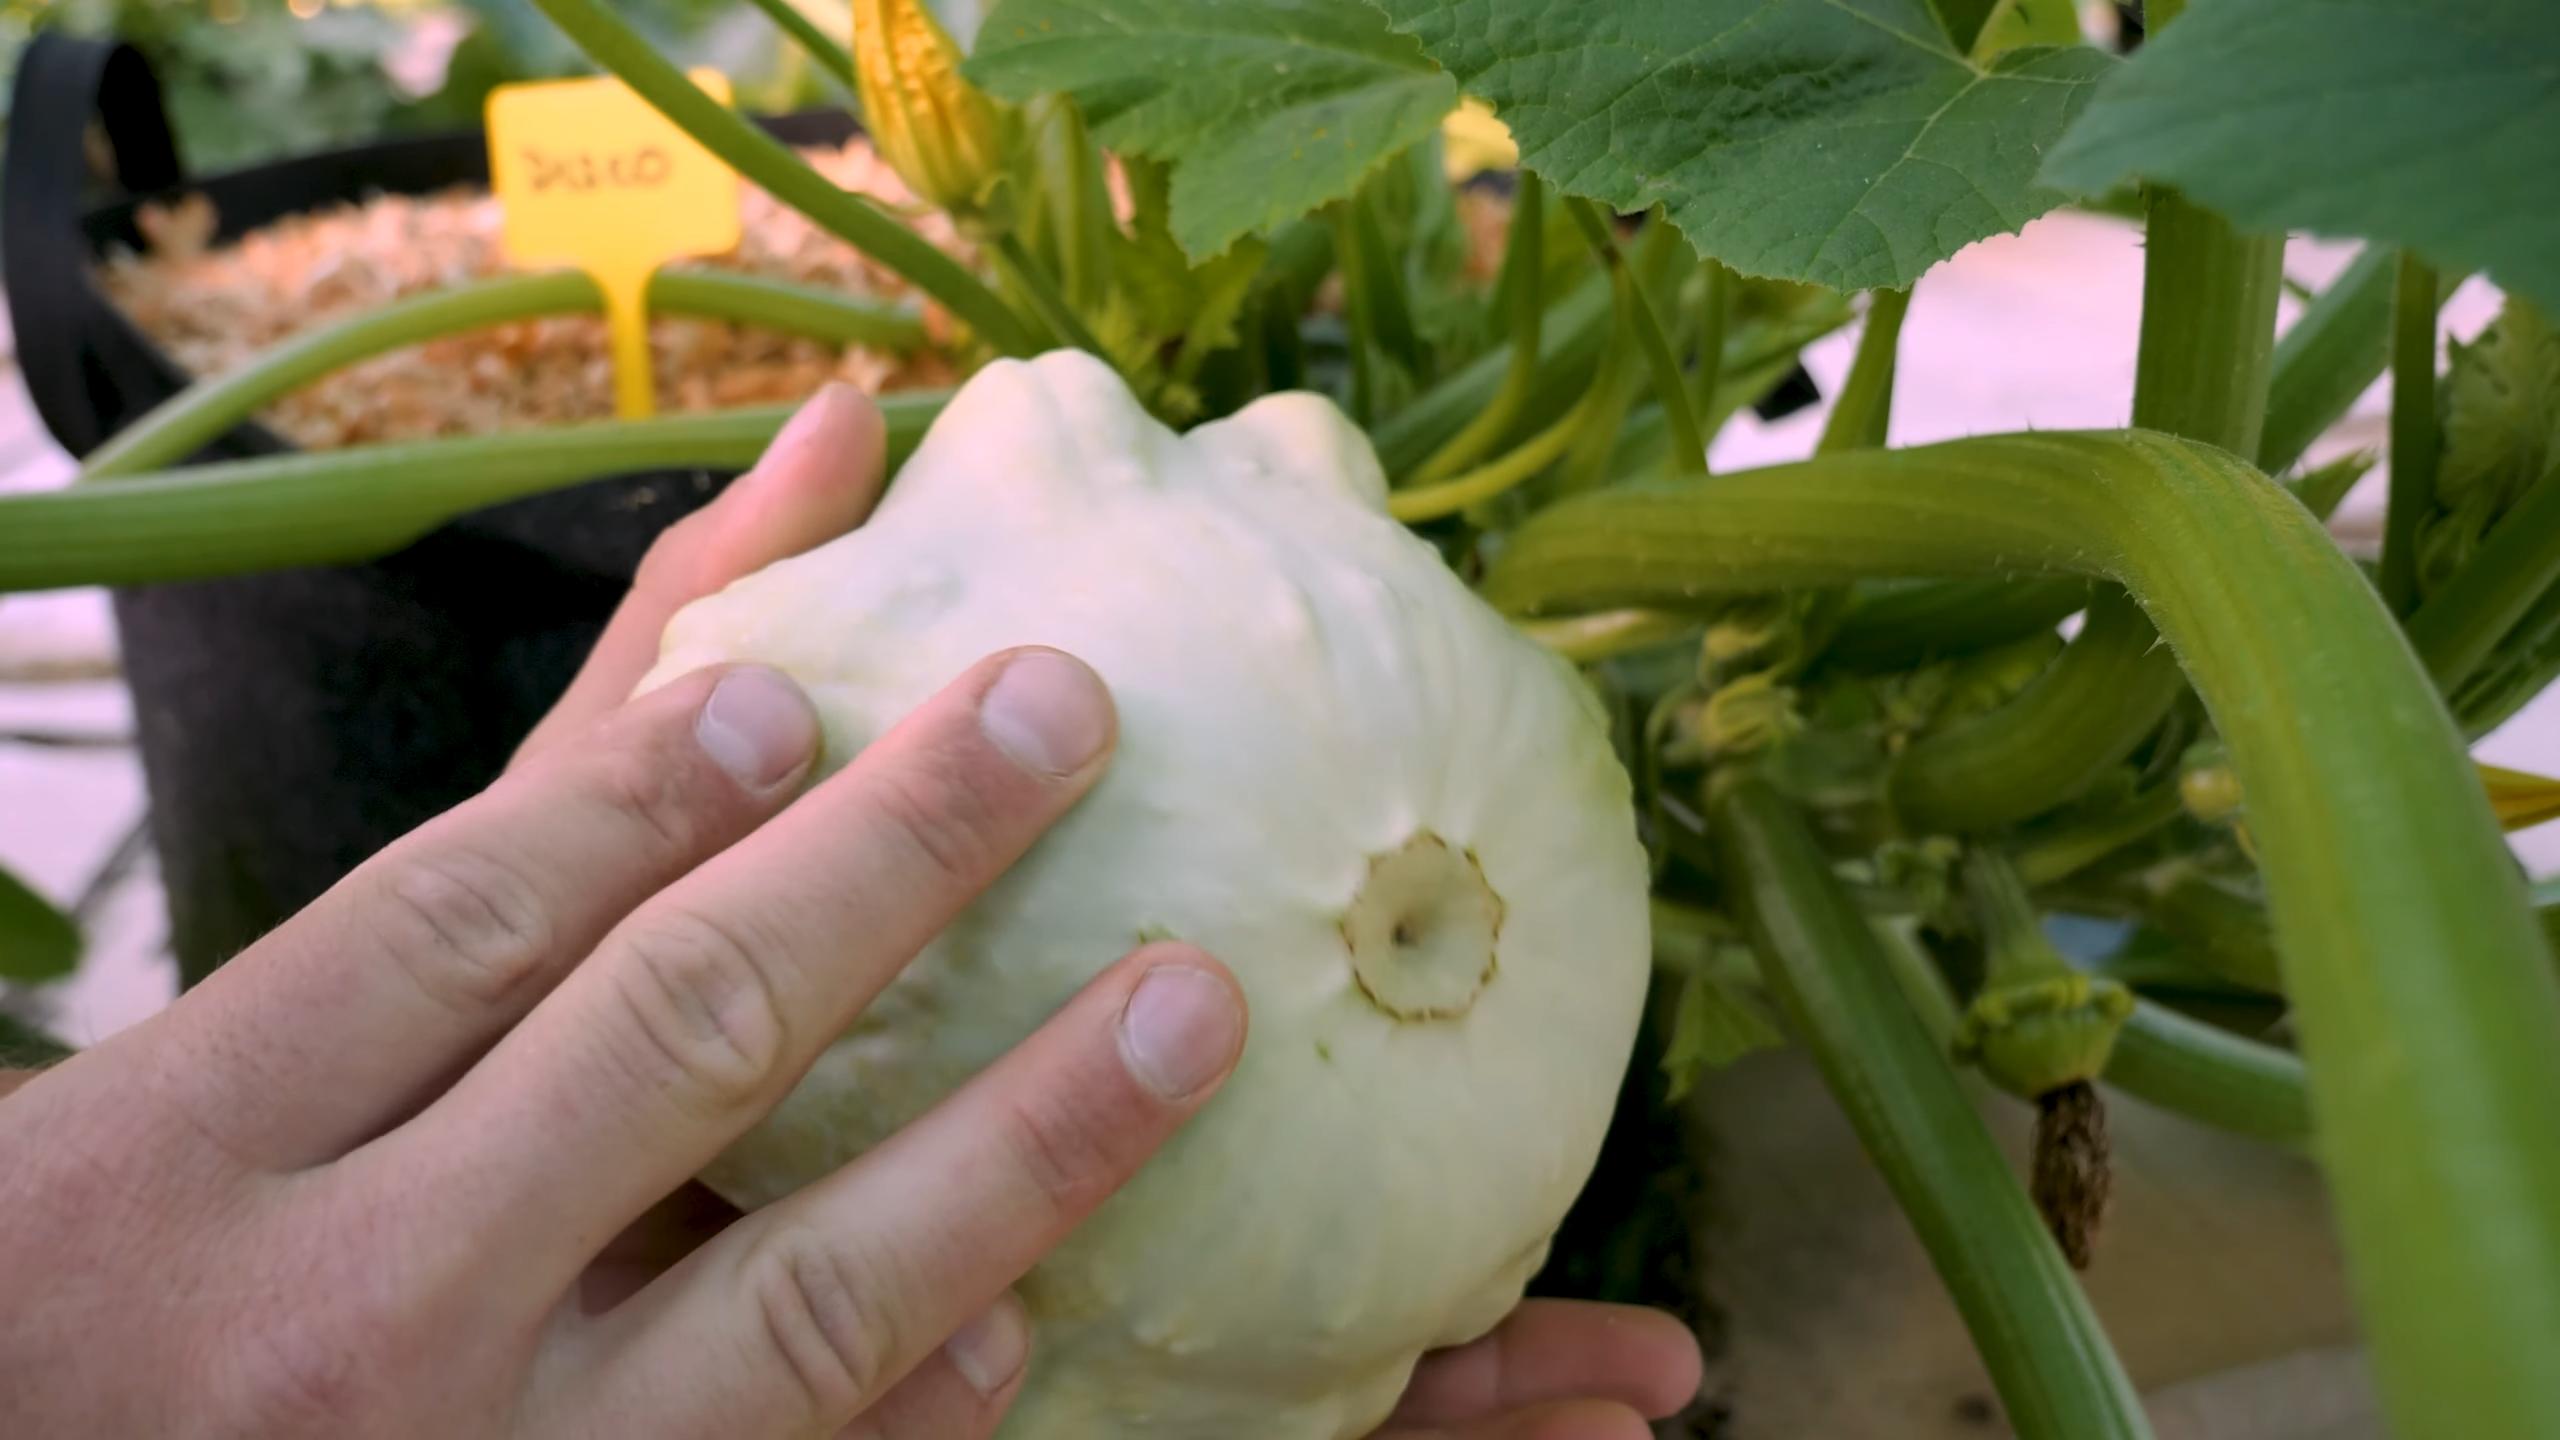
* Patty Pan Squash: ‘Sunburst,’ ‘Scallopini’
These bush varieties are bred to stay relatively small, making them perfect for pots. Trust me, trying to grow a vining squash like butternut in a container is a recipe for disaster (I’ve been there, done that!).
Preparing Your Container
The size of your container is crucial for success. Squash plants are heavy feeders and need plenty of room for their roots to grow.
* Container Size: Aim for a container that’s at least 24 inches in diameter and 24 inches deep. The bigger, the better! A 5-gallon bucket is *not* going to cut it.
* Material: Plastic, terracotta, or even fabric grow bags will work. Just make sure your chosen container has adequate drainage holes.
* Drainage: Proper drainage is essential to prevent root rot. If your container doesn’t have enough drainage holes, drill a few more. I usually add a layer of gravel or broken pottery at the bottom of the pot to further improve drainage.
Selecting the Right Soil
Squash plants are hungry, hungry hippos when it comes to nutrients. So, you’ll need a rich, well-draining potting mix.
* Potting Mix: Avoid using garden soil in containers. It’s too heavy and compacts easily, which can suffocate the roots. Instead, opt for a high-quality potting mix specifically formulated for containers.
* Amendments: I like to amend my potting mix with compost and aged manure to provide extra nutrients. You can also add slow-release fertilizer granules.
* pH Level: Squash prefers a slightly acidic to neutral soil pH (around 6.0 to 7.0). You can test your soil pH with a simple soil testing kit.
Planting Your Squash
Now for the fun part – planting! You can either start your squash seeds indoors or direct sow them in your container.
* Starting Seeds Indoors (Optional): If you live in a cooler climate with a short growing season, starting seeds indoors can give you a head start. Sow seeds about 1 inch deep in seed-starting trays or small pots about 3-4 weeks before the last expected frost. Keep the soil moist and warm (around 70-75°F). Once the seedlings have developed a few true leaves, you can transplant them into your container.
* Direct Sowing: If you live in a warmer climate, you can direct sow the seeds directly into your container after the last frost. Sow 2-3 seeds per container, about 1 inch deep. Once the seedlings emerge, thin them to one plant per container.
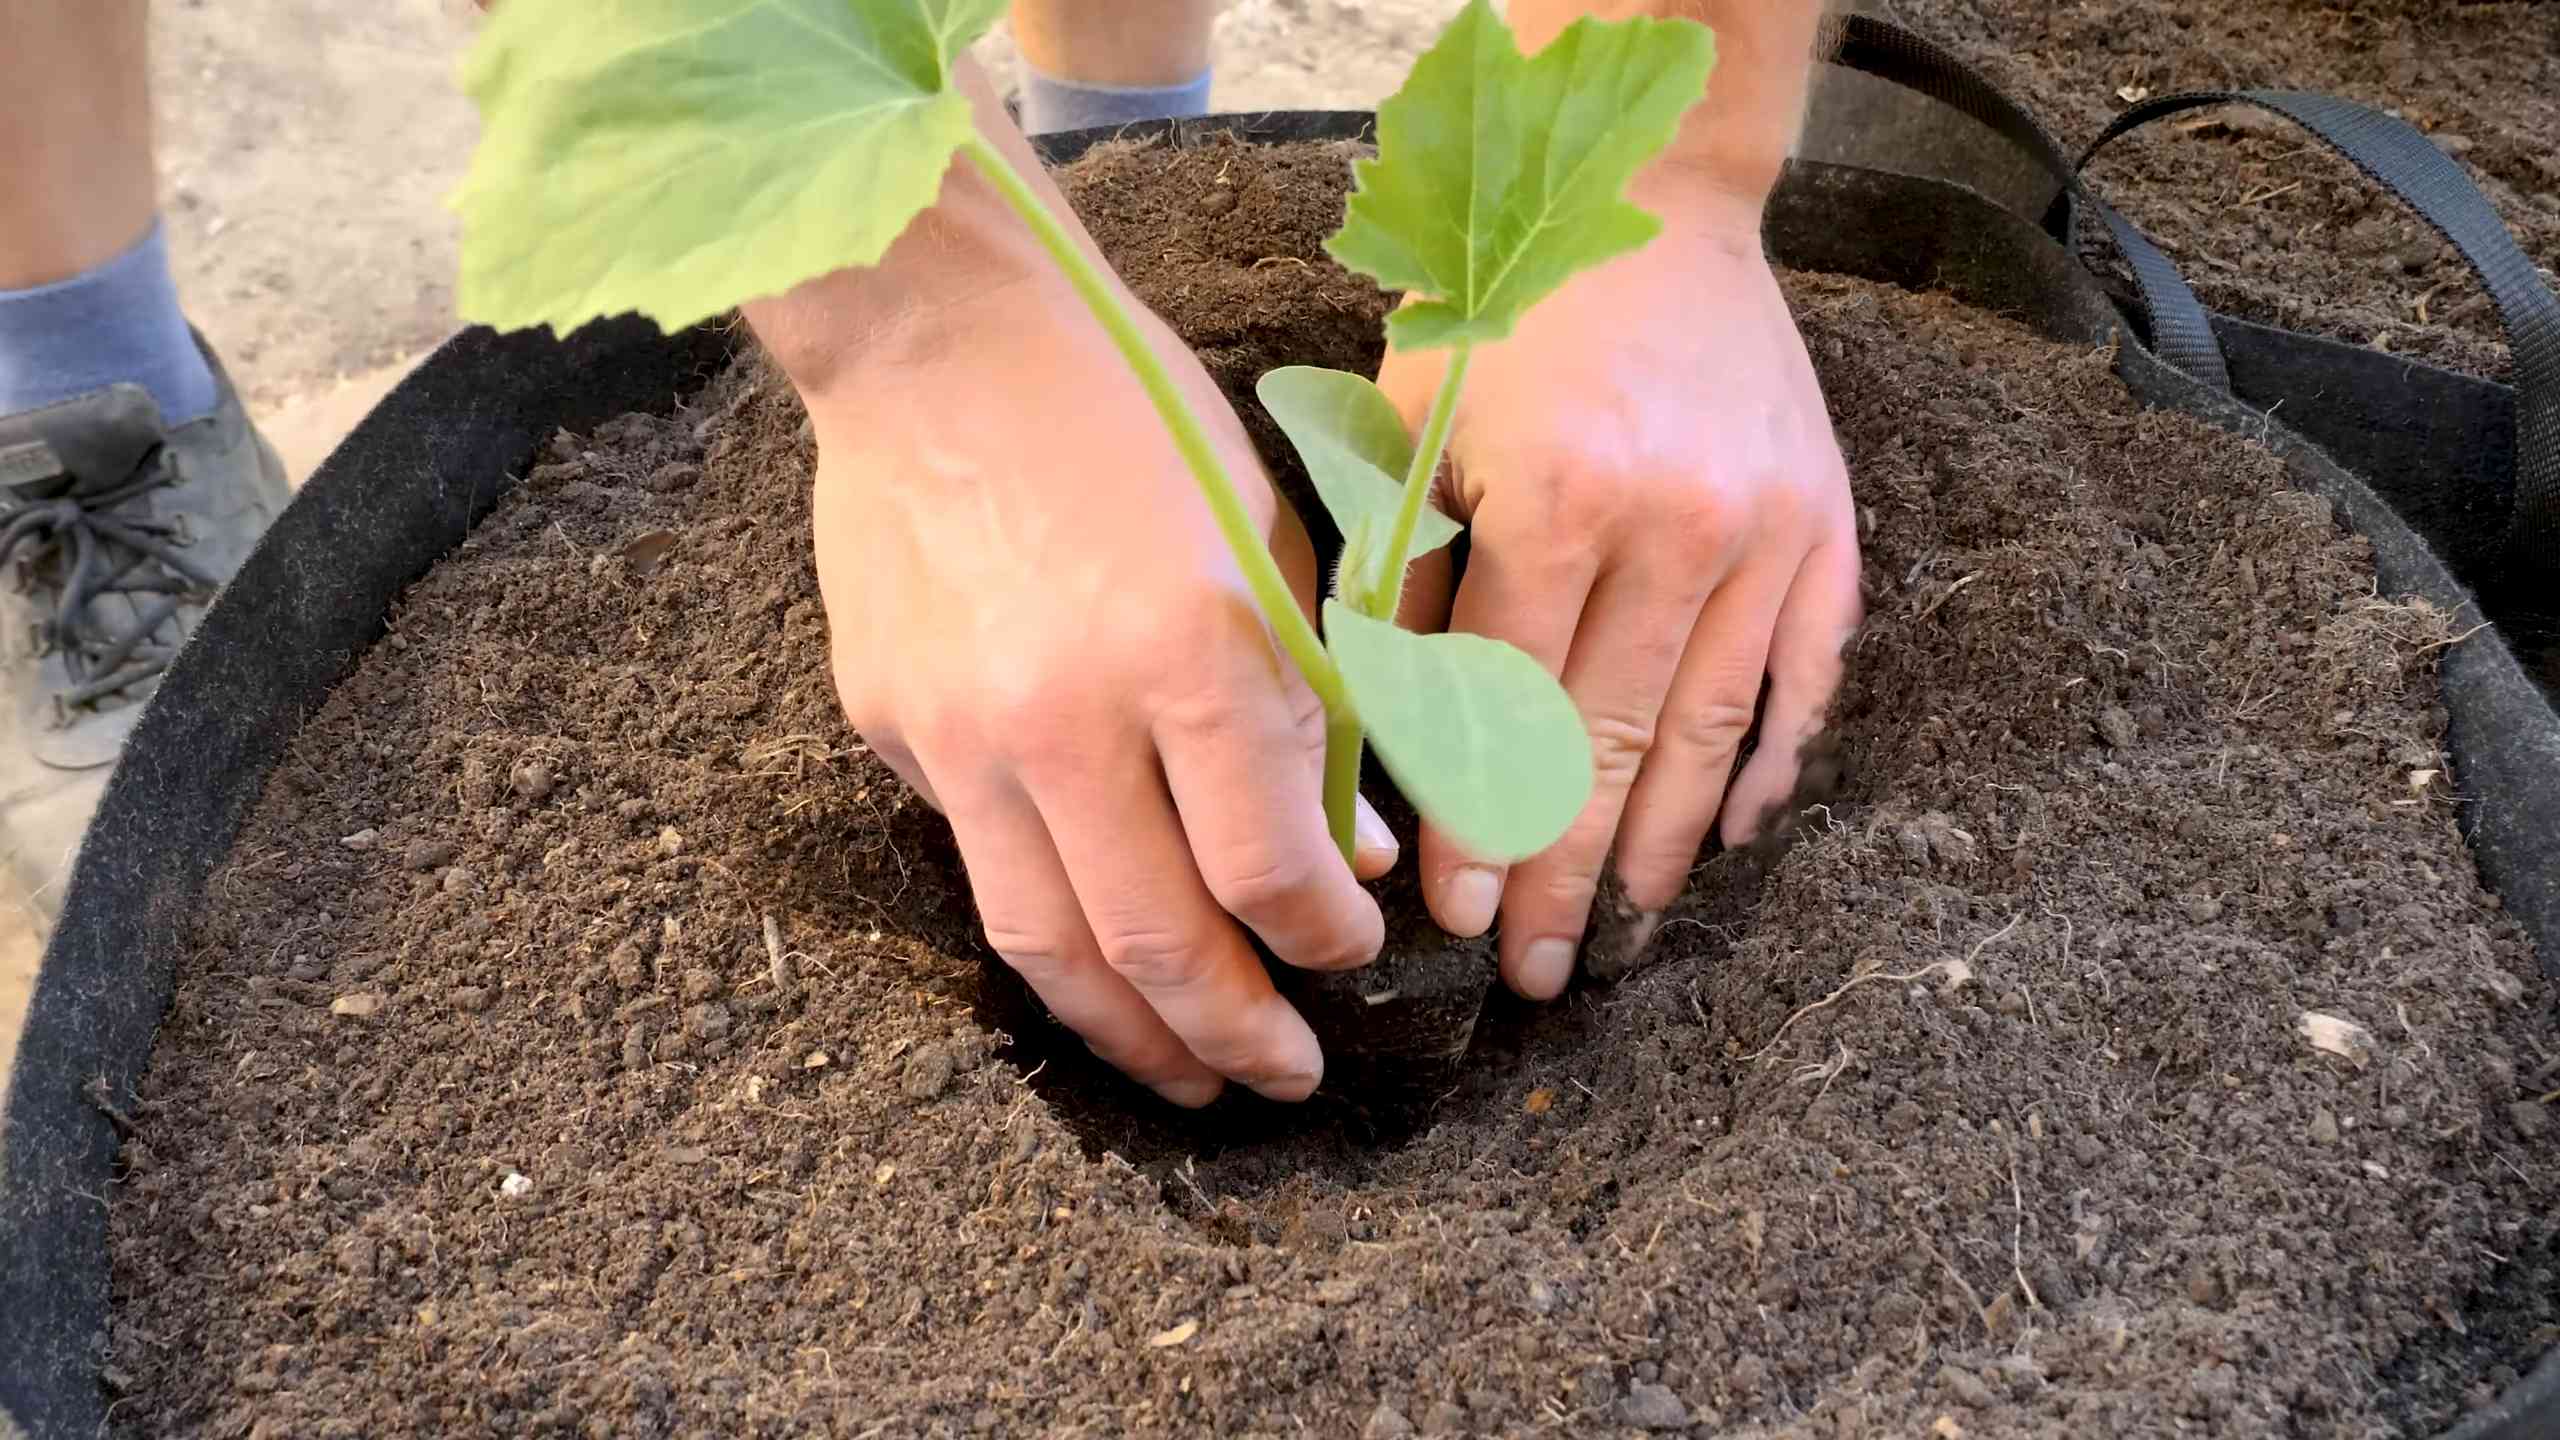
* Planting Depth: Whether you’re transplanting seedlings or direct sowing, make sure to plant the seeds or seedlings at the correct depth. The top of the root ball should be level with the soil surface.
* Watering: After planting, water thoroughly to settle the soil and provide moisture to the roots.
Caring for Your Squash Plants
Once your squash plants are established, it’s important to provide them with the right care to ensure a bountiful harvest.
* Sunlight: Squash plants need at least 6-8 hours of direct sunlight per day. Place your container in a sunny location where it will receive plenty of light.
* Watering: Water deeply and regularly, especially during hot, dry weather. Squash plants are thirsty! Check the soil moisture regularly and water when the top inch of soil feels dry to the touch. Avoid overhead watering, as this can lead to fungal diseases. Instead, water at the base of the plant.
* Fertilizing: As I mentioned earlier, squash plants are heavy feeders. Fertilize them regularly with a balanced fertilizer. I like to use a liquid fertilizer diluted to half strength every 2-3 weeks. You can also side-dress your plants with compost or aged manure.
* Pollination: Squash plants have separate male and female flowers. The female flowers need to be pollinated in order to produce fruit. Bees and other pollinators usually take care of this, but sometimes you may need to hand-pollinate. To hand-pollinate, use a small paintbrush to transfer pollen from the male flower to the female flower. You can identify the female flowers by the small fruit (ovary) at the base of the flower.
* Pest Control: Squash plants are susceptible to a few common pests, such as squash bugs, squash vine borers, and aphids. Inspect your plants regularly for signs of pests and take action promptly. You can use insecticidal soap, neem oil, or hand-pick the pests off the plants.
* Disease Prevention: Squash plants can also be affected by fungal diseases, such as powdery mildew and downy mildew. To prevent these diseases, provide good air circulation, avoid overhead watering, and apply a fungicide if necessary.
Harvesting Your Squash
The moment you’ve been waiting for! Summer squash is typically ready to harvest about 50-60 days after planting.
* Harvest Time: Harvest your squash when it’s young and tender. The skin should be smooth and easily punctured with your fingernail. Overripe squash can become tough and seedy.
* Harvesting Technique: Use a sharp knife or pruning shears to cut the squash from the plant, leaving a short stem attached.
* Storage: Summer squash is best eaten fresh, but it can be stored in the refrigerator for up to a week.
Troubleshooting Common Problems
Even with the best care, you may encounter a few problems along the way. Here are some common issues and how to address them:
* Yellowing Leaves: This could be a sign of overwatering, underwatering, nutrient deficiency, or pest infestation. Check the soil moisture, fertilize your plants, and inspect for pests.
* Blossom End Rot: This is a common problem caused by calcium deficiency. Make sure your soil has adequate calcium and water your plants regularly. You can also add calcium supplements to the soil.
* Lack of Fruit Production: This could be due to poor pollination, nutrient deficiency, or stress. Hand-pollinate your plants, fertilize them, and provide them with adequate water and sunlight.
Step-by-Step Instructions: From Seed to Squash
Okay, let’s break down the whole process into easy-to-follow steps. I’m going to assume you’re starting from seed, but you can easily adapt these instructions if you’re starting with seedlings.
Phase 1: Starting Seeds (Optional)
1. Gather Your Supplies: You’ll need squash seeds, seed-starting trays or small pots, seed-starting mix, and a spray bottle.
2. Sow the Seeds: Fill the seed-starting trays or pots with seed-starting mix. Make a small indentation (about 1 inch deep) in the center of each cell or pot. Place one or two seeds in each indentation and cover with soil.
3. Water Gently: Use a spray bottle to gently moisten the soil. Avoid overwatering, as this can cause the seeds to rot.
4. Provide Warmth and Light: Place the seed-starting trays or pots in a warm location (around 70-75°F) with plenty of light. You can use a heat mat to provide bottom heat and a grow light to supplement natural light.
5. Keep the Soil Moist: Check the soil moisture regularly and water when the top of the soil feels dry to the touch.
6. Transplant Seedlings: Once the seedlings have developed a few true leaves, you can transplant them into your container.
Phase 2: Preparing the Container
1. Choose Your Container: Select a container that’s at least 24 inches in diameter and 24 inches deep. Make sure it has adequate drainage holes.
2. Add Drainage Layer (Optional): Place a layer of gravel or broken pottery at the bottom of the container to improve drainage.
3. Fill with Potting Mix: Fill the container with a high-quality potting mix amended with compost and aged manure.
4. Water the Soil: Water the soil thoroughly to settle it and provide moisture to the roots.
Phase 3: Planting and Growing
1
Conclusion
So, there you have it! Growing summer squash in pots isn’t just possible; it’s a rewarding and surprisingly simple way to enjoy fresh, homegrown produce, even if you’re limited on space. We’ve walked through the essential steps, from selecting the right variety and pot size to providing the necessary sunlight, water, and nutrients.
Why is this DIY trick a must-try? Because it democratizes gardening. It empowers anyone, regardless of their living situation, to connect with nature and savor the unparalleled flavor of freshly picked summer squash. Imagine stepping onto your balcony or patio and harvesting zucchini or yellow squash just moments before adding it to your favorite dish. The taste difference is remarkable, and the satisfaction of growing your own food is immeasurable.
But the benefits extend beyond just taste. Container gardening allows for greater control over the growing environment. You can easily move your pots to chase the sun, protect them from unexpected frosts, or shield them from excessive rain. This level of control can lead to healthier plants and a more abundant harvest.
Looking for variations? Absolutely! Consider companion planting in your pots. Marigolds can help deter pests, while basil can enhance the flavor of your squash. You could also experiment with different types of summer squash. Bush varieties like ‘Spaghetti Squash’ or ‘Patio Star’ are particularly well-suited for containers. Don’t be afraid to get creative with your container choices, either. While plastic pots are practical, terracotta pots can add a touch of rustic charm to your garden. Just remember to ensure adequate drainage.
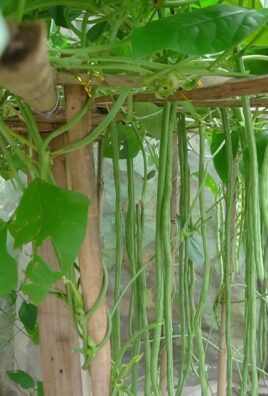
Another exciting variation is vertical gardening. If you’re truly short on space, consider training your summer squash to grow up a trellis or support structure. This not only saves space but also adds visual interest to your garden. Just be sure to choose a sturdy trellis that can support the weight of the mature plant and its fruits.
And speaking of fruits, remember to harvest your summer squash regularly. Overripe squash can become tough and less flavorful, and leaving them on the vine can inhibit the production of new fruits. Aim to harvest when the squash is young and tender, typically when it’s about 6-8 inches long.
Ultimately, the success of growing summer squash in pots hinges on your willingness to experiment and adapt. Pay attention to your plants, observe their needs, and adjust your care accordingly. Don’t be discouraged if you encounter challenges along the way. Gardening is a learning process, and every mistake is an opportunity to grow, both literally and figuratively.
So, what are you waiting for? Grab a pot, some soil, and a summer squash seedling, and embark on your container gardening adventure today! We’re confident that you’ll be amazed by the results. And most importantly, we want to hear about your experience! Share your photos, tips, and stories with us in the comments below. Let’s build a community of container gardeners and inspire others to discover the joys of growing their own food. Let us know what **growing summer squash in pots** has been like for you!
Frequently Asked Questions (FAQ)
What is the best size pot for growing summer squash?
A: The ideal pot size for growing summer squash is at least 15-20 gallons. This provides ample space for the roots to develop and ensures that the plant has enough water and nutrients. Smaller pots may restrict growth and lead to smaller harvests. If you’re growing a bush variety, you might get away with a slightly smaller pot, but bigger is generally better.
How often should I water my potted summer squash?
A: Summer squash are thirsty plants, especially when grown in containers. Water deeply and regularly, aiming to keep the soil consistently moist but not waterlogged. Check the soil moisture daily, and water when the top inch feels dry to the touch. During hot, sunny weather, you may need to water your plants twice a day. Ensure your pot has good drainage to prevent root rot.
What kind of soil should I use for growing summer squash in pots?
A: Use a high-quality potting mix that is well-draining and rich in organic matter. Avoid using garden soil, as it can become compacted in containers and hinder drainage. A good potting mix will provide the necessary nutrients and aeration for healthy root growth. You can also amend your potting mix with compost or other organic materials to further improve its fertility.
How much sunlight does summer squash need?
A: Summer squash requires at least 6-8 hours of direct sunlight per day. Choose a location for your pots that receives plenty of sunlight throughout the day. If you live in a particularly hot climate, you may need to provide some afternoon shade to prevent the plants from overheating.
What kind of fertilizer should I use for my potted summer squash?
A: Summer squash are heavy feeders, so regular fertilization is essential. Use a balanced fertilizer, such as a 10-10-10 or 5-5-5, according to the package directions. You can also use a liquid fertilizer every 2-3 weeks to provide a boost of nutrients. Avoid over-fertilizing, as this can lead to excessive foliage growth at the expense of fruit production.
How do I deal with pests and diseases on my potted summer squash?
A: Monitor your plants regularly for signs of pests and diseases. Common pests include squash bugs, squash vine borers, and aphids. Diseases include powdery mildew and blossom end rot. Use organic pest control methods, such as insecticidal soap or neem oil, to control pests. Ensure good air circulation around your plants to prevent diseases. For blossom end rot, ensure consistent watering and add calcium to the soil.
Can I grow summer squash indoors?
A: While it’s possible to grow summer squash indoors, it’s challenging. They require a lot of light, which can be difficult to provide indoors without supplemental lighting. You’ll need a very bright location or grow lights to provide the necessary light intensity. Pollination can also be an issue indoors, as you may need to hand-pollinate the flowers.
How do I know when to harvest my summer squash?
A: Harvest your summer squash when it’s young and tender, typically when it’s about 6-8 inches long. The skin should be smooth and easily punctured with your fingernail. Overripe squash can become tough and less flavorful. Harvest regularly to encourage continued fruit production.
Can I save seeds from my potted summer squash?
A: Yes, you can save seeds from your summer squash, but be aware that they may not come true to type if the plants were cross-pollinated with other squash varieties. To save seeds, allow a few fruits to mature fully on the vine. Once they are fully ripe, harvest the fruits and scoop out the seeds. Rinse the seeds thoroughly and allow them to dry completely before storing them in an airtight container in a cool, dark place.
My summer squash plant is producing flowers, but no fruit. What’s wrong?
A: There are several reasons why your summer squash plant may be producing flowers but no fruit. One common reason is a lack of pollination. Summer squash have separate male and female flowers, and the female flowers need to be pollinated by bees or other insects in order to produce fruit. If you’re not seeing many bees in your garden, you may need to hand-pollinate the flowers. Another possible reason is stress, such as from lack of water, nutrients, or sunlight. Ensure that your plants are receiving adequate care.
Leave a Comment