
Grow Swiss Chard Easily and unlock a vibrant splash of color and nutrition right in your backyard! Have you ever dreamed of snipping fresh, leafy greens just steps from your kitchen? Well, dream no more! This DIY guide is your key to cultivating a thriving Swiss chard patch, even if you’re a complete beginner.
Swiss chard, with its jewel-toned stalks and crinkled leaves, isn’t just a pretty face. It’s a nutritional powerhouse, packed with vitamins, minerals, and antioxidants. For centuries, this leafy green has been a staple in Mediterranean cuisine, celebrated for its versatility and health benefits. From hearty soups to vibrant salads, Swiss chard adds a delicious and nutritious boost to any meal.
But why should you bother growing your own? Let’s face it, store-bought greens can be expensive and often lack that fresh-from-the-garden flavor. Plus, knowing exactly where your food comes from is incredibly rewarding. With a few simple tricks and a little bit of effort, you can grow Swiss Chard Easily and enjoy a continuous harvest of delicious, healthy greens. I’m here to show you how to skip the grocery store and enjoy the satisfaction of nurturing your own food source. Let’s get our hands dirty!
Growing Swiss Chard: A Beginner’s Guide to Bountiful Harvests
Hey there, fellow gardeners! I’m so excited to share my experiences with growing Swiss chard. It’s one of the easiest and most rewarding vegetables to cultivate, offering vibrant colors and a delicious, nutritious addition to your meals. Plus, it’s incredibly versatile in the kitchen! This guide will walk you through every step, from seed to table, ensuring you have a thriving Swiss chard patch.
Choosing Your Swiss Chard Variety
Before we dive into the nitty-gritty, let’s talk about variety. Swiss chard comes in a rainbow of colors, and each one is just as easy to grow. Here are a few popular choices:
* Bright Lights: This is probably the most well-known variety, boasting stalks in shades of red, orange, yellow, pink, and white. It’s a real showstopper in the garden!
* Ruby Red: As the name suggests, this variety features vibrant red stalks and deep green leaves. It’s a classic choice for its beautiful color and excellent flavor.
* Fordhook Giant: If you’re looking for large, productive plants, Fordhook Giant is a great option. It has dark green, heavily crumpled leaves and thick, white stalks.
* Lucullus: This variety is known for its mild flavor and tender leaves. It’s a good choice if you’re new to Swiss chard and want a less intense taste.
I personally love growing Bright Lights because it adds so much visual interest to my garden. But honestly, you can’t go wrong with any of these!
Getting Started: Planting Swiss Chard
Swiss chard is a cool-season crop, meaning it thrives in cooler temperatures. You can plant it in early spring or late summer for a fall harvest.
* Timing is Key: For a spring crop, sow seeds indoors 4-6 weeks before the last expected frost. You can also direct sow seeds outdoors once the soil has warmed up to at least 50°F (10°C). For a fall crop, sow seeds outdoors in late summer, about 6-8 weeks before the first expected frost.
* Sunlight Requirements: Swiss chard needs at least 6 hours of sunlight per day. Choose a location in your garden that receives plenty of sun.
* Soil Preparation: Swiss chard prefers well-drained soil that is rich in organic matter. Before planting, amend your soil with compost or well-rotted manure. This will improve drainage, fertility, and water retention.
* Soil pH: The ideal soil pH for Swiss chard is between 6.0 and 7.0. You can test your soil pH using a soil testing kit, which you can find at most garden centers.
Step-by-Step Planting Instructions:
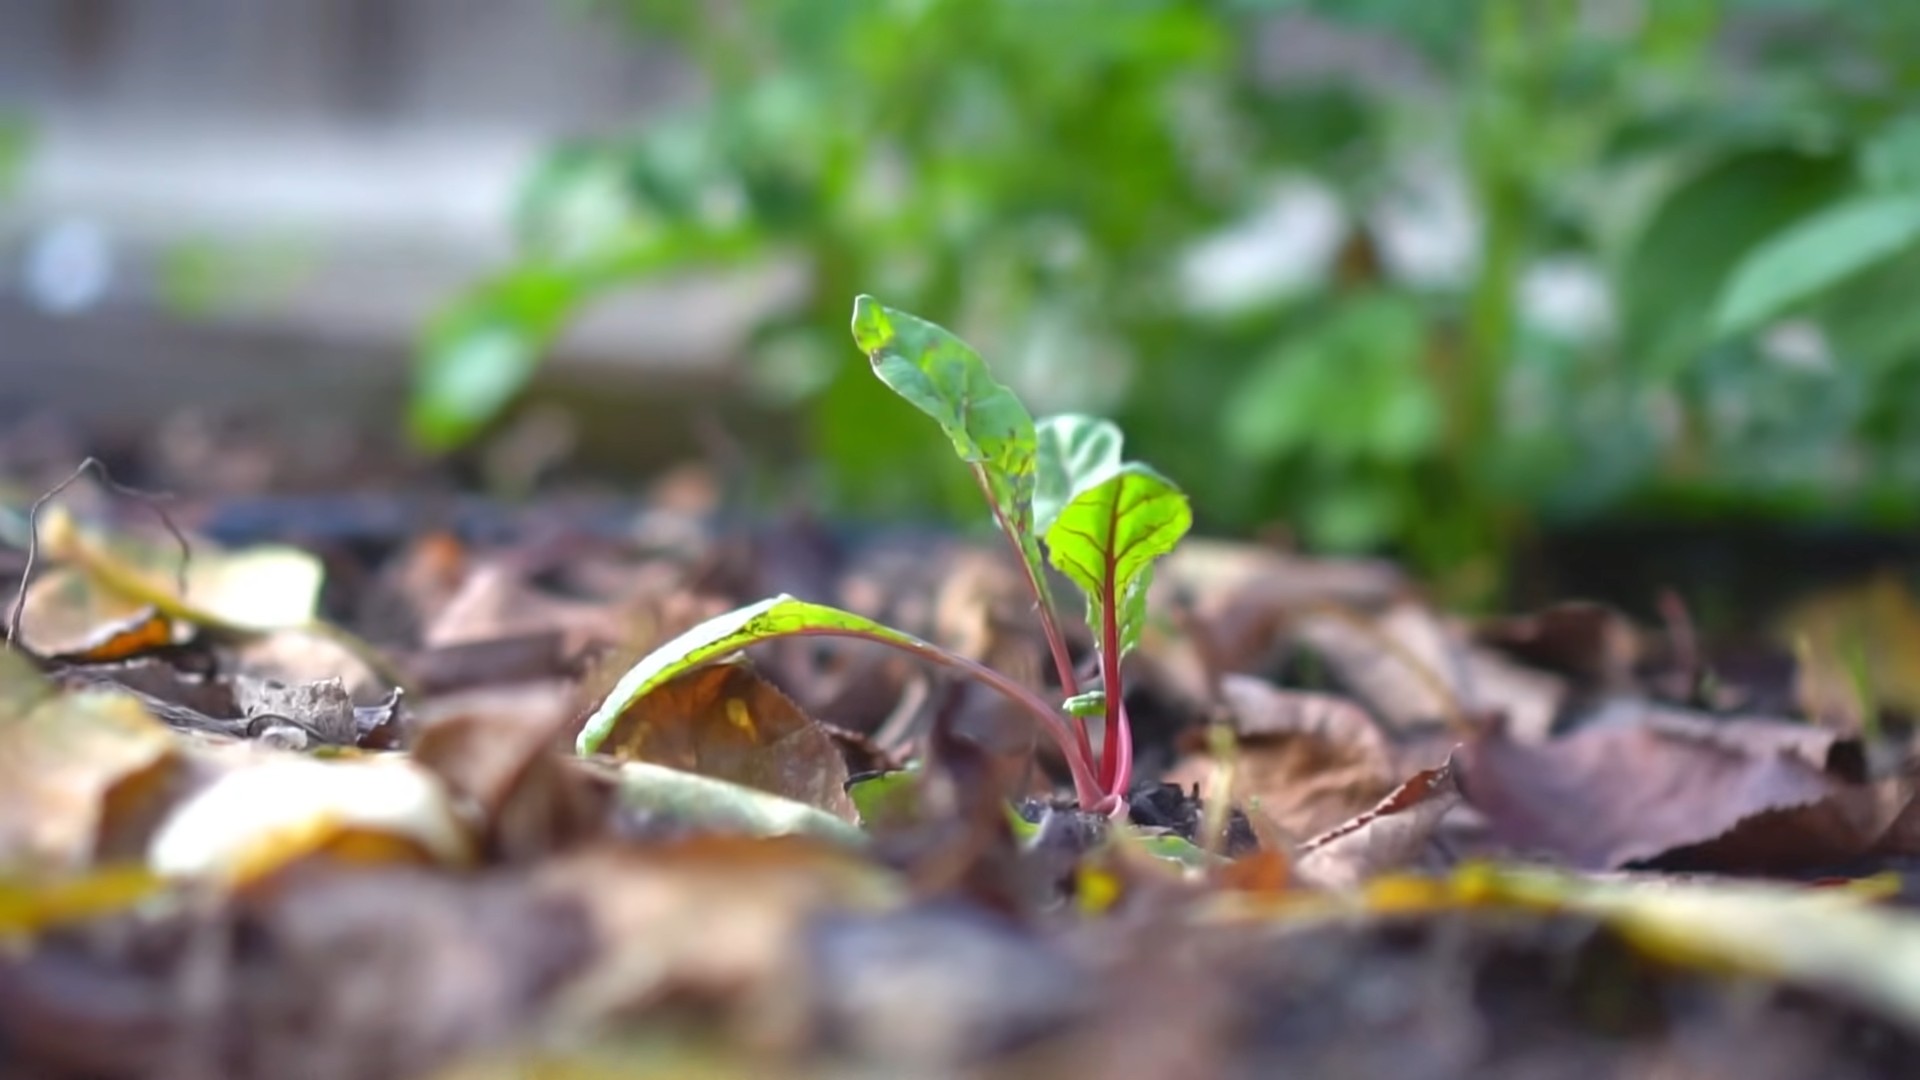
1. Starting Seeds Indoors (Optional): If you’re starting seeds indoors, fill seed trays or small pots with a seed-starting mix. Sow seeds about ½ inch deep and water gently. Keep the soil moist but not soggy. Place the trays in a warm location or use a heat mat to speed up germination. Seedlings should emerge in about 5-10 days.
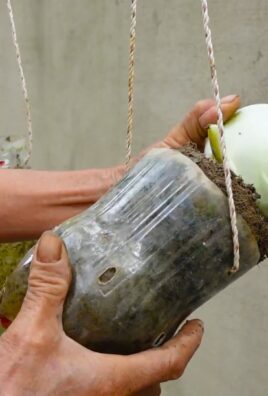
2. Direct Sowing Seeds Outdoors: Choose your planting location. Prepare the soil by loosening it with a garden fork or tiller. Remove any rocks or debris. Sow seeds about ½ inch deep and 1 inch apart in rows that are 18-24 inches apart. Cover the seeds with soil and water gently.
3. Thinning Seedlings: Once the seedlings have emerged and have a few true leaves, thin them to about 6-12 inches apart. This will give the plants enough room to grow and prevent overcrowding. You can transplant the thinned seedlings to another location in your garden or share them with friends.
4. Transplanting Seedlings: If you started seeds indoors, harden them off before transplanting them outdoors. This means gradually exposing them to outdoor conditions over a period of 7-10 days. Start by placing the seedlings in a sheltered location for a few hours each day, gradually increasing the amount of time they spend outdoors. Once the seedlings are hardened off, transplant them to your garden, spacing them about 6-12 inches apart.
5. Watering: Water your Swiss chard plants regularly, especially during dry periods. Aim to keep the soil consistently moist but not waterlogged.
6. Mulching: Apply a layer of mulch around your Swiss chard plants. This will help to retain moisture, suppress weeds, and regulate soil temperature. I like to use straw or shredded leaves as mulch.
Caring for Your Swiss Chard Plants
Once your Swiss chard plants are established, they’re relatively low-maintenance. Here are a few tips to keep them healthy and productive:
* Fertilizing: Swiss chard is a heavy feeder, so it benefits from regular fertilization. You can use a balanced fertilizer or side-dress with compost or well-rotted manure every few weeks.
* Weeding: Keep your Swiss chard patch free of weeds. Weeds compete with the plants for nutrients and water. Hand-pull weeds regularly or use a hoe to cultivate the soil.
* Pest Control: Swiss chard is generally pest-resistant, but it can be susceptible to certain pests, such as aphids, flea beetles, and leaf miners. Inspect your plants regularly for signs of pests. If you find any, you can try spraying them with insecticidal soap or neem oil.
* Bolting: Bolting is when a plant prematurely flowers and goes to seed. This can happen when Swiss chard is exposed to hot weather. To prevent bolting, try to plant your Swiss chard in a location that receives some afternoon shade. You can also harvest the leaves regularly to encourage the plant to produce more foliage.
Harvesting Your Swiss Chard
One of the best things about Swiss chard is that you can start harvesting it as soon as the leaves are large enough to eat.
* When to Harvest: You can harvest Swiss chard leaves at any stage of growth. Young leaves are more tender and have a milder flavor, while mature leaves are more robust and have a slightly stronger flavor.
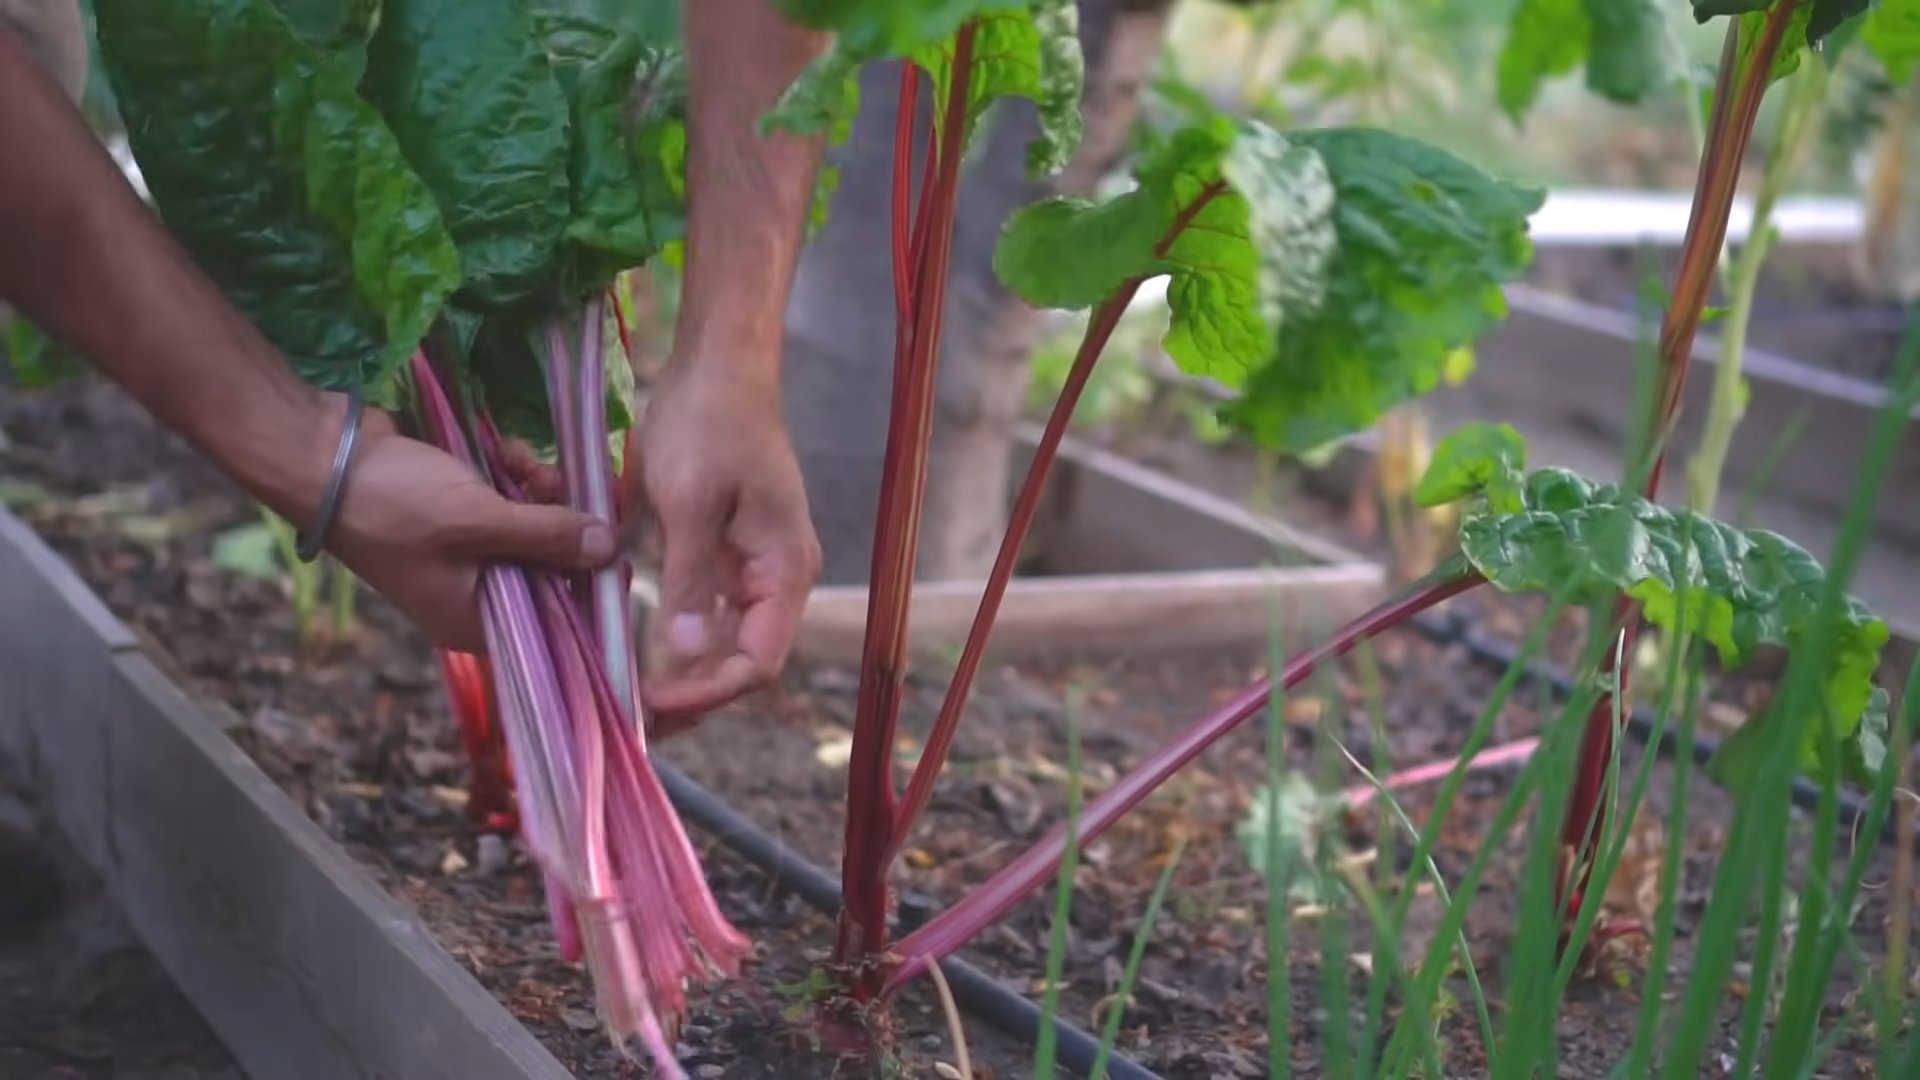
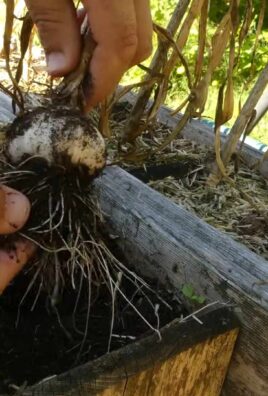
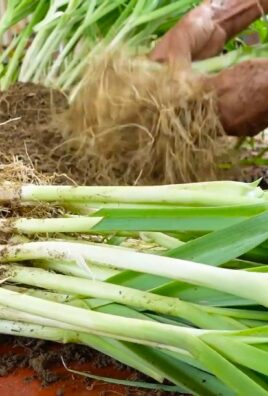
* How to Harvest: To harvest Swiss chard, simply cut the outer leaves near the base of the plant with a sharp knife or scissors. Leave the inner leaves intact so that the plant can continue to produce new growth.
* Cut-and-Come-Again: Swiss chard is a “cut-and-come-again” crop, meaning that you can harvest it repeatedly throughout the growing season. Just keep harvesting the outer leaves, and the plant will continue to produce new growth from the center.
* Stalks: Don’t forget about the stalks! They are also edible and can be cooked like asparagus or celery. Simply chop them into bite-sized pieces and sauté, steam, or roast them.
Storing Your Swiss Chard
After harvesting, Swiss chard can be stored in the refrigerator for up to a week.
* Refrigerating: To store Swiss chard, wash the leaves thoroughly and pat them dry. Wrap them in a damp paper towel and place them in a plastic bag or container. Store in the crisper drawer of your refrigerator.
* Freezing: You can also freeze Swiss chard for longer storage. To freeze Swiss chard, blanch the leaves in boiling water for 2 minutes, then plunge them into ice water to stop the cooking process. Drain the leaves thoroughly and pack them into freezer bags or containers. Frozen Swiss chard can be stored for up to 12 months.
Using Your Swiss Chard in the Kitchen
Swiss chard is incredibly versatile in the kitchen. You can use it in a variety of dishes, including:
* Salads: Young Swiss chard leaves can be added to salads for a boost of nutrients and flavor.
* Sautéed Greens: Sauté Swiss chard with garlic, olive oil, and a pinch of salt for a simple and delicious side dish.
* Soups and Stews: Add Swiss chard to soups and stews for added flavor and nutrition.
* Quiches and Frittatas: Swiss chard is a great addition to quiches and frittatas.
* Smoothies: Add a handful of Swiss chard to your smoothies for a healthy boost.
I personally love to sauté Swiss chard with garlic and olive oil and serve it as a side dish with grilled chicken or fish. It’s also delicious in omelets and frittatas.
Troubleshooting Common Swiss Chard Problems
Even with the best care, you may encounter some problems when growing Swiss chard. Here are a few common issues and how to address them:
* Aphids: Aphids are small, sap-sucking insects that can infest Swiss chard plants. They can cause the leaves to become distorted and yellowed. To control aphids, spray your plants with insecticidal soap or neem oil.
* Flea Beetles: Flea beetles are small, jumping insects that
Conclusion
So, there you have it! Growing your own Swiss chard isn’t just a gardening project; it’s an investment in your health, your wallet, and your connection to the natural world. This DIY trick, focusing on simple techniques and readily available resources, makes cultivating this vibrant and nutritious leafy green accessible to everyone, regardless of their gardening experience or space constraints.
Why is this a must-try? Because store-bought Swiss chard simply can’t compare to the freshness and flavor of homegrown. Imagine stepping into your garden, snipping off a few leaves still glistening with morning dew, and adding them to your omelet, stir-fry, or salad. The taste is brighter, the texture is crisper, and you have the satisfaction of knowing exactly where your food came from and how it was grown. Plus, you’re reducing your carbon footprint by cutting down on transportation and packaging.
But the benefits extend beyond taste and sustainability. Swiss chard is a nutritional powerhouse, packed with vitamins A, C, and K, as well as minerals like magnesium, potassium, and iron. By growing your own, you’re ensuring a consistent supply of these essential nutrients for yourself and your family.
Looking for variations? Absolutely! Try experimenting with different varieties of Swiss chard. ‘Bright Lights’ offers a rainbow of colorful stems, adding visual appeal to your garden and your plate. ‘Fordhook Giant’ is known for its large, dark green leaves and robust flavor. You can also adapt this DIY trick to different growing environments. If you live in an apartment, consider growing Swiss chard in containers on your balcony or patio. If you have limited space in your garden, try interplanting it with other vegetables like lettuce or radishes.
Don’t be afraid to get creative with your growing methods. Some gardeners have success using hydroponic systems, while others prefer traditional soil-based gardening. The key is to find what works best for you and your environment.
We’ve covered the basics, from seed starting to harvesting, but the real learning comes from experience. So, we wholeheartedly encourage you to give this DIY trick a try. Start small, be patient, and don’t be discouraged by setbacks. Gardening is a journey, and every mistake is an opportunity to learn and grow.
Once you’ve harvested your first batch of homegrown Swiss chard, we’d love to hear about your experience! Share your tips, tricks, and photos in the comments section below. Let’s build a community of Swiss chard enthusiasts and inspire others to embrace the joys of gardening. Remember, growing your own food is not just a hobby; it’s a way to connect with nature, nourish your body, and create a more sustainable future. So, grab your seeds, get your hands dirty, and start growing your own delicious and nutritious Swiss chard today!
Frequently Asked Questions (FAQ)
What is the best time of year to plant Swiss chard?
Swiss chard is a cool-season crop, meaning it thrives in temperatures between 60°F and 70°F. The best time to plant it depends on your climate. In areas with mild winters, you can plant Swiss chard in the fall for a winter or early spring harvest. In colder climates, plant it in the spring after the last frost. You can also start seeds indoors 4-6 weeks before the last frost and transplant them outdoors once the weather warms up. For a continuous harvest, consider succession planting, sowing new seeds every few weeks.
How much sunlight does Swiss chard need?
Swiss chard needs at least 6 hours of sunlight per day to thrive. However, it can tolerate partial shade, especially in hot climates. If you’re growing Swiss chard in a container, place it in a sunny location. If you’re growing it in the garden, choose a spot that receives full sun for most of the day.
What kind of soil is best for growing Swiss chard?
Swiss chard prefers well-drained soil that is rich in organic matter. The ideal soil pH is between 6.0 and 7.5. Before planting, amend the soil with compost or other organic matter to improve its fertility and drainage. You can also add a slow-release fertilizer to provide essential nutrients. If your soil is heavy clay, consider growing Swiss chard in raised beds or containers.
How often should I water Swiss chard?
Swiss chard needs consistent moisture to thrive. Water deeply whenever the top inch of soil feels dry to the touch. Avoid overwatering, as this can lead to root rot. During hot, dry weather, you may need to water more frequently. Mulching around the plants can help to retain moisture and suppress weeds.
How do I harvest Swiss chard?
You can start harvesting Swiss chard leaves when they are about 6 inches long. Harvest the outer leaves first, leaving the inner leaves to continue growing. You can harvest individual leaves as needed, or you can cut the entire plant down to about 2 inches above the ground. The plant will regrow and produce more leaves. Regular harvesting encourages continued production.
What are some common pests and diseases that affect Swiss chard?
Swiss chard is generally resistant to pests and diseases, but it can be affected by aphids, flea beetles, and leaf miners. Aphids can be controlled with insecticidal soap or by introducing beneficial insects like ladybugs. Flea beetles can be deterred by covering the plants with row covers. Leaf miners can be controlled by removing and destroying infested leaves. Common diseases that affect Swiss chard include downy mildew and leaf spot. These diseases can be prevented by providing good air circulation and avoiding overhead watering.
Can I grow Swiss chard in containers?
Yes, Swiss chard grows well in containers. Choose a container that is at least 12 inches deep and wide. Fill the container with a well-draining potting mix. Water regularly and fertilize every few weeks with a balanced fertilizer. Place the container in a sunny location.
How do I store Swiss chard after harvesting?
After harvesting, wash the Swiss chard leaves thoroughly and pat them dry. Store them in a plastic bag in the refrigerator for up to a week. You can also freeze Swiss chard for longer storage. To freeze, blanch the leaves in boiling water for 2 minutes, then plunge them into ice water. Drain well and pack into freezer bags.
Is Swiss chard the same as spinach?
No, Swiss chard and spinach are different vegetables, although they are both leafy greens and can be used in similar ways. Swiss chard has a slightly stronger, earthier flavor than spinach. It also has thicker stems that are often cooked separately from the leaves. Spinach leaves are typically more tender and delicate.
Can I eat the stems of Swiss chard?
Yes, the stems of Swiss chard are edible and nutritious. They have a slightly different texture and flavor than the leaves. You can cook the stems separately from the leaves, or you can chop them up and add them to the same dish. The stems can be sautéed, steamed, or roasted. They are also a good addition to soups and stews.
Leave a Comment