
Growing Carrots in Pots might seem like a challenge, especially if you’re short on garden space, but trust me, it’s totally doable and incredibly rewarding! Imagine plucking fresh, vibrant carrots straight from your patio – the taste is simply unmatched. For centuries, carrots have been a staple in diets worldwide, with evidence suggesting their cultivation dates back to ancient times. From vibrant orange varieties to purple and yellow heirlooms, these root vegetables have nourished communities and added a touch of sweetness to countless dishes.
But let’s face it, not everyone has access to a sprawling backyard. That’s where the magic of container gardening comes in! This DIY guide is your ticket to enjoying homegrown carrots, no matter how limited your space. I’m going to share my tried-and-true tricks and hacks for successfully growing carrots in pots, ensuring you get a bountiful harvest. We’ll cover everything from choosing the right pot and soil to watering techniques and pest control. So, ditch the store-bought carrots and get ready to experience the joy of growing your own – it’s easier than you think!
Growing Carrots in Pots: A Beginner’s Guide
Hey there, fellow gardening enthusiasts! Ever dreamed of pulling fresh, vibrant carrots straight from your own balcony or patio? Well, guess what? You absolutely can! Growing carrots in pots is surprisingly easy and rewarding, even if you’re short on space. I’m going to walk you through everything you need to know to get started, from choosing the right pot to harvesting your delicious homegrown carrots. Let’s get our hands dirty!
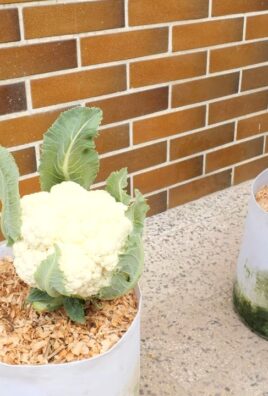
Choosing the Right Pot and Soil
The key to happy carrots in pots is providing them with enough space to stretch their roots. Carrots are root vegetables, after all!
* Pot Size: Opt for a pot that’s at least 12 inches deep, but ideally 18-24 inches. This gives your carrots plenty of room to grow long and straight. The width of the pot depends on how many carrots you want to grow. A 12-inch diameter pot can comfortably accommodate 3-5 carrots.
* Material: Terracotta, plastic, or even fabric pots work well. Terracotta pots are breathable, which helps prevent overwatering, but they also dry out faster. Plastic pots retain moisture better, but drainage is crucial. Fabric pots are a great option because they allow for excellent drainage and aeration.
* Drainage: This is non-negotiable! Make sure your pot has drainage holes at the bottom. Carrots hate sitting in soggy soil, which can lead to rot.
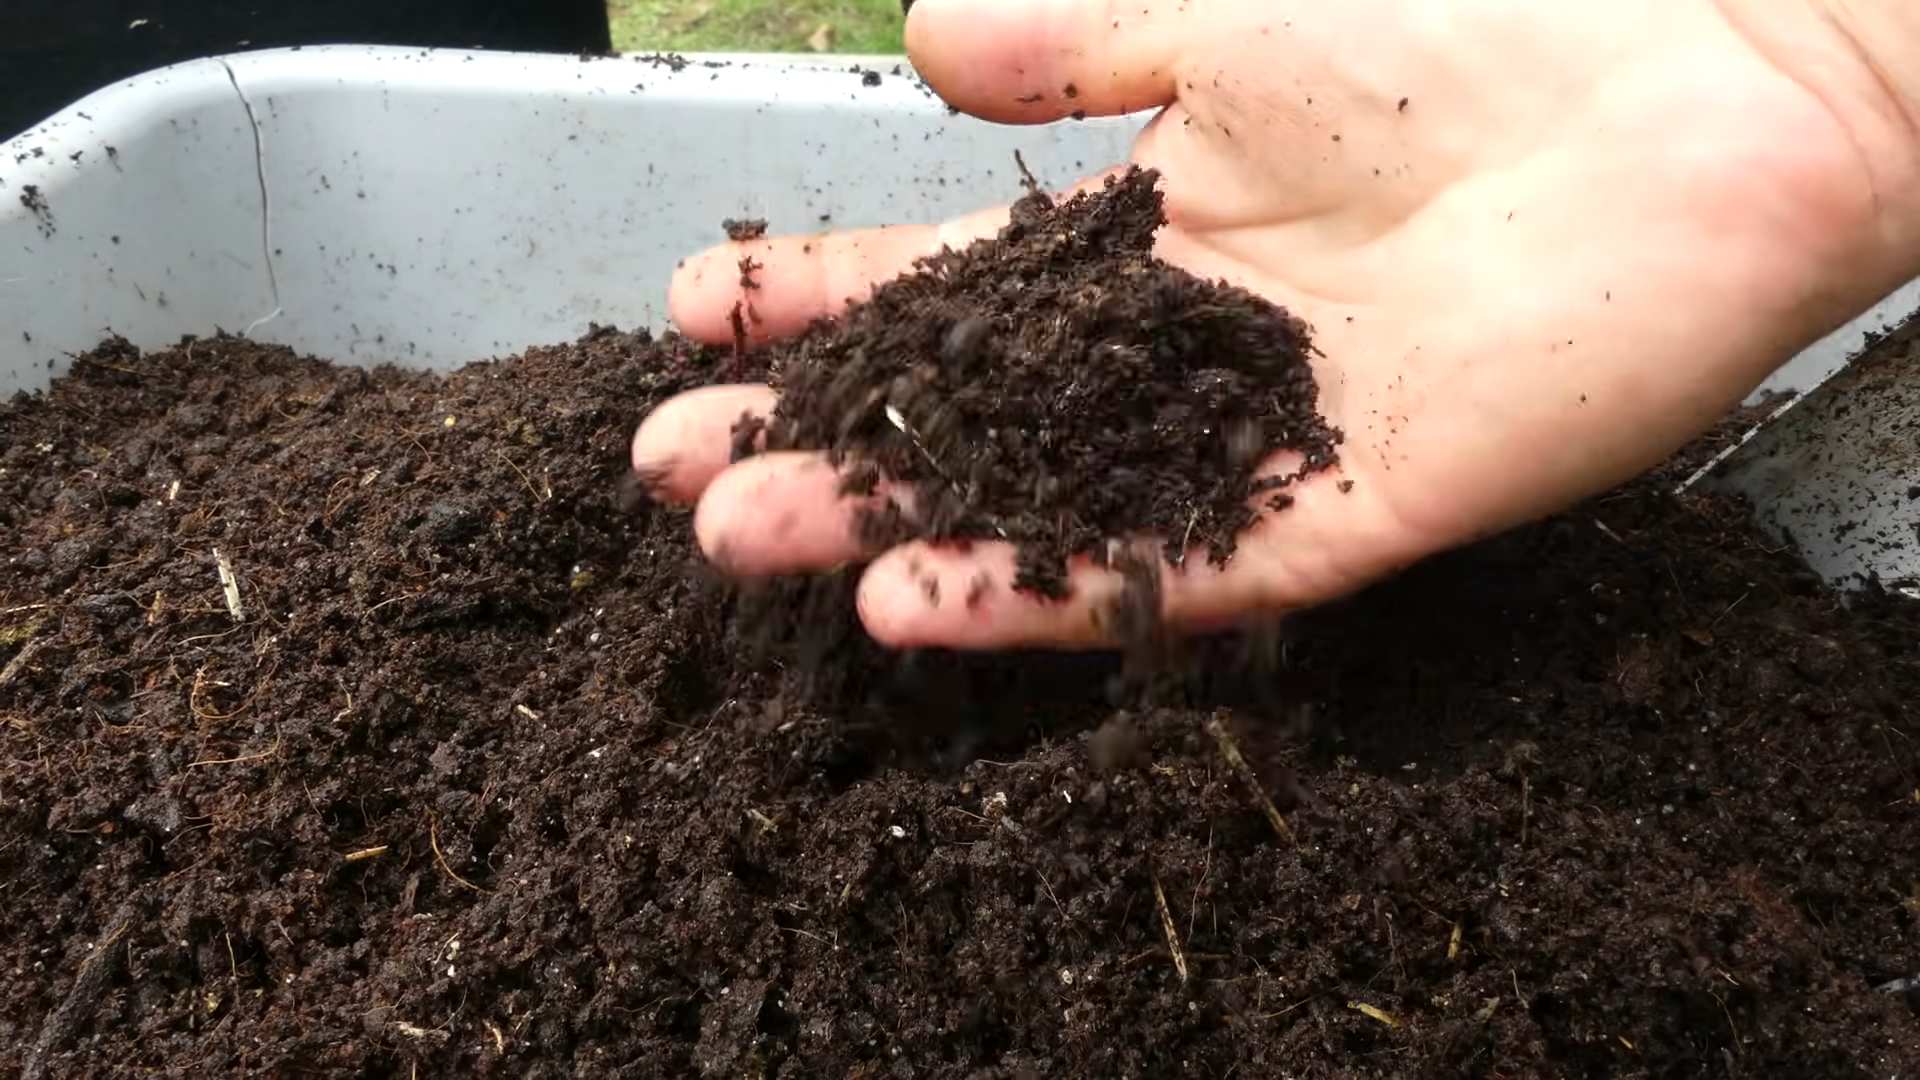
* Soil: Carrots need loose, well-draining soil. Avoid heavy clay soil, as it can hinder root development and result in stunted or misshapen carrots. I recommend using a potting mix specifically formulated for vegetables. You can also create your own mix by combining equal parts of:
* Potting soil
* Compost (for nutrients)
* Sand or perlite (for drainage)
Selecting Carrot Varieties
Not all carrot varieties are created equal when it comes to container gardening. Shorter, rounder varieties tend to thrive best in pots.
* Recommended Varieties:
* ‘Thumbelina’: These are small, round carrots that are perfect for shallow pots.
* ‘Parisian’: Another round variety, similar to ‘Thumbelina’.
* ‘Short ‘n Sweet’: As the name suggests, these are short and sweet, ideal for containers.
* ‘Little Finger’: These are slender, finger-sized carrots that mature quickly.
* ‘Danvers Half Long’: A classic carrot flavor in a shorter size.
* Avoid Long Varieties: While you *can* technically grow longer varieties like ‘Nantes’ in deep pots, they’re more prone to becoming misshapen or stunted if they encounter any resistance in the soil.
Planting Your Carrot Seeds
Now for the fun part – planting!
1. Prepare the Pot: Fill your chosen pot with your well-draining soil mix, leaving about an inch of space at the top. Gently pat down the soil to remove any large air pockets.
2. Sow the Seeds: Carrot seeds are tiny, so it’s easy to sow them too thickly. To avoid overcrowding, I like to mix the seeds with a bit of sand before sowing. This helps to space them out more evenly. Sprinkle the seed/sand mixture thinly over the surface of the soil.
3. Cover the Seeds: Lightly cover the seeds with about ¼ inch of soil. You can use your fingers or a small trowel to do this.
4. Water Gently: Water the soil gently using a watering can with a rose attachment or a spray bottle. Avoid blasting the seeds with a strong stream of water, as this can dislodge them. The goal is to moisten the soil without disturbing the seeds.
5. Keep Moist: Carrot seeds need consistent moisture to germinate. Cover the pot with plastic wrap or a clear plastic bag to create a mini-greenhouse effect. This will help to retain moisture. Place the pot in a warm, sunny location.
6. Germination: Carrot seeds typically take 7-21 days to germinate, depending on the temperature and moisture levels. Check the pot daily and mist the soil if it starts to dry out. Once the seedlings emerge, remove the plastic wrap.
Caring for Your Carrot Plants
Once your carrot seedlings have sprouted, it’s time to provide them with the care they need to thrive.
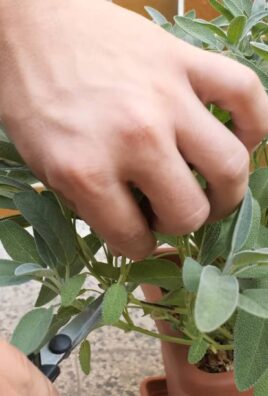
1. Thinning: This is crucial for preventing overcrowding and ensuring that your carrots have enough space to develop properly. Once the seedlings are about 1-2 inches tall, thin them out so that they are about 1-2 inches apart. Use small scissors to snip off the unwanted seedlings at the soil level. Don’t try to pull them out, as this can disturb the roots of the remaining seedlings.
2. Watering: Carrots need consistent moisture, but they don’t like to be waterlogged. Water deeply whenever the top inch of soil feels dry to the touch. Avoid overhead watering, as this can promote fungal diseases. Instead, water at the base of the plant.
3. Sunlight: Carrots need at least 6 hours of sunlight per day. Place your pot in a sunny location where it will receive plenty of direct sunlight. If you live in a particularly hot climate, you may need to provide some afternoon shade to prevent the soil from drying out too quickly.
4. Fertilizing: Carrots are not heavy feeders, but they will benefit from occasional fertilization. Use a balanced liquid fertilizer diluted to half strength every 2-3 weeks. Avoid fertilizers that are high in nitrogen, as this can promote leafy growth at the expense of root development.
5. Weeding: Keep your pot free of weeds, as they can compete with your carrots for nutrients and water. Gently pull out any weeds that appear, being careful not to disturb the carrot roots.
6. Pest Control: Carrots are relatively pest-resistant, but they can occasionally be bothered by pests such as aphids and carrot rust flies. Check your plants regularly for signs of infestation. If you spot any pests, you can try spraying them with insecticidal soap or neem oil.
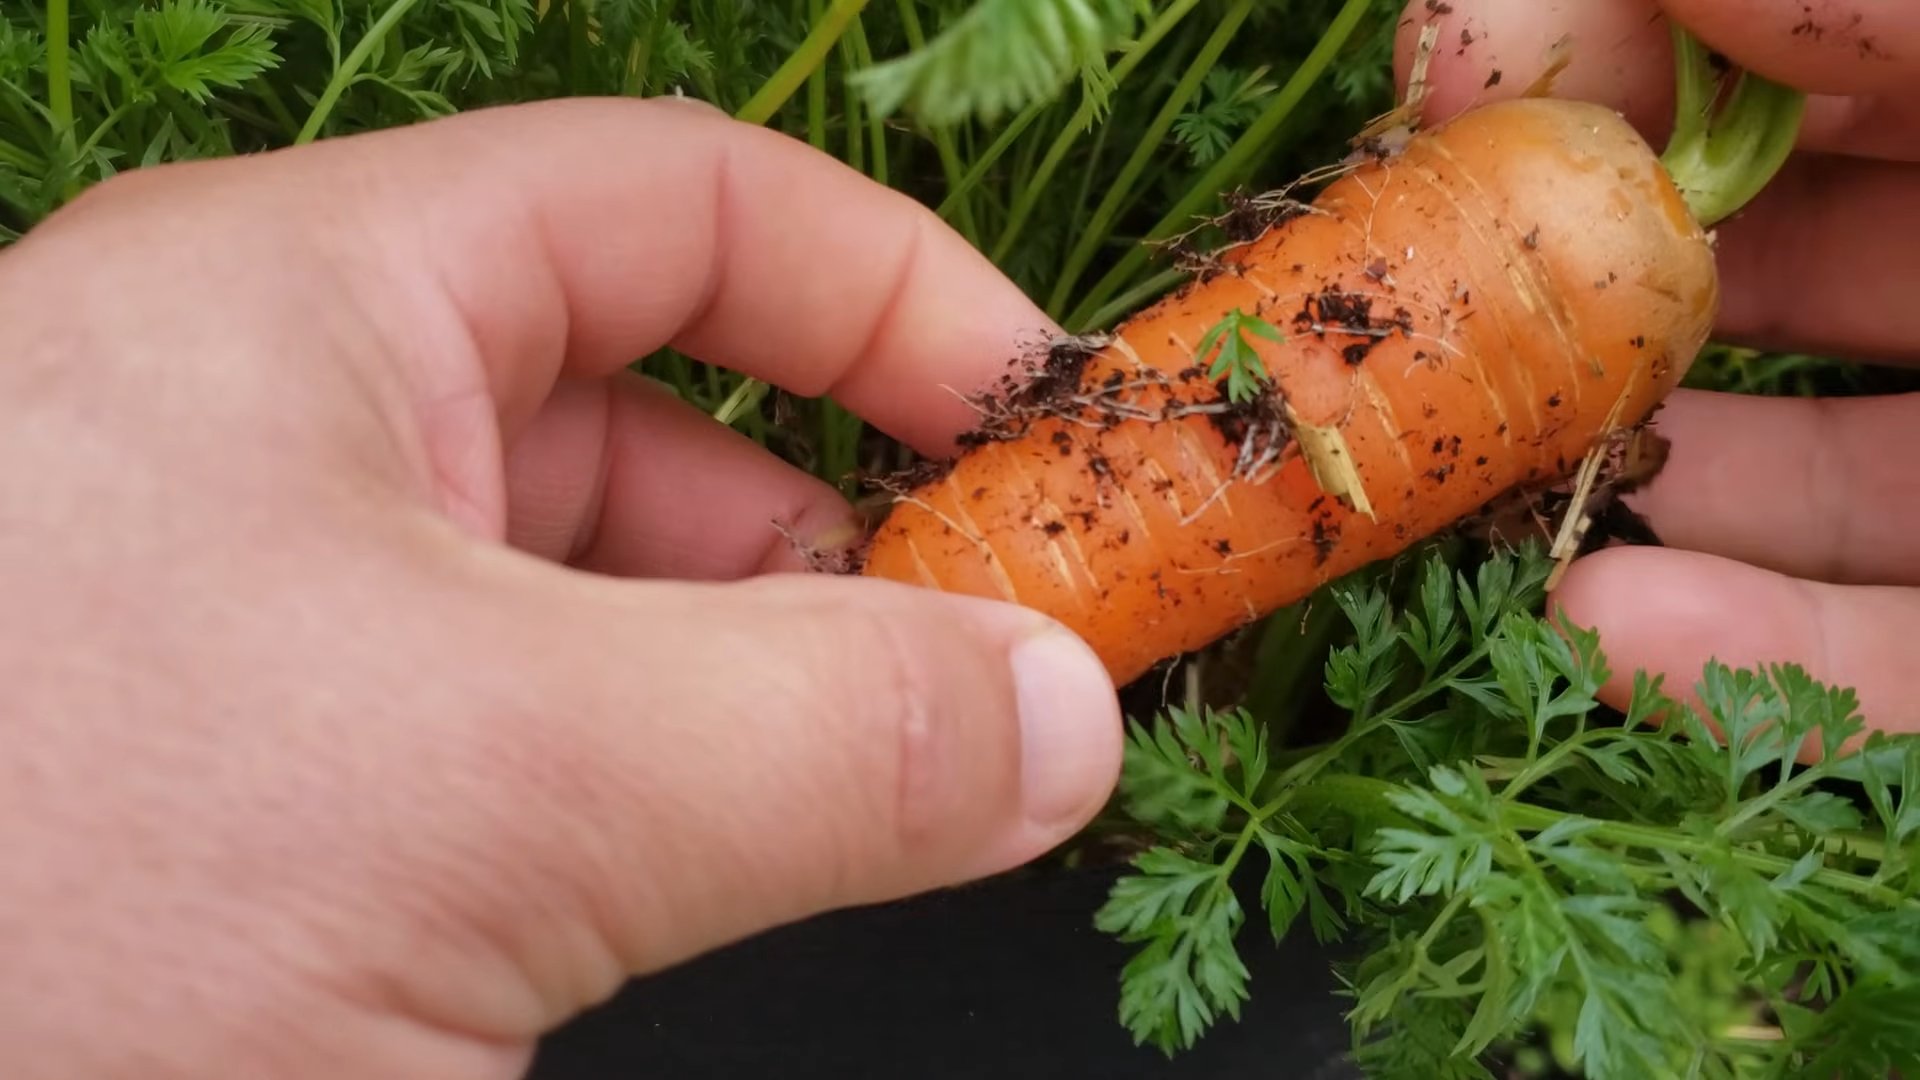
Harvesting Your Carrots
The moment you’ve been waiting for!
1. Maturity: Carrot maturity times vary depending on the variety, but most carrots are ready to harvest in 60-80 days. Check the seed packet for specific maturity times.
2. Signs of Readiness: You can usually tell when carrots are ready to harvest by looking at the size of the carrot tops. If the tops are starting to push up out of the soil, the carrots are likely ready to be pulled. You can also gently brush away some of the soil around the base of the plant to check the size of the carrot.
3. Harvesting Technique: To harvest your carrots, gently loosen the soil around the base of the plant with a trowel or fork. Then, grasp the carrot tops firmly and pull straight up. If the carrot is difficult to pull, try wiggling it gently from side to side.
4. Washing and Storing: Once you’ve harvested your carrots, wash them thoroughly to remove any dirt. Trim off the tops, leaving about an inch of green. Store your carrots in the refrigerator in a plastic bag or container. They should keep for several weeks.
Troubleshooting
Even with the best care, you might encounter a few challenges along the way. Here are some common problems and how to address them:
* Stunted Growth: This can be caused by a number of factors, including poor soil, lack of sunlight, or overcrowding. Make sure your carrots have plenty of space to grow, are getting enough sunlight, and are planted in well-draining soil.
* Forked or Misshapen Carrots: This is often caused by rocks or other obstructions in the soil. Remove any rocks or debris from the soil before planting.
* Bitter Taste: This can be caused by inconsistent watering or exposure to high temperatures. Water your carrots regularly and provide some afternoon shade if you live in a hot climate.
* Pests: Keep an eye out for pests and take action promptly if you spot any.
Enjoying Your Homegrown Carrots
Congratulations! You’ve successfully grown carrots in pots. Now it’s time to enjoy the fruits (or rather, vegetables) of your labor. Freshly harvested carrots are incredibly sweet and flavorful. You can eat them raw, cooked, or juiced. They’re a delicious and nutritious addition to any meal. I love snacking on them straight from the garden, adding them to salads, or roasting them with a little olive oil and herbs.
So, what are you waiting for? Grab a pot, some seeds, and get growing! I promise, you won’t regret it. Happy gardening!
Conclusion
So, there you have it! Growing carrots in pots isn’t just a possibility; it’s a surprisingly rewarding and accessible gardening experience, even if you’re short on space or new to the world of cultivation. We’ve walked through the essential steps, from selecting the right carrot varieties and pot size to ensuring proper drainage and consistent watering. But why is this DIY trick a must-try?
Firstly, it democratizes gardening. No sprawling backyard is required. A sunny balcony, a patio, or even a well-lit windowsill can become your personal carrot patch. This makes fresh, homegrown produce available to a wider audience, regardless of their living situation.
Secondly, it offers unparalleled control. You dictate the soil composition, the watering schedule, and the pest control methods. This level of control translates to healthier, tastier carrots, free from the uncertainties of traditional in-ground gardening. You can tailor the environment to the specific needs of your chosen carrot variety, maximizing your yield and the quality of your harvest.
Thirdly, it’s incredibly satisfying. There’s something deeply fulfilling about nurturing a seed into a vibrant, edible root. Watching those tiny green shoots emerge and knowing that you’re responsible for their growth is a unique and rewarding experience. Plus, the taste of a freshly harvested, homegrown carrot is simply unmatched.
But the journey doesn’t end here! Feel free to experiment with different carrot varieties. Nantes carrots are a classic choice, but consider trying round varieties like Parisian carrots for shallower pots or colorful options like purple or yellow carrots for a visually stunning harvest. You can also try companion planting. Marigolds, for example, can help deter pests, while basil can improve the flavor of your carrots.
Consider adding a slow-release fertilizer to your potting mix for sustained nutrient delivery. Be mindful of the temperature, especially during the hottest months. If your pots are exposed to direct sunlight, consider moving them to a slightly shadier location during the peak hours to prevent the soil from drying out too quickly.
Don’t be afraid to get your hands dirty and embrace the learning process. Gardening is all about experimentation and adaptation. What works for one person might not work for another, so be observant, adjust your techniques as needed, and most importantly, have fun!
We wholeheartedly encourage you to try **growing carrots in pots**. It’s a simple, rewarding, and accessible way to enjoy fresh, homegrown produce, regardless of your gardening experience or living situation. And once you’ve harvested your first batch of homegrown goodness, we’d love to hear about your experience! Share your tips, your triumphs, and even your challenges in the comments below. Let’s build a community of pot-carrot enthusiasts and learn from each other’s successes. Happy gardening!
Frequently Asked Questions (FAQ)
What is the best size pot for growing carrots?
The ideal pot size depends on the carrot variety you choose. For longer varieties like Nantes, you’ll need a pot that is at least 12 inches deep and 8 inches in diameter. Shorter, round varieties like Parisian carrots can thrive in pots that are 6-8 inches deep. The key is to ensure that the pot is deep enough to accommodate the full length of the carrot without it hitting the bottom and becoming stunted or misshapen. Also, consider the number of carrots you want to grow in each pot. A larger pot will allow you to grow more carrots, but be sure not to overcrowd them. A good rule of thumb is to allow at least 2-3 inches of space between each carrot seed.
What type of soil is best for growing carrots in pots?
Carrots need loose, well-draining soil to grow properly. Heavy clay soil can hinder their growth and result in misshapen or stunted carrots. The best soil for growing carrots in pots is a mix of potting soil, compost, and sand or perlite. This combination provides good drainage, aeration, and nutrients. Avoid using garden soil, as it can be too heavy and compacted for container gardening. You can also purchase a pre-made potting mix specifically formulated for vegetables. Look for a mix that is lightweight and contains a good balance of nutrients.
How often should I water my carrots in pots?
Carrots need consistent moisture to grow well, but they don’t like to be waterlogged. Water your carrots when the top inch of soil feels dry to the touch. Water deeply, until water drains out of the bottom of the pot. Avoid watering shallowly, as this can encourage shallow root growth. During hot, dry weather, you may need to water your carrots more frequently. Check the soil moisture regularly and adjust your watering schedule accordingly. Also, be mindful of the drainage in your pots. If the water is not draining properly, it can lead to root rot.
How much sunlight do carrots need?
Carrots need at least 6 hours of sunlight per day to grow well. Choose a location for your pots that receives plenty of sunlight. If you live in a hot climate, you may need to provide some afternoon shade to prevent the soil from drying out too quickly. If you don’t have a sunny location, you can supplement with grow lights. Place the grow lights a few inches above the plants and keep them on for 12-14 hours per day.
How do I fertilize my carrots in pots?
Carrots are heavy feeders and need regular fertilization to grow well. You can fertilize your carrots with a balanced liquid fertilizer every 2-3 weeks. Follow the instructions on the fertilizer label for proper dilution rates. You can also add a slow-release fertilizer to the potting mix when you plant your carrots. This will provide a steady supply of nutrients throughout the growing season. Avoid over-fertilizing, as this can lead to excessive foliage growth and poor root development.
What are some common pests and diseases that affect carrots?
Some common pests that affect carrots include carrot rust flies, aphids, and nematodes. Carrot rust flies lay their eggs near the base of the plants, and the larvae burrow into the roots, causing damage. Aphids suck the sap from the leaves, weakening the plants. Nematodes are microscopic worms that live in the soil and can damage the roots. To prevent pests, you can use row covers to protect your plants. You can also use organic pesticides, such as neem oil or insecticidal soap. Common diseases that affect carrots include leaf blight and root rot. Leaf blight causes brown spots on the leaves, while root rot causes the roots to become soft and mushy. To prevent diseases, make sure your plants have good air circulation and avoid overwatering. You can also use fungicides to control diseases.
How do I know when my carrots are ready to harvest?
Carrots are typically ready to harvest 60-80 days after planting. The exact time will depend on the variety you are growing. You can check the size of the carrots by gently pulling back the soil around the top of the root. If the carrots are the size you want, you can harvest them. To harvest, gently loosen the soil around the carrot and pull it out of the pot. If the soil is dry, you may need to water it first to make it easier to pull the carrots.
Can I grow carrots in pots indoors?
Yes, you can grow carrots in pots indoors, but you will need to provide them with plenty of light. Place the pots near a sunny window or use grow lights. You will also need to ensure that the pots have good drainage and that the soil is kept moist but not waterlogged. Indoor carrots may not grow as large as outdoor carrots, but they can still provide a delicious and rewarding harvest.
What are some variations I can try when growing carrots in pots?
Besides experimenting with different carrot varieties, you can also try companion planting. Plant herbs like rosemary or sage alongside your carrots to deter pests. You can also try growing carrots in different types of containers, such as fabric pots or self-watering planters. Fabric pots allow for better air circulation and drainage, while self-watering planters can help to keep the soil consistently moist. Another variation is to try succession planting. Plant a new batch of carrot seeds every few weeks to ensure a continuous harvest throughout the growing season.
Leave a Comment