
Growing carrots indoors might sound like a whimsical dream, especially if you’re used to seeing them sprout in sprawling outdoor gardens. But trust me, it’s not only possible, it’s incredibly rewarding! Imagine harvesting your own sweet, crunchy carrots right from your windowsill, even in the dead of winter. That’s the magic we’re unlocking today!
For centuries, humans have cultivated carrots, tracing their origins back to Afghanistan. While the vibrant orange variety we know and love is a relatively modern development, the desire to nurture and grow our own food is deeply ingrained in our history. And while traditionally grown outdoors, the rise of urban living and a desire for fresh, homegrown produce year-round has fueled the interest in indoor gardening.
Why should you learn this DIY trick? Well, for starters, growing carrots indoors gives you complete control over the growing environment, protecting your precious crop from pests, diseases, and unpredictable weather. Plus, it’s a fantastic way to add a touch of green to your home and enjoy the satisfaction of nurturing something from seed to harvest. I’m going to share some simple, effective DIY hacks that will have you enjoying homegrown carrots in no time. Get ready to get your hands dirty (in a good way!) and discover the joy of indoor carrot cultivation!
Growing Carrots Indoors: A Step-by-Step Guide
Hey there, fellow gardening enthusiasts! Ever dreamt of enjoying fresh, homegrown carrots even when the weather outside is frightful? Well, dream no more! I’m going to walk you through the surprisingly simple process of growing carrots indoors. It’s easier than you think, and the reward of pulling up your own vibrant orange veggies in the middle of winter is absolutely worth it.
Choosing the Right Carrot Variety
First things first, not all carrots are created equal when it comes to indoor growing. We need to pick varieties that are shorter and mature quickly. Long, slender carrots need a lot of space, which isn’t ideal for containers.
Here are some of my favorite carrot varieties for indoor growing:
* ‘Thumbelina’: These are adorable, round carrots that are perfect for small pots. They mature quickly and are super sweet.
* ‘Paris Market’: Similar to Thumbelina, these are small, round, and early maturing.
* ‘Little Finger’: As the name suggests, these are small, finger-sized carrots that are great for containers.
* ‘Short n Sweet’: A classic choice for shorter carrots, offering a good balance of sweetness and size.
* ‘Danvers Half Long’: While technically a longer variety, it can still work in deeper containers. Just make sure you have enough space.
Gathering Your Supplies
Okay, now that we’ve got our carrot variety sorted, let’s gather everything we need. This is like prepping for a cooking show – having everything at your fingertips makes the whole process smoother.
Here’s your shopping list:
* Carrot Seeds: Obviously! Choose your preferred variety from the list above.
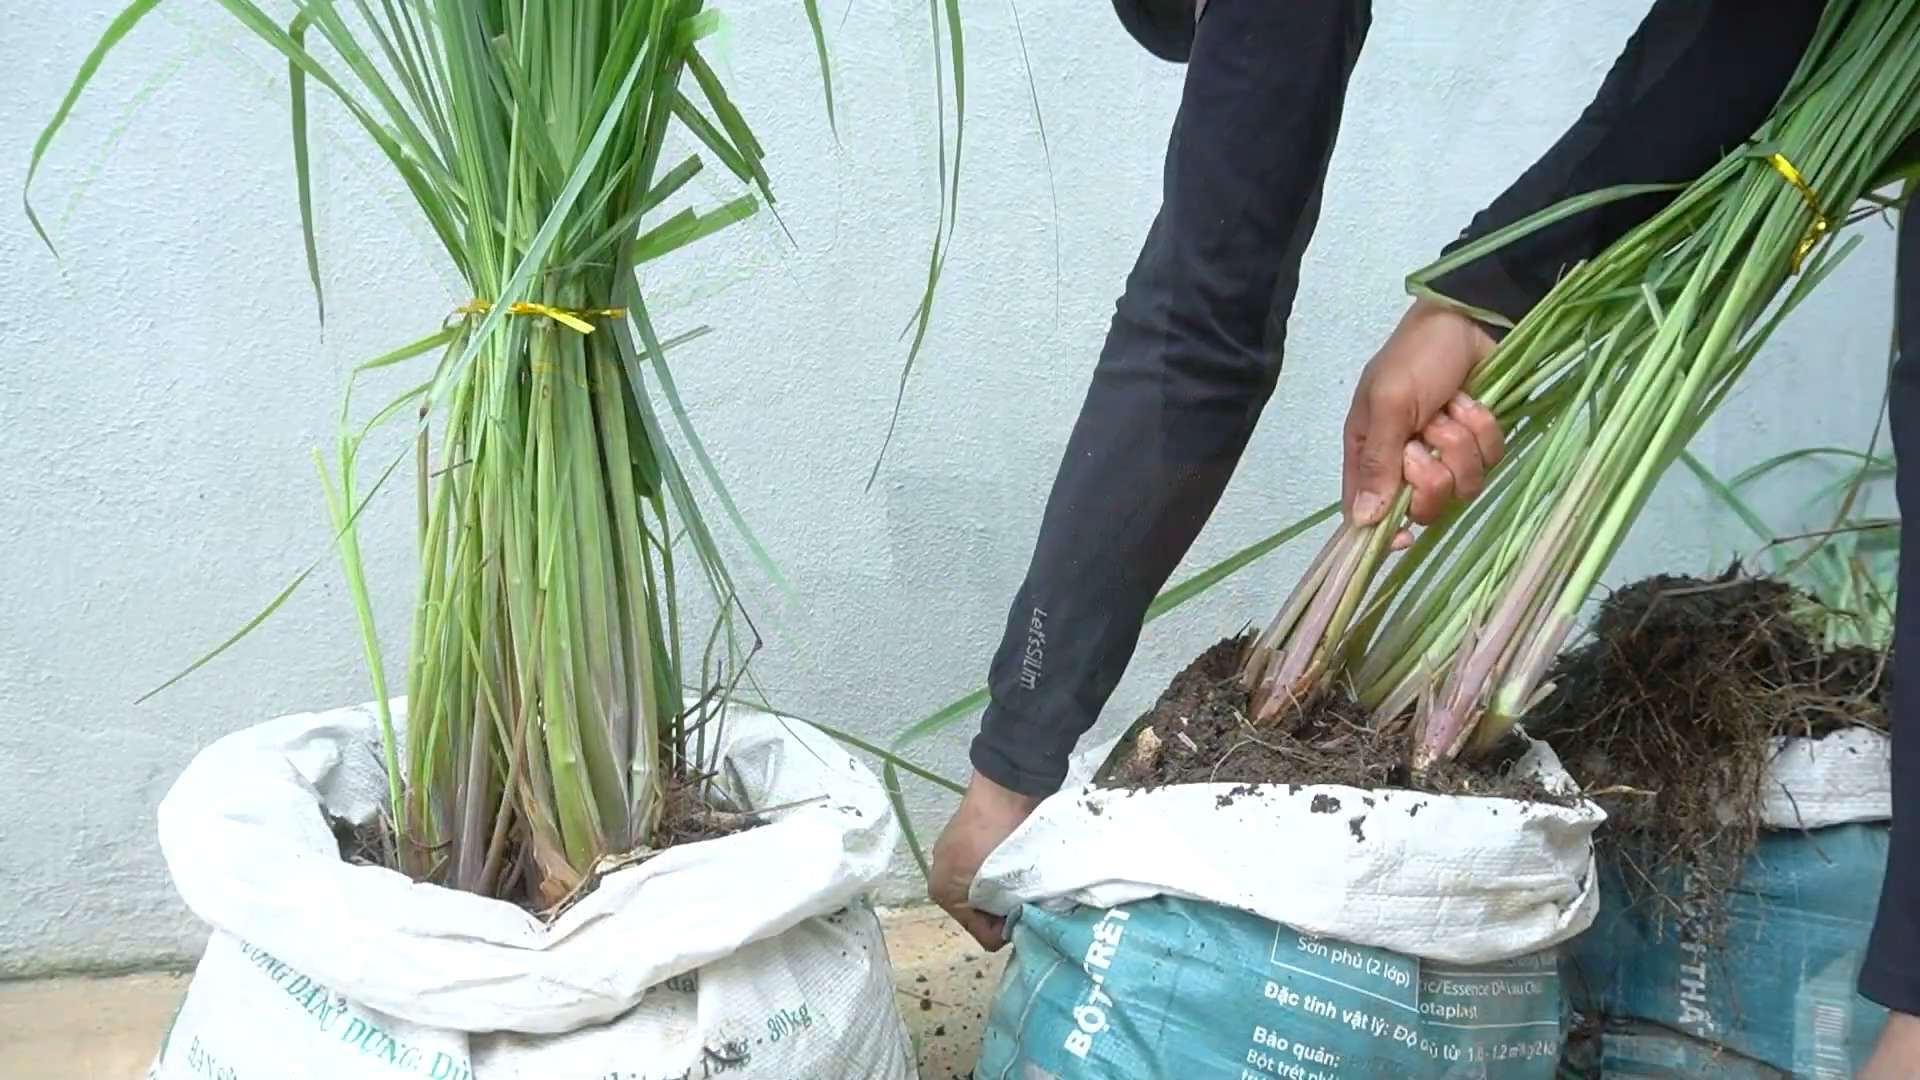
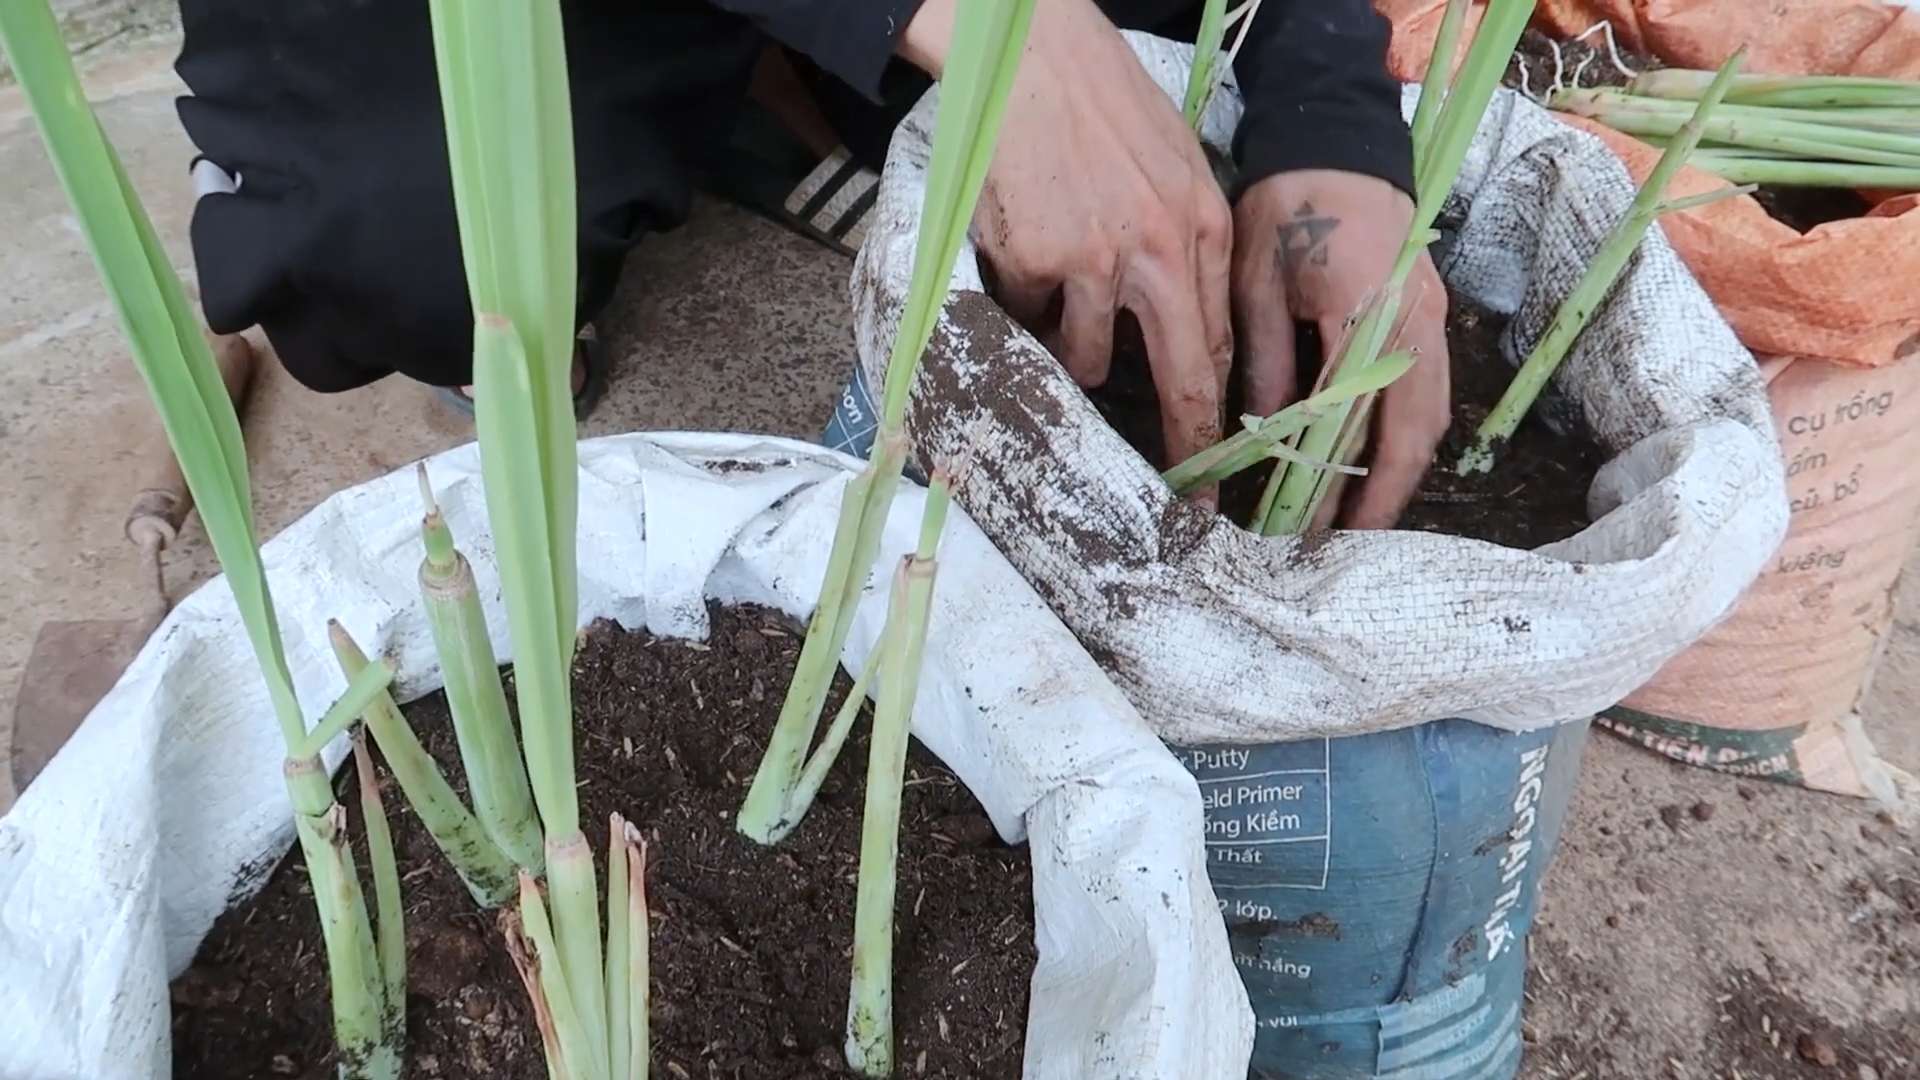
* Large Container: This is crucial. Carrots need depth to grow properly. I recommend a container that’s at least 12 inches deep and wide. A rectangular planter works well, or even a large bucket.
* Potting Mix: Don’t skimp on this! Use a high-quality, well-draining potting mix. Avoid using garden soil, as it can compact and hinder root growth. A mix specifically formulated for vegetables is ideal.
* Grow Lights (Optional but Recommended): Carrots need plenty of light, especially indoors. If you don’t have a sunny south-facing window, grow lights are a must.
* Watering Can or Spray Bottle: For gentle watering.
* Fertilizer (Optional): A balanced liquid fertilizer can help boost growth, but it’s not essential.
* Seed Starting Tray (Optional): If you prefer to start your seeds indoors before transplanting.
Step-by-Step Planting Guide
Alright, let’s get our hands dirty! Here’s the step-by-step guide to planting your carrot seeds indoors:
1. Prepare Your Container: Fill your container with the potting mix, leaving about an inch of space at the top. Gently pat down the soil to remove any large air pockets.
2. Sow the Seeds: Carrot seeds are tiny, so be careful not to plant them too densely. Sprinkle the seeds evenly over the surface of the soil. Aim for about ½ inch spacing between seeds.
3. Cover the Seeds: Lightly cover the seeds with a thin layer of potting mix (about ¼ inch).
4. Water Gently: Use a watering can or spray bottle to gently moisten the soil. Be careful not to wash away the seeds. The soil should be damp but not soggy.
5. Provide Light and Warmth: Place your container in a warm location with plenty of light. If you’re using grow lights, position them a few inches above the soil surface. Carrots germinate best at temperatures between 65-75°F (18-24°C).
6. Maintain Moisture: Keep the soil consistently moist, but not waterlogged. Check the soil moisture daily and water as needed.
7. Thin the Seedlings: Once the seedlings emerge (usually within 1-3 weeks), you’ll need to thin them out. This is important to give the carrots enough space to grow. Snip off the weaker seedlings with scissors, leaving about 1-2 inches between the remaining plants. Don’t pull them out, as this can disturb the roots of the other seedlings.
Caring for Your Indoor Carrots
Now that your carrots are planted and growing, it’s time to provide them with the care they need to thrive.
1. Watering: Water regularly, keeping the soil consistently moist. Avoid letting the soil dry out completely, but also avoid overwatering, which can lead to root rot. A good rule of thumb is to water when the top inch of soil feels dry to the touch.
2. Lighting: Carrots need at least 6-8 hours of sunlight per day. If you’re not using grow lights, place your container in a sunny south-facing window. Rotate the container regularly to ensure that all sides of the plants receive equal light. If you’re using grow lights, keep them on for 12-16 hours per day.
3. Fertilizing (Optional): If you want to give your carrots a boost, you can fertilize them every 2-3 weeks with a balanced liquid fertilizer. Follow the instructions on the fertilizer label. I usually dilute the fertilizer to half strength to avoid burning the roots.
4. Temperature: Carrots prefer cooler temperatures, ideally between 60-70°F (15-21°C). Avoid placing your container near heat sources, such as radiators or vents.
5. Weeding: Keep an eye out for any weeds that may pop up in your container. Remove them promptly to prevent them from competing with your carrots for nutrients and water.
6. Soil Aeration: Gently loosen the soil around the base of the plants every few weeks to improve aeration. Be careful not to damage the roots.
Harvesting Your Indoor Carrots
The moment we’ve all been waiting for! Harvesting your homegrown carrots is the most rewarding part of the process.
1. Check for Maturity: Carrots are typically ready to harvest when they reach the size specified for their variety. You can gently brush away some of the soil around the base of the plant to check the size of the carrot.
2. Harvest Carefully: To harvest, gently loosen the soil around the carrot with your fingers or a small trowel. Then, grasp the base of the carrot and gently pull it straight up. If the carrot is difficult to pull, try wiggling it back and forth to loosen it further.
3. Wash and Enjoy: Once you’ve harvested your carrots, wash them thoroughly to remove any dirt. Then, enjoy them fresh from your garden! They’re delicious raw, roasted, steamed, or added to soups and stews.
Troubleshooting Common Problems
Even with the best care, you might encounter some problems while growing carrots indoors. Here are some common issues and how to address them:
* Poor Germination: If your seeds aren’t germinating, make sure the soil is consistently moist and the temperature is warm enough. You can also try scarifying the seeds before planting by gently rubbing them with sandpaper to break the seed coat.
* Leggy Seedlings: If your seedlings are tall and spindly, they’re likely not getting enough light. Move them to a sunnier location or provide them with grow lights.
* Slow Growth: Slow growth can be caused by a variety of factors, including lack of light, nutrients, or water. Make sure your carrots are getting enough of all three.
* Root Rot: Root rot is caused by overwatering. Make sure the soil is well-draining and avoid letting it stay soggy.
* Forked Roots: Forked roots can be caused by compacted soil or rocks in the soil. Use a high-quality potting mix and remove any rocks or debris from the container.
* Pests: While less common indoors, pests like aphids or spider mites can sometimes infest carrots. Inspect your plants regularly and treat any infestations promptly with insecticidal soap or neem oil.
Tips for Success
Here are a few extra tips to help you succeed in growing carrots indoors:
* Use a well-draining potting mix: This is crucial for preventing root rot.
* Provide plenty of light: Carrots need at least 6-8 hours of sunlight per day, or 12-16 hours of grow light.
* Water regularly: Keep the soil consistently moist, but avoid overwatering.
* Thin the seedlings: This is important to give the carrots enough space to grow.
* Rotate the container: This ensures that all sides of the plants receive equal light.
* Be patient: Carrots take time to grow, so don’t get discouraged if you don’t see results immediately.
Growing carrots indoors is a fun and rewarding experience. With a little bit of care and attention, you can enjoy fresh,
Conclusion
So, there you have it! Growing carrots indoors might seem like a whimsical endeavor, but with a little patience and the right approach, you can absolutely enjoy the satisfaction of harvesting your own sweet, crunchy carrots right from your windowsill. This DIY project isn’t just about fresh produce; it’s about connecting with nature, learning a new skill, and adding a touch of green to your indoor space, especially during those colder months when a trip to the garden is out of the question.
Why is this a must-try? Because it empowers you to control the quality and freshness of your food. Store-bought carrots, while convenient, often lack the vibrant flavor and crispness of homegrown varieties. Plus, you eliminate the need for long-distance transportation and reduce your reliance on commercially grown produce, which can sometimes be treated with pesticides. Imagine the delight of adding freshly harvested, organic carrots to your salads, soups, or even just enjoying them as a healthy snack.
But the benefits extend beyond just the taste. Growing carrots indoors is a fantastic educational activity for kids, teaching them about plant life cycles, responsibility, and the importance of healthy eating. It’s also a therapeutic hobby for adults, offering a calming and rewarding experience.
Don’t be afraid to experiment with different carrot varieties. While shorter, rounder varieties like ‘Thumbelina’ or ‘Parisian’ are generally recommended for indoor growing due to space constraints, you can certainly try your hand at longer varieties if you have deeper containers. Just be prepared to provide adequate support for the foliage.
Consider adding companion plants to your carrot containers. Herbs like rosemary, sage, and thyme can help deter pests and enhance the flavor of your carrots. Marigolds are also a great choice, as they attract beneficial insects and add a splash of color to your indoor garden.
Another variation to consider is hydroponic carrot growing. While it requires a slightly different setup, hydroponics can offer faster growth rates and higher yields. You’ll need a hydroponic system, nutrient solution, and grow lights, but the results can be well worth the investment.
The key to successful indoor carrot growing is consistent care. Ensure your carrots receive adequate sunlight (or supplement with grow lights), maintain consistent moisture levels in the soil, and provide proper drainage to prevent root rot. Don’t overcrowd your seedlings, and thin them out as needed to allow each plant enough space to develop.
We wholeheartedly encourage you to give this DIY trick a try. It’s a rewarding and enriching experience that will bring a touch of nature into your home. And once you’ve harvested your first batch of homegrown carrots, be sure to share your experience with us! We’d love to see your photos, hear about your successes (and challenges!), and learn any tips or tricks you’ve discovered along the way. Share your stories on social media using relevant hashtags like #IndoorCarrotGrowing, #DIYGardening, and #HomegrownHarvest. Let’s create a community of indoor gardeners and inspire others to embrace the joy of growing their own food. So, grab your seeds, soil, and containers, and get ready to embark on a delicious and rewarding journey of growing carrots indoors!
Frequently Asked Questions (FAQ)
What kind of container should I use for growing carrots indoors?
The ideal container for growing carrots indoors should be at least 6-12 inches deep, depending on the carrot variety you choose. Shorter, rounder varieties like ‘Thumbelina’ or ‘Parisian’ can thrive in shallower containers, while longer varieties will require deeper pots. Make sure the container has drainage holes to prevent waterlogging, which can lead to root rot. Terracotta pots are a good option as they allow for good air circulation, but plastic containers are also suitable and tend to retain moisture better. Consider using a wide container to accommodate multiple plants.
What type of soil is best for growing carrots indoors?
Carrots prefer loose, well-draining soil that is rich in organic matter. A good potting mix specifically formulated for vegetables is a great starting point. You can also amend your potting mix with compost or well-rotted manure to improve its fertility and drainage. Avoid using heavy clay soil, as it can hinder root development and result in misshapen carrots. The ideal pH level for carrot growth is between 6.0 and 6.8.
How much sunlight do indoor carrots need?
Carrots need at least 6-8 hours of direct sunlight per day to thrive. If you don’t have a sunny windowsill, you can supplement with grow lights. LED grow lights are energy-efficient and provide the full spectrum of light that plants need for photosynthesis. Position the grow lights about 6-12 inches above the plants and keep them on for 12-16 hours per day. Rotate your carrot containers regularly to ensure that all sides of the plants receive adequate light.
How often should I water my indoor carrots?
Water your carrots regularly, keeping the soil consistently moist but not waterlogged. Check the soil moisture by sticking your finger about an inch deep into the soil. If it feels dry, it’s time to water. Water deeply, allowing the water to drain out of the drainage holes. Avoid overhead watering, as it can promote fungal diseases. Instead, water at the base of the plants. Reduce watering frequency during cooler months when the plants are not actively growing.
How long does it take for carrots to grow indoors?
The time it takes for carrots to mature indoors depends on the variety and growing conditions. Generally, it takes about 60-80 days from planting to harvest. Shorter, rounder varieties tend to mature faster than longer varieties. You can start harvesting carrots when they reach the desired size. Gently loosen the soil around the carrots and pull them out carefully.
What are some common problems when growing carrots indoors and how can I prevent them?
Some common problems when growing carrots indoors include:
* **Poor germination:** Use fresh seeds and ensure the soil is consistently moist during germination.
* **Leggy growth:** Provide adequate sunlight or supplement with grow lights.
* **Root rot:** Ensure good drainage and avoid overwatering.
* **Pests:** Inspect your plants regularly for pests like aphids or spider mites. Treat infestations with insecticidal soap or neem oil.
* **Forked or misshapen roots:** Ensure the soil is loose and free of rocks or debris.
Can I grow carrots from carrot tops?
While you can’t grow a full carrot from a carrot top, you can regrow the greens. Place the carrot top in a shallow dish of water, with the cut side facing down. Keep the water level consistent and place the dish in a sunny location. After a few days, you should see new green shoots emerging from the top. You can then transplant the carrot top into a pot of soil and enjoy the fresh greens in salads or as a garnish.
How do I know when my carrots are ready to harvest?
You’ll know your carrots are ready to harvest when the tops of the carrots are visible above the soil line and have reached the desired size. Gently loosen the soil around the carrot and pull it straight up. If the carrot is difficult to pull, use a garden fork to loosen the soil further. Don’t wait too long to harvest, as overripe carrots can become woody and lose their flavor.
Can I use fertilizer when growing carrots indoors?
Yes, you can use fertilizer to promote healthy growth. Use a balanced fertilizer specifically formulated for vegetables, following the instructions on the label. Avoid over-fertilizing, as it can lead to excessive foliage growth at the expense of root development. You can also use organic fertilizers like compost tea or fish emulsion. Fertilize your carrots every 2-3 weeks during the growing season.
What are some good companion plants for carrots?
Good companion plants for carrots include:
* **Rosemary, Sage, and Thyme:** These herbs deter pests and enhance the flavor of carrots.
* **Marigolds:** Attract beneficial insects and add color to your indoor garden.
* **Onions and Garlic:** Repel carrot root flies.
* **Lettuce and Radishes:** Provide ground cover and help retain moisture in the soil.
By following these tips and tricks, you can successfully grow delicious and nutritious carrots indoors and enjoy the fruits (or rather, vegetables) of your labor all year round.

Leave a Comment