
Growing Melons at Home might seem like a challenge reserved for seasoned farmers, but I’m here to tell you it’s totally achievable, even in your own backyard! Imagine biting into a juicy, sun-ripened melon you nurtured from seed – the taste is simply unmatched. For centuries, melons have been cultivated across various cultures, from ancient Egypt where they were buried with pharaohs, to the vibrant gardens of Persia, prized for their sweetness and refreshing qualities.
But why should you bother with the effort? Well, store-bought melons often lack the intense flavor and sweetness of homegrown varieties. Plus, you have complete control over the growing process, ensuring your melons are free from harmful pesticides and chemicals. Growing Melons at Home allows you to select unique varieties that you won’t find in supermarkets, adding a touch of exotic flair to your summer meals.
This DIY guide is packed with simple, yet effective tricks and hacks to help you cultivate thriving melon plants, regardless of your gardening experience. I’ll walk you through everything from choosing the right seeds and preparing your soil, to providing the necessary support and protecting your precious fruits from pests. Get ready to transform your garden into a melon oasis and impress your friends and family with your homegrown bounty!
Growing Melons at Home: A Sweet DIY Project
Okay, melon lovers, let’s get down to business! I’m going to walk you through everything you need to know to grow juicy, delicious melons right in your own backyard. It might seem intimidating, but trust me, with a little planning and effort, you’ll be enjoying homegrown melons in no time.
Choosing Your Melon Variety
First things first, you need to decide what kind of melon you want to grow. There are so many options! Here are a few popular choices and some things to consider:
* Watermelons: These are the classic summer treat! They need a lot of space and sunshine. Consider smaller “icebox” varieties if you have limited space. Some popular choices are Sugar Baby, Crimson Sweet, and Jubilee.
* Cantaloupes: These are known for their sweet, orange flesh. They’re a bit easier to grow than watermelons and don’t require as much space. Athena and Hale’s Best Jumbo are reliable varieties.
* Honeydew Melons: These have a smooth, pale green rind and sweet, light green flesh. They’re a bit more challenging to grow than cantaloupes, but the reward is worth it! Honeycrisp and Dew Sweet are good options.
* Galia Melons: A cross between a cantaloupe and a honeydew, these melons offer a unique flavor and are relatively easy to grow.
* Personal-Sized Melons: If you’re short on space, look for varieties specifically bred to be smaller, like ‘Sugar Kiss’ cantaloupe or ‘Mini Love’ watermelon.
Things to consider when choosing:
* Your climate: Some varieties are better suited to certain climates than others. Check the seed packet or plant label for information on the best growing zones for each variety.
* Available space: Watermelons need a lot of room to sprawl, while cantaloupes and honeydews can be grown in smaller spaces.
* Days to maturity: This is the number of days it takes for the melon to ripen after planting. Choose varieties with shorter maturity times if you have a short growing season.
* Disease resistance: Look for varieties that are resistant to common melon diseases like powdery mildew and fusarium wilt.
Preparing Your Garden Bed
Melons are heavy feeders, meaning they need a lot of nutrients to grow. So, preparing your garden bed properly is crucial for success.
* Sunlight: Melons need at least 6-8 hours of direct sunlight per day. Choose a location in your garden that gets plenty of sun.
* Soil: Melons prefer well-drained, sandy loam soil with a pH of 6.0-6.8. If your soil is heavy clay, amend it with compost and other organic matter to improve drainage.
* Fertilizer: Before planting, amend your soil with plenty of compost and a slow-release fertilizer that’s high in phosphorus and potassium. These nutrients are essential for fruit development.
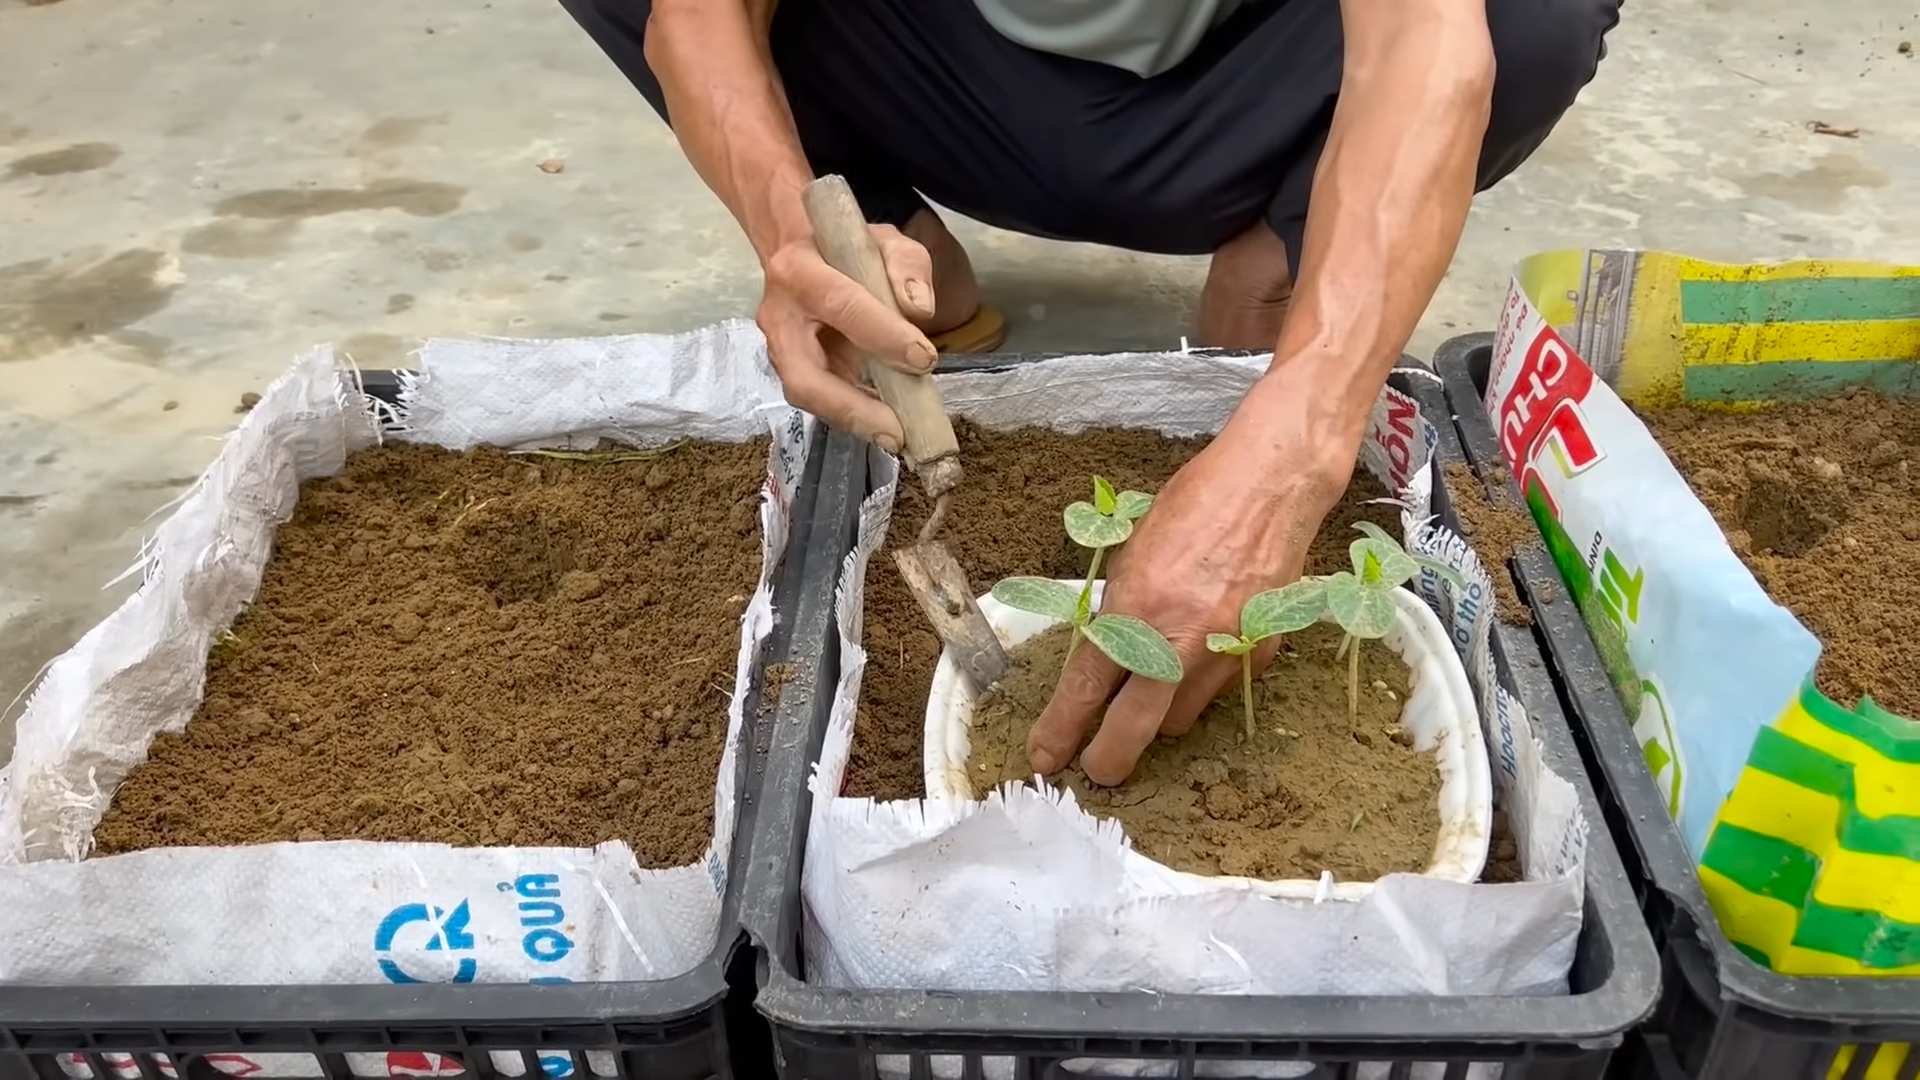
Starting Your Melon Seeds
You can either start your melon seeds indoors or direct sow them in your garden. Starting them indoors gives you a head start, especially if you have a short growing season.
Starting Seeds Indoors:
1. Timing: Start your seeds 4-6 weeks before the last expected frost in your area.
2. Containers: Use peat pots or biodegradable containers to avoid disturbing the roots when transplanting.
3. Soil: Use a seed-starting mix that’s light and well-draining.
4. Planting: Plant the seeds about 1 inch deep.
5. Watering: Keep the soil moist but not soggy.
6. Light: Provide plenty of light, either from a sunny window or a grow light.
7. Hardening Off: Before transplanting, gradually acclimate the seedlings to outdoor conditions by exposing them to increasing amounts of sunlight and wind over a period of 7-10 days.
Direct Sowing Seeds:
1. Timing: Wait until the soil has warmed to at least 70°F (21°C) before direct sowing.
2. Planting: Plant the seeds about 1 inch deep and space them according to the instructions on the seed packet.
3. Watering: Keep the soil moist until the seeds germinate.
Transplanting Melon Seedlings
Once your seedlings have developed a few true leaves and the danger of frost has passed, it’s time to transplant them into your garden.
1. Prepare the planting holes: Dig holes that are slightly larger than the root balls of your seedlings. Space the holes according to the instructions on the seed packet.
2. Add compost: Add a handful of compost to each planting hole.
3. Carefully remove the seedlings from their containers: Gently loosen the roots if they are circling the bottom of the pot.
4. Place the seedlings in the holes: Make sure the top of the root ball is level with the surrounding soil.
5. Fill in the holes with soil: Gently firm the soil around the seedlings.
6. Water thoroughly: Water the seedlings well after transplanting.
7. Mulch: Apply a layer of mulch around the plants to help retain moisture and suppress weeds. I like to use straw or shredded leaves.
Caring for Your Melon Plants
Once your melon plants are established, it’s important to provide them with the care they need to thrive.
* Watering: Melons need consistent watering, especially during fruit development. Water deeply and regularly, but avoid overwatering, which can lead to root rot. Aim for about 1-2 inches of water per week. Drip irrigation is a great way to deliver water directly to the roots.
* Fertilizing: Side-dress your melon plants with a balanced fertilizer every 2-3 weeks.
* Weeding: Keep your garden bed free of weeds, which can compete with your melon plants for nutrients and water.
* Pest control: Keep an eye out for common melon pests like aphids, squash bugs, and cucumber beetles. Handpick pests off the plants or use insecticidal soap or neem oil to control them.
* Pollination: Melons need to be pollinated in order to produce fruit. If you’re not seeing any fruit set, you may need to hand-pollinate the flowers. To do this, use a small paintbrush to transfer pollen from the male flowers to the female flowers. Female flowers have a small fruit behind the flower, while male flowers do not.
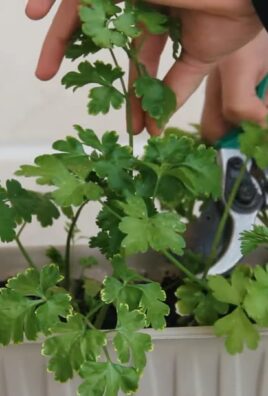
* Pruning: While not always necessary, pruning can help improve air circulation and fruit production. Remove any dead or diseased leaves and any suckers (small shoots that grow from the base of the plant).
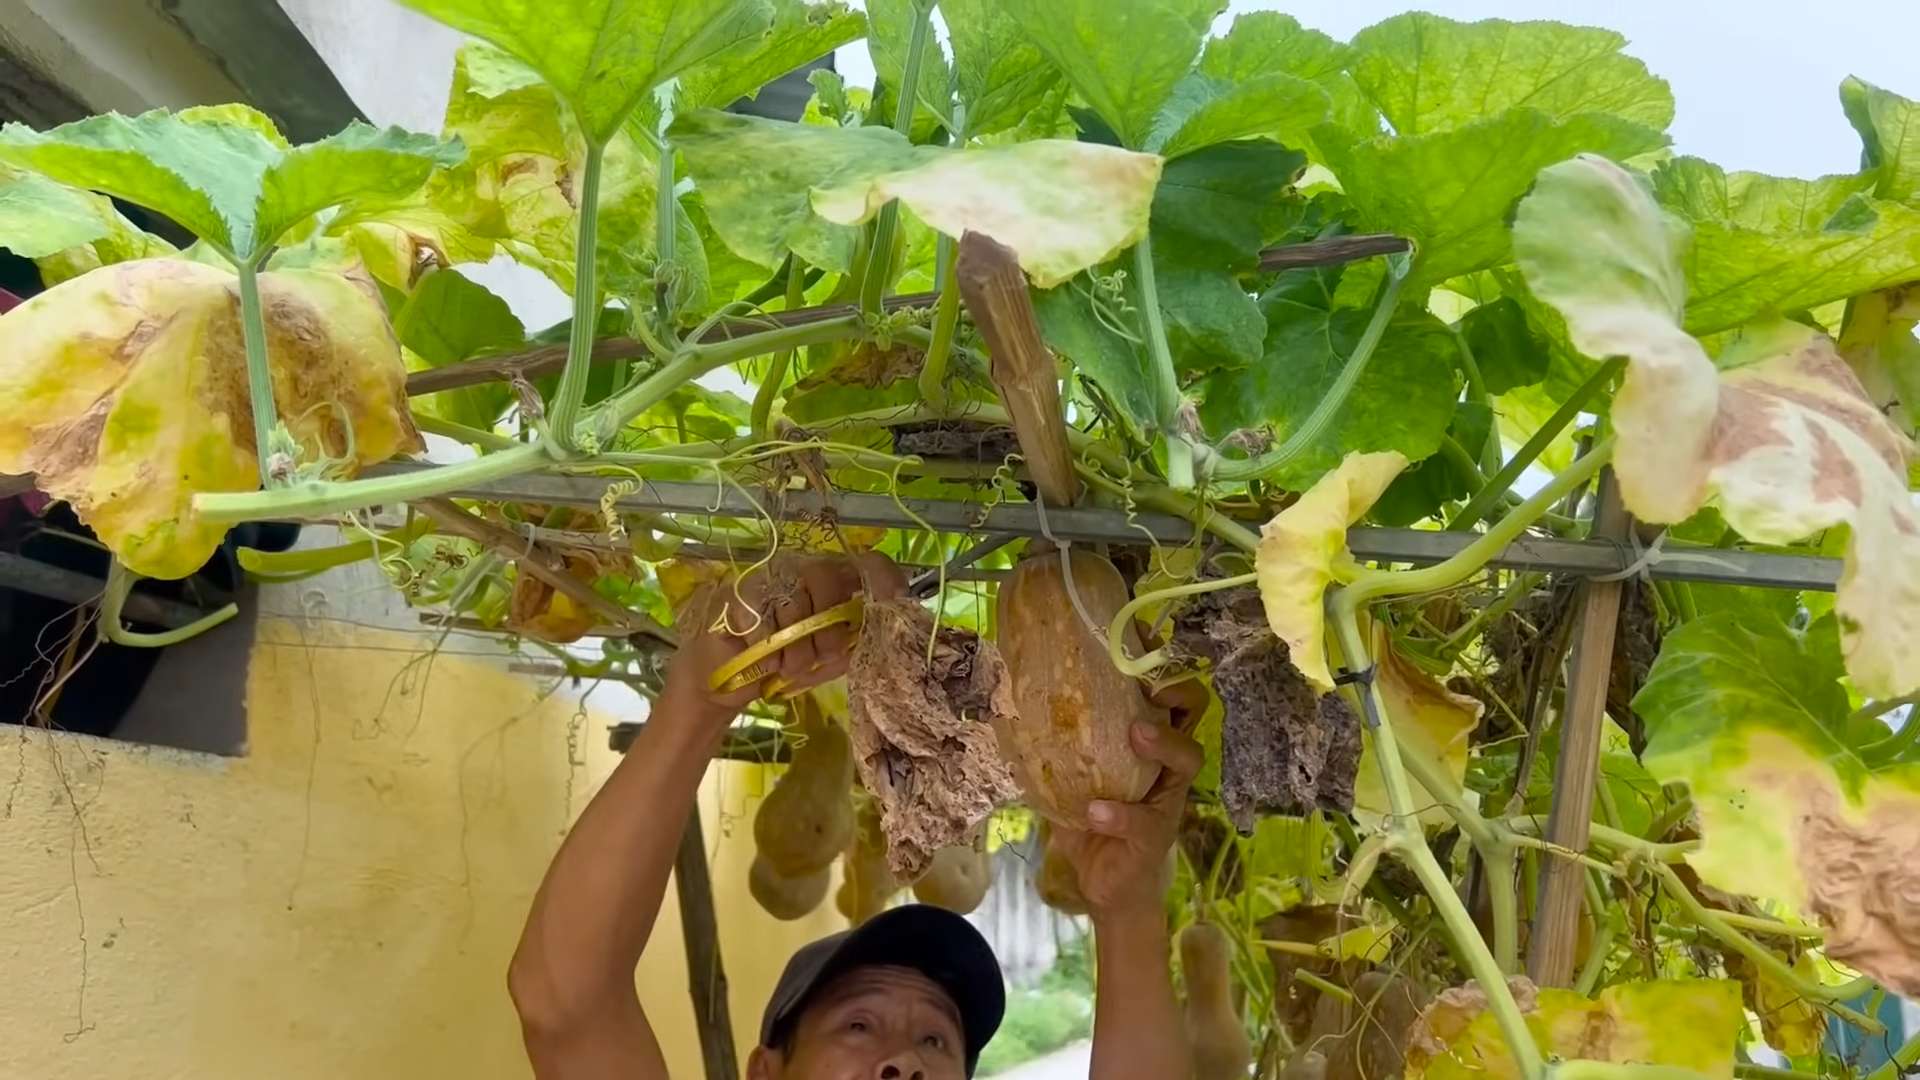
* Supporting the fruit: As the melons grow larger, you may need to support them to prevent them from rotting on the ground. You can use melon cradles, pieces of wood, or even old pantyhose to support the fruit.
Harvesting Your Melons
Knowing when to harvest your melons is key to enjoying their full flavor. Here are some tips for determining when your melons are ripe:
* Watermelons: Look for a dull, rather than shiny, rind. The spot where the melon rests on the ground (the “ground spot”) should be yellow or cream-colored. Thump the melon – a ripe watermelon will sound hollow. The tendril closest to the melon should be brown and dry.
* Cantaloupes: The melon should slip easily from the vine with a gentle tug. The rind should be a golden color and have a sweet aroma.
* Honeydew Melons: The rind should be a creamy yellow color and feel slightly waxy. The blossom end (the opposite end from the stem) should be slightly soft.
* Galia Melons: The rind will turn from green to yellow, and the melon will have a fragrant aroma.
Once you’ve harvested your melons, store them in a cool, dry place. Watermelons can be stored for up to two weeks, while cantaloupes and honeydews should be eaten within a few days.
Troubleshooting Common Problems
Even with the best care, you may encounter some problems when growing melons. Here are a few common issues and how to address them:
* Powdery mildew: This fungal disease causes a white, powdery coating on the leaves. Improve air circulation by pruning the plants and avoid overhead watering. You can also treat powdery mildew with a fungicide.
* Fusarium wilt: This fungal disease causes the plants to wilt and die. Choose disease-resistant varieties and practice crop rotation to prevent fusarium wilt.
* Aphids: These small, sap-sucking insects can weaken your plants. Spray aphids with insecticidal soap or neem oil.
* Squash bugs: These pests can damage the leaves and stems of your melon plants. Handpick
Conclusion
So, there you have it! Growing melons at home, while it might seem daunting at first, is absolutely achievable with a little planning, patience, and this simple DIY trick. We’ve walked you through the process, highlighting the key steps and providing insights that will significantly increase your chances of a bountiful harvest.
Why is this DIY trick a must-try? Because it addresses one of the most common challenges faced by home gardeners: providing the consistent warmth and protection that melons crave, especially in regions with shorter growing seasons or unpredictable weather. By creating a mini-greenhouse environment around your developing melons, you’re essentially giving them a head start and shielding them from potential setbacks like sudden temperature drops, pests, and excessive moisture that can lead to rot. This method isn’t just about convenience; it’s about maximizing your yield and enjoying the sweet, juicy reward of your labor.
But don’t feel limited to the exact materials and dimensions we’ve outlined. Feel free to experiment! For smaller melon varieties like cantaloupe or personal-sized watermelons, you might find that smaller containers or even repurposed plastic bottles work just as well. Consider using different types of clear plastic or even glass cloches, keeping in mind the importance of ventilation to prevent overheating. If you live in a particularly windy area, you might want to anchor your DIY melon protectors with stakes or weights to prevent them from being blown away.
Another variation to consider is the addition of a layer of mulch around the base of your melon plants. This will help to retain moisture in the soil, suppress weeds, and further regulate soil temperature. Organic mulches like straw or shredded leaves are excellent choices.
We wholeheartedly encourage you to try this DIY trick for growing melons at home. It’s a rewarding experience that connects you with nature and allows you to enjoy the unparalleled flavor of homegrown produce. The satisfaction of biting into a perfectly ripe, juicy melon that you nurtured from seed is truly unmatched.
Don’t be afraid to get your hands dirty and embrace the learning process. Gardening is all about experimentation and adapting to your specific environment. And most importantly, don’t forget to share your experiences with us! We’d love to hear about your successes, challenges, and any modifications you make to the DIY trick. Post photos of your melon patch, share your tips, and inspire other gardeners to embark on their own melon-growing adventures. Let’s create a community of passionate melon enthusiasts!
Remember, the key to successful melon growing is consistent care and attention. Monitor your plants regularly, water them deeply but infrequently, and provide them with the nutrients they need to thrive. With a little effort and this helpful DIY trick, you’ll be enjoying delicious, homegrown melons in no time. Happy gardening!
Frequently Asked Questions (FAQ)
What type of melons does this DIY trick work best for?
This DIY trick is beneficial for a wide variety of melons, including watermelons, cantaloupes, honeydews, and even smaller varieties like Galia melons. The key is to adjust the size of your protective structure to accommodate the specific melon you’re growing. For larger watermelons, you’ll need a more substantial and spacious enclosure. For smaller melons, you can use smaller containers or even repurposed plastic bottles. The principle remains the same: providing warmth, protection, and promoting faster growth.
How often should I ventilate the DIY melon protector?
Ventilation is crucial to prevent overheating and excessive humidity, which can lead to fungal diseases. The frequency of ventilation depends on the weather conditions. On sunny days, you’ll need to ventilate more frequently, perhaps for several hours each day. On cloudy or cooler days, less ventilation is required. A good rule of thumb is to monitor the temperature inside the protector. If it gets excessively hot (above 90°F or 32°C), open the vents wider or for a longer period. You can also use a small thermometer inside the protector to monitor the temperature accurately.
What if I don’t have access to clear plastic sheeting? Are there alternatives?
Yes, there are several alternatives to clear plastic sheeting. You can use clear plastic containers, such as large storage bins with the bottoms cut out. Glass cloches or bell jars also work well, but be mindful of the potential for overheating in direct sunlight. You can also use row covers made of lightweight fabric, although these will provide less warmth than plastic. The most important factor is to choose a material that allows sunlight to penetrate while providing some degree of protection from the elements.
How do I prevent pests from getting inside the DIY melon protector?
While the DIY protector offers some protection from pests, it’s not foolproof. To further deter pests, you can use organic pest control methods such as companion planting (e.g., planting marigolds near your melons), applying neem oil, or using insecticidal soap. Regularly inspect your melon plants for signs of pests and take action promptly. You can also use netting to cover the openings of the protector, but be sure to allow for adequate ventilation.
When should I remove the DIY melon protector completely?
The timing of when to remove the protector depends on the weather conditions and the maturity of your melons. Generally, you can remove it once the melons have reached a significant size and the weather has consistently warmed up. This is typically when nighttime temperatures are consistently above 60°F (15°C). However, you may want to keep the protector in place longer if you’re expecting a late-season frost or if you live in an area with a short growing season. Observe your melon plants closely and make adjustments as needed.
Can I use this DIY trick for other plants besides melons?
Absolutely! This DIY trick can be adapted for other heat-loving plants, such as peppers, tomatoes, and eggplants. The principle is the same: providing a warmer microclimate to promote faster growth and protect against cold snaps. Just adjust the size and design of the protector to suit the specific needs of the plant.
How do I know when my melons are ripe?
Determining when a melon is ripe can be tricky, but there are a few telltale signs to look for. For watermelons, look for a dull rind, a yellowish spot on the underside where it rested on the ground, and a hollow sound when you thump it. For cantaloupes, look for a sweet aroma, a stem that slips easily from the vine, and a slightly softened blossom end. For honeydews, look for a creamy yellow color and a slightly waxy feel. Experience is the best teacher, so don’t be afraid to experiment and learn from your mistakes.
What type of soil is best for growing melons?
Melons thrive in well-drained, fertile soil that is rich in organic matter. Amend your soil with compost or well-rotted manure before planting to improve its structure and fertility. Melons also prefer a slightly acidic to neutral soil pH (between 6.0 and 7.0). You can test your soil pH with a soil testing kit and adjust it accordingly.
How much water do melons need?
Melons need consistent watering, especially during fruit development. Water deeply but infrequently, allowing the soil to dry out slightly between waterings. Avoid overhead watering, as this can promote fungal diseases. Drip irrigation or soaker hoses are excellent options for delivering water directly to the roots of your melon plants.
What kind of fertilizer should I use for melons?
Melons benefit from regular fertilization throughout the growing season. Use a balanced fertilizer with a ratio of 10-10-10 or 14-14-14. You can also use organic fertilizers such as compost tea or fish emulsion. Apply fertilizer according to the package directions. Avoid over-fertilizing, as this can lead to excessive vegetative growth and reduced fruit production.
Leave a Comment