
Growing Melons in Small Spaces might seem like an impossible dream, conjuring images of sprawling vines devouring your entire balcony. But fear not, fellow gardening enthusiasts! I’m here to tell you that juicy, homegrown melons are absolutely within reach, even if you’re working with a limited area. For centuries, cultures around the globe have cherished melons, from the ancient Egyptians who depicted them in their artwork to the Chinese who associate them with prosperity and good fortune.
Now, you might be thinking, “Why bother trying to grow melons in a small space? Isn’t it too much trouble?” Well, imagine biting into a sun-ripened cantaloupe you nurtured yourself, the sweet juice dripping down your chin. That unparalleled flavor and satisfaction are worth the effort! Plus, learning how to maximize your small garden space is a valuable skill, allowing you to enjoy fresh, healthy produce regardless of your living situation. This DIY guide will equip you with the essential tricks and hacks to successfully growing melons in small spaces, transforming your balcony, patio, or even a sunny windowsill into a miniature melon paradise. Get ready to roll up your sleeves and discover the secrets to a bountiful harvest!
Growing Melons in Small Spaces: A DIY Vertical Trellis Guide
Hey there, fellow gardening enthusiasts! Dreaming of juicy, homegrown melons but short on space? Don’t worry, I’ve got you covered! You don’t need acres of land to enjoy the sweet taste of summer. With a little ingenuity and a vertical trellis, you can grow melons even in the tiniest of gardens, balconies, or patios. I’m going to walk you through building a simple, yet effective, DIY melon trellis and give you some tips for successful vertical melon growing. Let’s get started!
Choosing the Right Melon Variety
Before we dive into building the trellis, it’s crucial to select melon varieties that are well-suited for vertical growing. Smaller melon types are your best bet. Think about these options:
* Cantaloupe (smaller varieties): Look for varieties like ‘Minnesota Midget’ or ‘Sugar Baby’. These are compact and produce smaller, manageable fruits.
* Watermelon (bush or dwarf varieties): ‘Bush Sugar Baby’ or ‘Golden Midget’ are excellent choices. They produce smaller watermelons on shorter vines.
* Honeydew (smaller varieties): ‘Honey Gold’ is a good option for a smaller honeydew melon.
* Other Melons: Consider Galia melons, which are often smaller and easier to manage on a trellis.
Remember, even smaller melons can get heavy, so a sturdy trellis and proper support are essential.
Materials You’ll Need
Here’s a list of the materials you’ll need to build your DIY melon trellis. I’ve tried to keep it simple and affordable:
* Wooden Posts (4): 4×4 lumber, about 6-8 feet long. The length will depend on how tall you want your trellis to be. I recommend treating the wood to prevent rot if you plan on using it for multiple seasons.
* Wooden Boards (for the frame): 2×4 lumber, enough to create a rectangular frame connecting the posts. The size of the frame will depend on the space you have available. I usually go for a 4ft x 6ft frame.
* Heavy-Duty Mesh or Netting: This will be the climbing surface for your melon vines. You can use plastic netting, metal mesh, or even strong garden twine woven into a grid. Make sure the holes are large enough for you to easily reach through to support the melons.
* Screws or Nails: For assembling the wooden frame. I prefer screws for their added strength.
* Staple Gun: To attach the mesh or netting to the wooden frame.
* Measuring Tape: For accurate measurements.
* Saw: To cut the lumber to the desired lengths.
* Drill: For pre-drilling holes and driving screws.
* Gloves: To protect your hands.
* Safety Glasses: Always a good idea when working with power tools.
* Planting Containers (if needed): Large pots or raised beds for planting your melon seedlings.
* Melon Supports (optional): Fabric slings, pantyhose, or mesh bags to support the developing melons.
Building Your DIY Melon Trellis: Step-by-Step
Alright, let’s get our hands dirty and build this trellis!
1. Prepare the Wooden Posts: Cut the wooden posts to the desired length. If you’re using untreated wood, consider applying a wood preservative to protect it from the elements. This will extend the life of your trellis.
2. Assemble the Frame: Cut the 2×4 lumber to create a rectangular frame that will connect the posts. The size of the frame will depend on the space you have available. I recommend a 4ft x 6ft frame for a good balance of space and stability.
3. Attach the Frame to the Posts: Position the frame around the posts, ensuring the posts are evenly spaced. Use screws or nails to securely attach the frame to the posts. Pre-drilling holes will prevent the wood from splitting. I usually use two or three screws per connection for extra strength.
4. Bury the Posts (or Secure to Containers): This step depends on whether you’re planting directly in the ground or using containers.
* In-Ground Planting: Dig holes for the posts, making sure they are deep enough to provide stability. I recommend burying at least 2 feet of the post in the ground. Place the trellis in the holes and backfill with soil, tamping it down firmly.
* Container Planting: If you’re using containers, you’ll need to secure the posts to the containers. You can do this by using metal brackets or by embedding the posts in concrete inside the containers. Make sure the containers are large and heavy enough to support the weight of the trellis and the melon vines.
5. Attach the Mesh or Netting: Once the frame is securely in place, it’s time to attach the mesh or netting. Use a staple gun to attach the mesh to the wooden frame, pulling it taut as you go. Make sure the mesh is securely attached to prevent it from sagging under the weight of the melon vines. I like to overlap the mesh slightly at the edges for added strength.
6. Reinforce the Trellis (Optional): For added stability, you can add diagonal braces to the trellis. These can be made from 2×4 lumber and attached to the posts and frame with screws. This is especially helpful if you’re growing heavier melon varieties.
Planting Your Melons
Now that your trellis is built, it’s time to plant your melon seedlings!
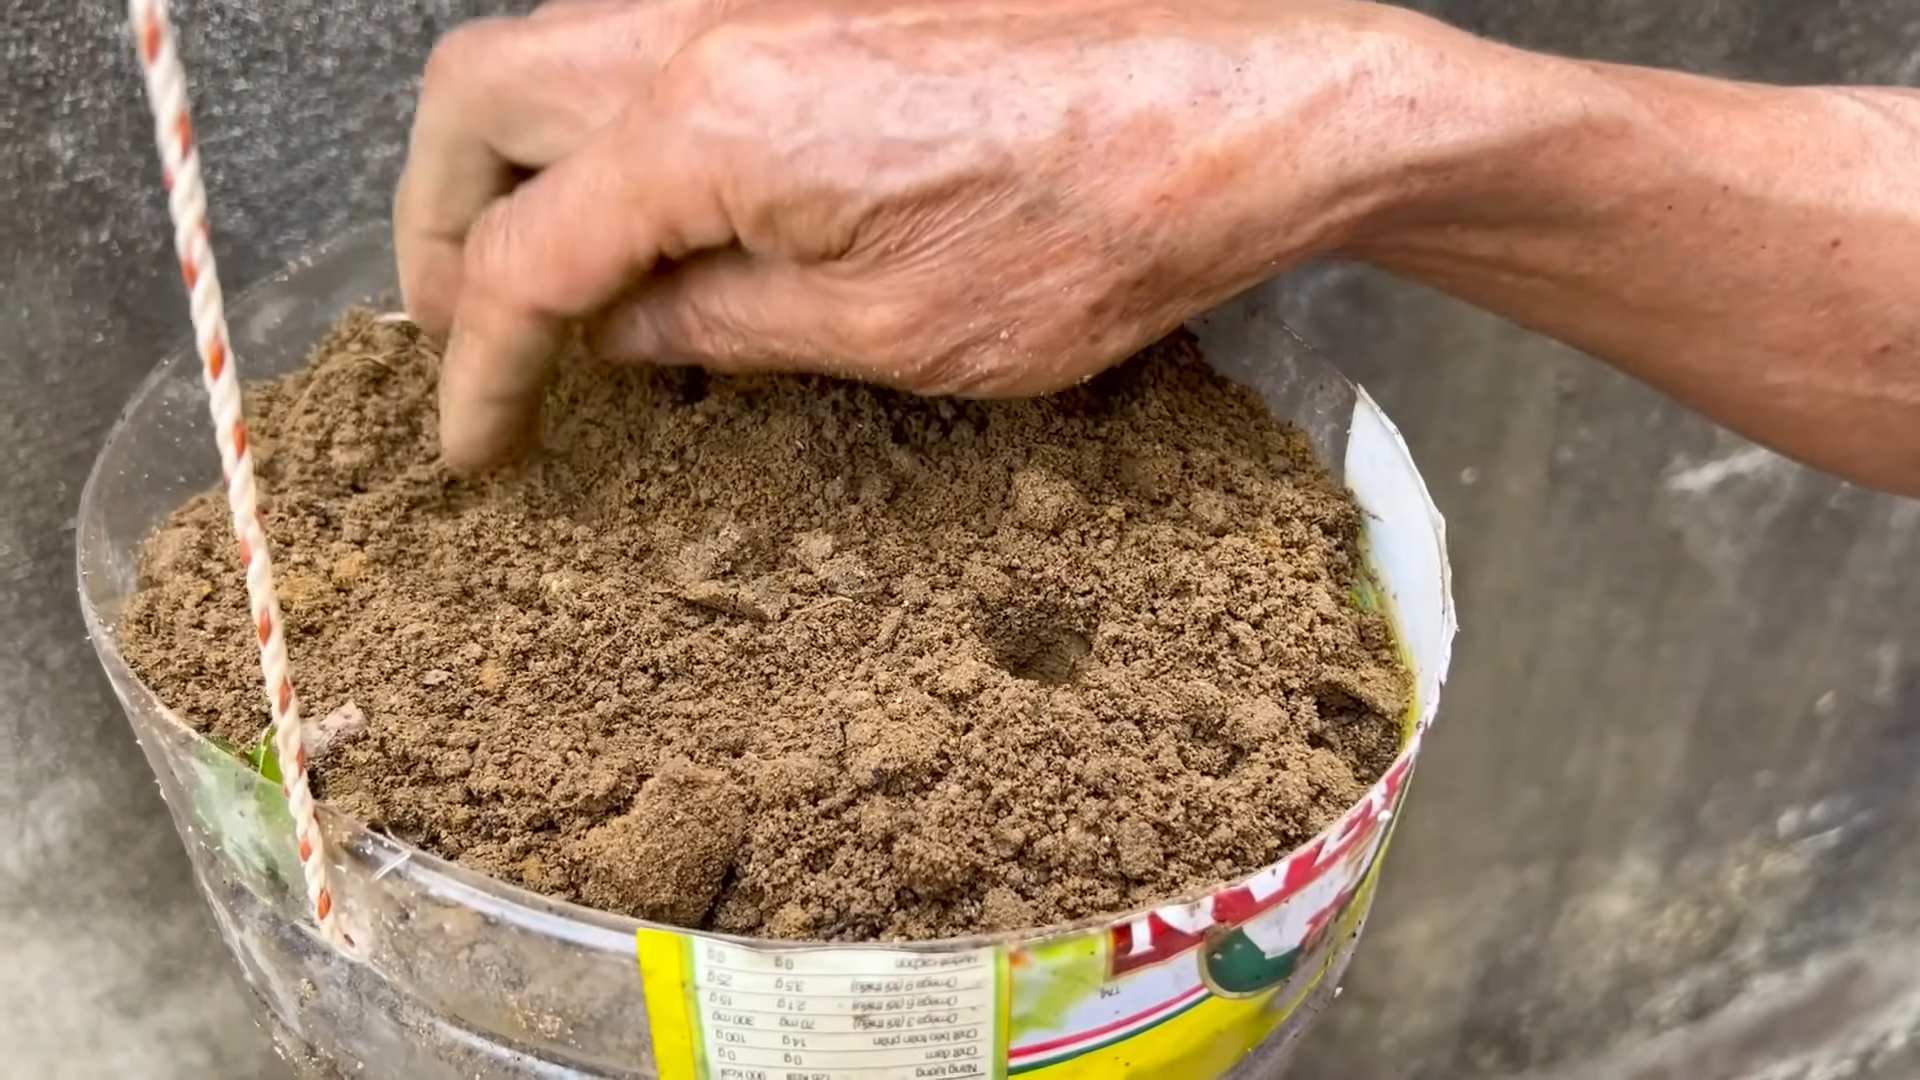
1. Prepare the Soil: Melons need well-drained, fertile soil. Amend your soil with compost or other organic matter to improve drainage and fertility. If you’re using containers, use a high-quality potting mix.
2. Plant the Seedlings: Plant your melon seedlings at the base of the trellis, spacing them according to the variety’s recommendations. I usually plant them about 12-18 inches apart.
3. Water Thoroughly: Water the seedlings thoroughly after planting.
4. Mulch: Apply a layer of mulch around the base of the plants to help retain moisture and suppress weeds.
Training Your Melon Vines
Training your melon vines to climb the trellis is essential for successful vertical growing.
1. Guide the Vines: As the vines grow, gently guide them up the trellis, weaving them through the mesh or netting. You may need to use plant ties to secure the vines to the trellis initially.
2. Prune as Needed: Prune away any excessive growth or side shoots to encourage the plant to focus its energy on producing fruit.
3. Provide Support for the Melons: As the melons develop, they will need additional support to prevent them from breaking off the vine. You can use fabric slings, pantyhose, or mesh bags to support the melons. Simply tie the slings or bags to the trellis, cradling the melons as they grow. I’ve found that old t-shirts work great for this!
Caring for Your Vertical Melons
Here are some tips for caring for your vertical melons:
* Watering: Melons need consistent watering, especially during hot weather. Water deeply and regularly, but avoid overwatering, which can lead to root rot.
* Fertilizing: Feed your melon plants with a balanced fertilizer every few weeks to provide them with the nutrients they need to grow and produce fruit.
* Pest and Disease Control: Monitor your plants regularly for pests and diseases. Common melon pests include aphids, squash bugs, and vine borers. Treat any infestations promptly with appropriate insecticides or organic pest control methods.
* Sunlight: Melons need at least 6-8 hours of sunlight per day. Make sure your trellis is located in a sunny spot.
* Pollination: Melons require pollination to produce fruit. If you’re not seeing any fruit developing, you may need to hand-pollinate the flowers. To do this, use a small paintbrush to transfer pollen from the male flowers to the female flowers. Female flowers have a small swelling at the base of the flower, which will eventually become the melon.
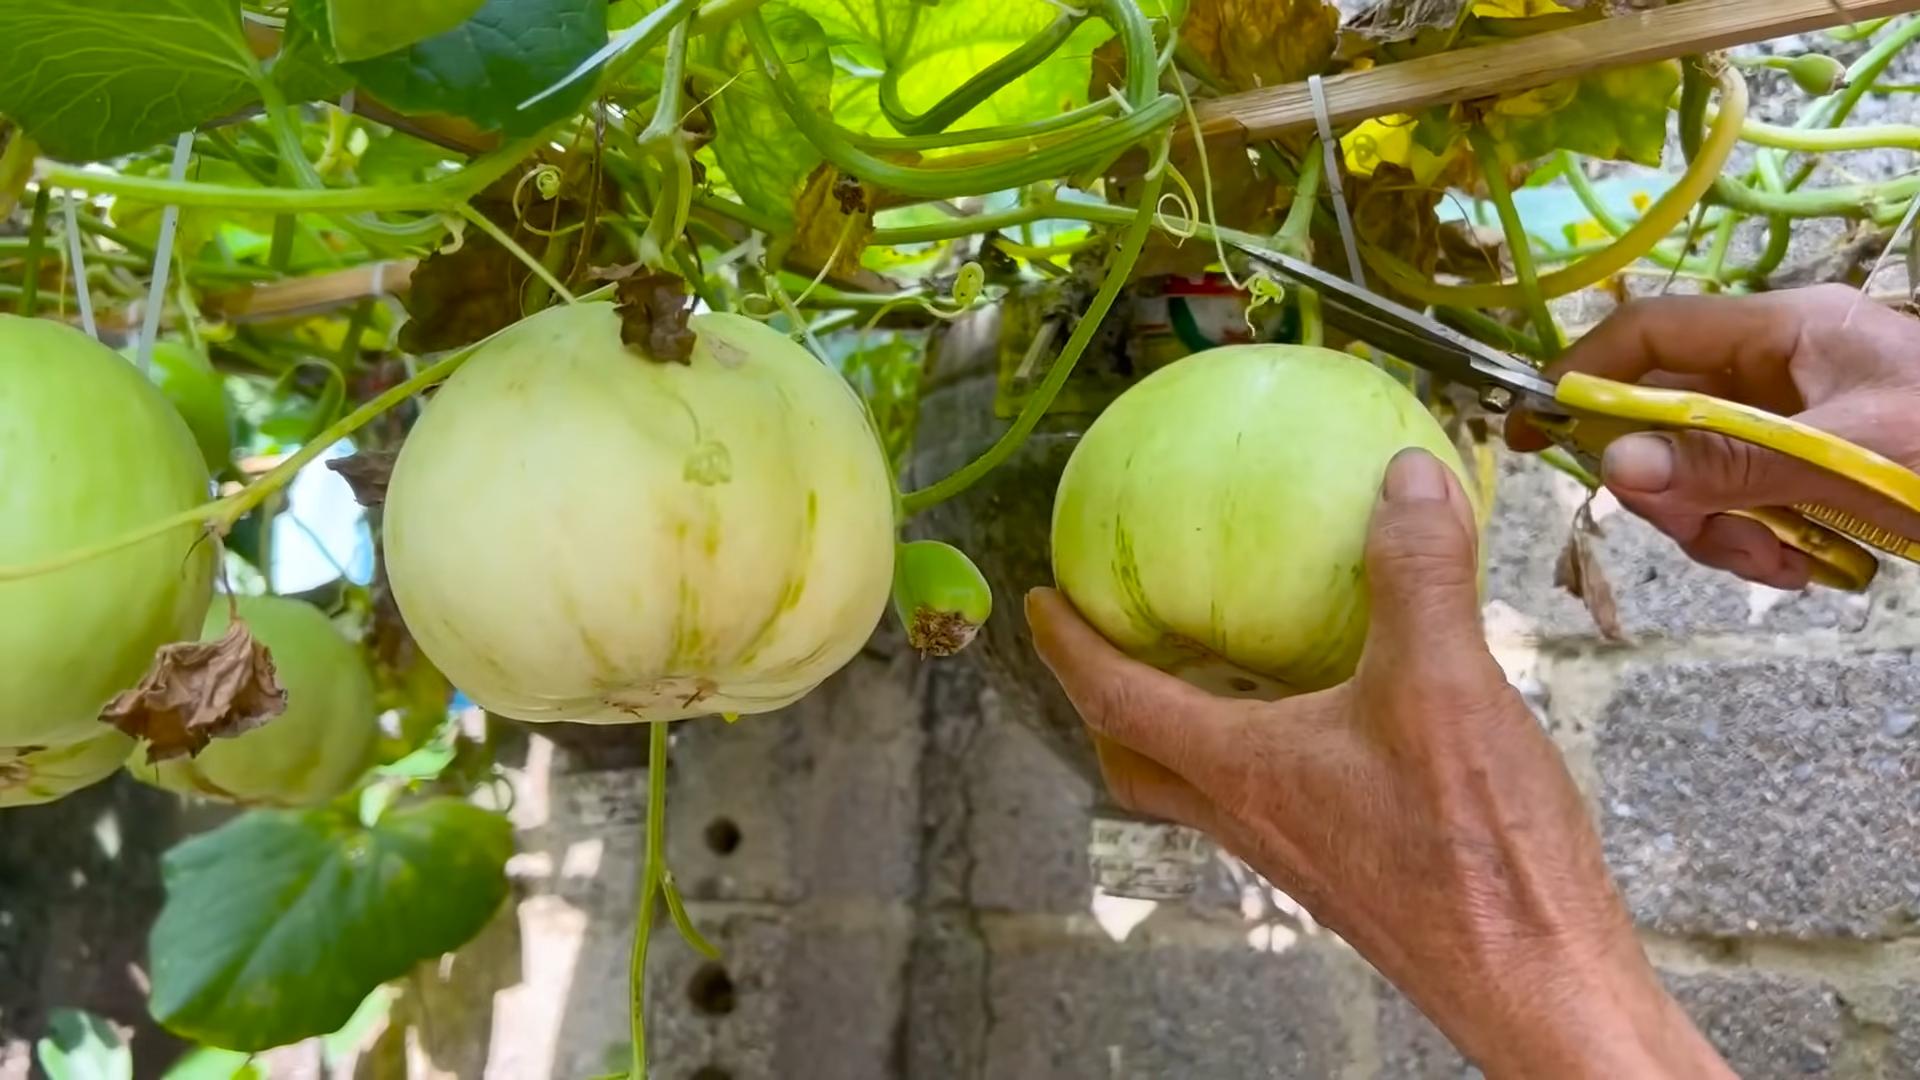
Harvesting Your Melons
Harvesting your melons at the right time is crucial for enjoying their full flavor and sweetness.
* Cantaloupe: Cantaloupes are ripe when the stem slips easily from the fruit with a gentle tug. The skin will also turn a golden color and have a fragrant aroma.
* Watermelon: Watermelons are ripe when the tendril closest to the fruit turns brown and dry. The underside of the melon (where it rests on the ground) will also turn a creamy yellow color. You can also thump the melon; a ripe watermelon will have a deep, hollow sound.
* Honeydew: Honeydews are ripe when the skin turns a creamy yellow color and the blossom end is slightly soft to the touch.
Once your melons are ripe, harvest them carefully and enjoy the fruits
Conclusion
So, there you have it! Growing melons in small spaces might seem like an impossible dream, but with a little ingenuity and these simple DIY tricks, you can absolutely cultivate your own sweet, juicy harvest, even if you’re limited to a balcony, patio, or tiny backyard. We’ve covered everything from choosing the right melon varieties to creating a supportive trellis system and hand-pollinating your precious blooms.
Why is this DIY approach a must-try? Because it empowers you to enjoy the unparalleled flavor of homegrown melons, bursting with sunshine and ripened to perfection on the vine. Store-bought melons simply can’t compare to the taste and satisfaction of nurturing your own from seed to fruit. Plus, you’ll be reducing your carbon footprint by minimizing transportation and supporting sustainable gardening practices.
But the benefits extend beyond just the taste. Gardening, in general, is incredibly therapeutic. It’s a chance to connect with nature, de-stress, and witness the miracle of life unfolding before your eyes. Growing melons, in particular, offers a unique challenge and reward, as you carefully tend to these demanding but ultimately gratifying plants.
Now, let’s talk about variations and suggestions. Feel free to experiment with different melon varieties suited to your climate and taste preferences. Consider trying smaller, bush-type melons like ‘Sugar Baby’ watermelon or ‘Minnesota Midget’ cantaloupe. You can also adapt the trellis system to fit your specific space and needs. Perhaps a simple A-frame trellis or even a sturdy tomato cage would work well for you.
Don’t be afraid to get creative with your container choices, too. While large pots are ideal, you can also repurpose old buckets, tubs, or even grow bags. Just make sure they have adequate drainage and are large enough to accommodate the melon’s root system.
And speaking of soil, remember that melons are heavy feeders. Supplement your potting mix with plenty of compost and organic fertilizer to ensure they receive the nutrients they need to thrive. Regular watering is also crucial, especially during hot, dry spells.
Finally, remember that growing melons in small spaces is a learning process. Don’t be discouraged if you encounter challenges along the way. Every season is an opportunity to learn and improve your techniques. The most important thing is to have fun and enjoy the journey!
We wholeheartedly encourage you to give this DIY trick a try. Imagine biting into a perfectly ripe, homegrown melon that you nurtured from seed to table. It’s an experience you won’t soon forget.
So, grab your seeds, gather your supplies, and get ready to embark on your melon-growing adventure! And most importantly, please share your experiences with us. We’d love to hear about your successes, challenges, and any tips or tricks you discover along the way. Post photos of your melon plants, share your favorite recipes, and let’s create a community of small-space melon growers! Let’s prove that even with limited space, we can all enjoy the sweet taste of homegrown goodness. Remember, successful **growing melons** is within your reach!
Frequently Asked Questions (FAQ)
1. What are the best melon varieties for small spaces?
Choosing the right variety is crucial for success when space is limited. Look for bush-type or dwarf varieties that don’t require extensive vining. Some excellent options include:
* **Sugar Baby Watermelon:** A compact watermelon that produces small, sweet fruits.
* **Minnesota Midget Cantaloupe:** A small, early-maturing cantaloupe perfect for containers.
* **Bush Sugar Baby Watermelon:** An even more compact version of the Sugar Baby, ideal for very small spaces.
* **Jenny Lind Melon:** A unique, turban-shaped melon with a sweet, aromatic flavor.
* **Tigger Melon:** A visually striking melon with orange stripes and a sweet, mild taste.
Always check the seed packet or plant label for information on vine length and space requirements before making your selection.
2. How large of a container do I need for growing melons?
Melons require a substantial amount of space for their root systems to develop properly. A general rule of thumb is to use a container that is at least 24 inches in diameter and 12 inches deep. The larger the container, the better, as it will provide more room for the roots to grow and help retain moisture.
Consider using containers made from durable materials like plastic, terracotta, or wood. Make sure the container has adequate drainage holes to prevent waterlogging, which can lead to root rot.
3. What type of soil is best for growing melons in containers?
Melons thrive in well-draining, nutrient-rich soil. A good potting mix for container-grown melons should consist of a blend of:
* **Compost:** Provides essential nutrients and improves soil structure.
* **Peat moss or coco coir:** Helps retain moisture and aerate the soil.
* **Perlite or vermiculite:** Improves drainage and prevents soil compaction.
You can also add a slow-release fertilizer to the potting mix to provide a steady supply of nutrients throughout the growing season. Avoid using garden soil in containers, as it can become compacted and poorly drained.
4. How often should I water my melon plants?
Melons require consistent watering, especially during hot, dry weather. Water deeply and regularly, aiming to keep the soil consistently moist but not waterlogged. Check the soil moisture level daily by sticking your finger into the soil. If the top inch feels dry, it’s time to water.
Avoid overhead watering, as it can promote fungal diseases. Instead, water at the base of the plant, using a watering can or soaker hose. Mulching around the base of the plant can also help retain moisture and suppress weeds.
5. How do I hand-pollinate my melon flowers?
Melons have separate male and female flowers. If you’re not seeing any fruit development, it may be necessary to hand-pollinate the flowers. Here’s how:
* **Identify the male and female flowers:** Male flowers have a long, slender stem, while female flowers have a small, immature fruit at the base.
* **Collect pollen from the male flower:** Use a small paintbrush or cotton swab to gently collect pollen from the male flower’s stamen.
* **Transfer the pollen to the female flower:** Gently brush the pollen onto the stigma of the female flower.
* **Repeat the process:** Hand-pollinate several female flowers each day to increase your chances of success.
The best time to hand-pollinate is in the morning, when the flowers are fully open and the pollen is most viable.
6. How do I know when my melons are ripe?
Determining when a melon is ripe can be tricky, but here are a few indicators to look for:
* **Color change:** The rind of the melon will typically change color as it ripens. For example, watermelons may develop a duller, less shiny appearance, while cantaloupes may turn from green to tan.
* **Stem slip:** The stem connecting the melon to the vine will begin to dry out and crack. In some cases, the melon will easily slip off the vine when it’s ripe.
* **Sound:** When you tap on a ripe watermelon, it should sound hollow and deep.
* **Aroma:** Ripe cantaloupes will have a sweet, musky aroma.
* **Tendril:** The tendril closest to the melon should be brown and dried.
It’s best to use a combination of these indicators to determine when your melons are ripe.
7. How do I protect my melon plants from pests and diseases?
Melon plants can be susceptible to various pests and diseases. Here are some tips for protecting your plants:
* **Choose disease-resistant varieties:** Select melon varieties that are known to be resistant to common diseases like powdery mildew and fusarium wilt.
* **Provide good air circulation:** Space your plants adequately to allow for good air circulation, which can help prevent fungal diseases.
* **Water properly:** Avoid overhead watering and water at the base of the plant to prevent fungal diseases.
* **Monitor for pests:** Regularly inspect your plants for pests like aphids, squash bugs, and cucumber beetles.
* **Use organic pest control methods:** If you find pests, try using organic pest control methods like insecticidal soap, neem oil, or diatomaceous earth.
* **Remove diseased leaves:** If you notice any leaves with signs of disease, remove them promptly to prevent the spread of the disease.
8. Can I grow melons indoors?
While it’s possible to grow melons indoors, it can be challenging. Melons require a lot of sunlight, so you’ll need to provide supplemental lighting with grow lights. You’ll also need to hand-pollinate the flowers, as there won’t be any bees or other pollinators indoors.
If you’re determined to grow melons indoors, choose a small, bush-type variety and provide it with plenty of light, water, and nutrients.
9. How long does it take for melons to mature?
The time it takes for melons to mature depends on the variety and growing conditions. Generally, melons take between 70 and 90 days to mature from seed to harvest. Some early-maturing varieties may be ready in as little as 60


Leave a Comment