
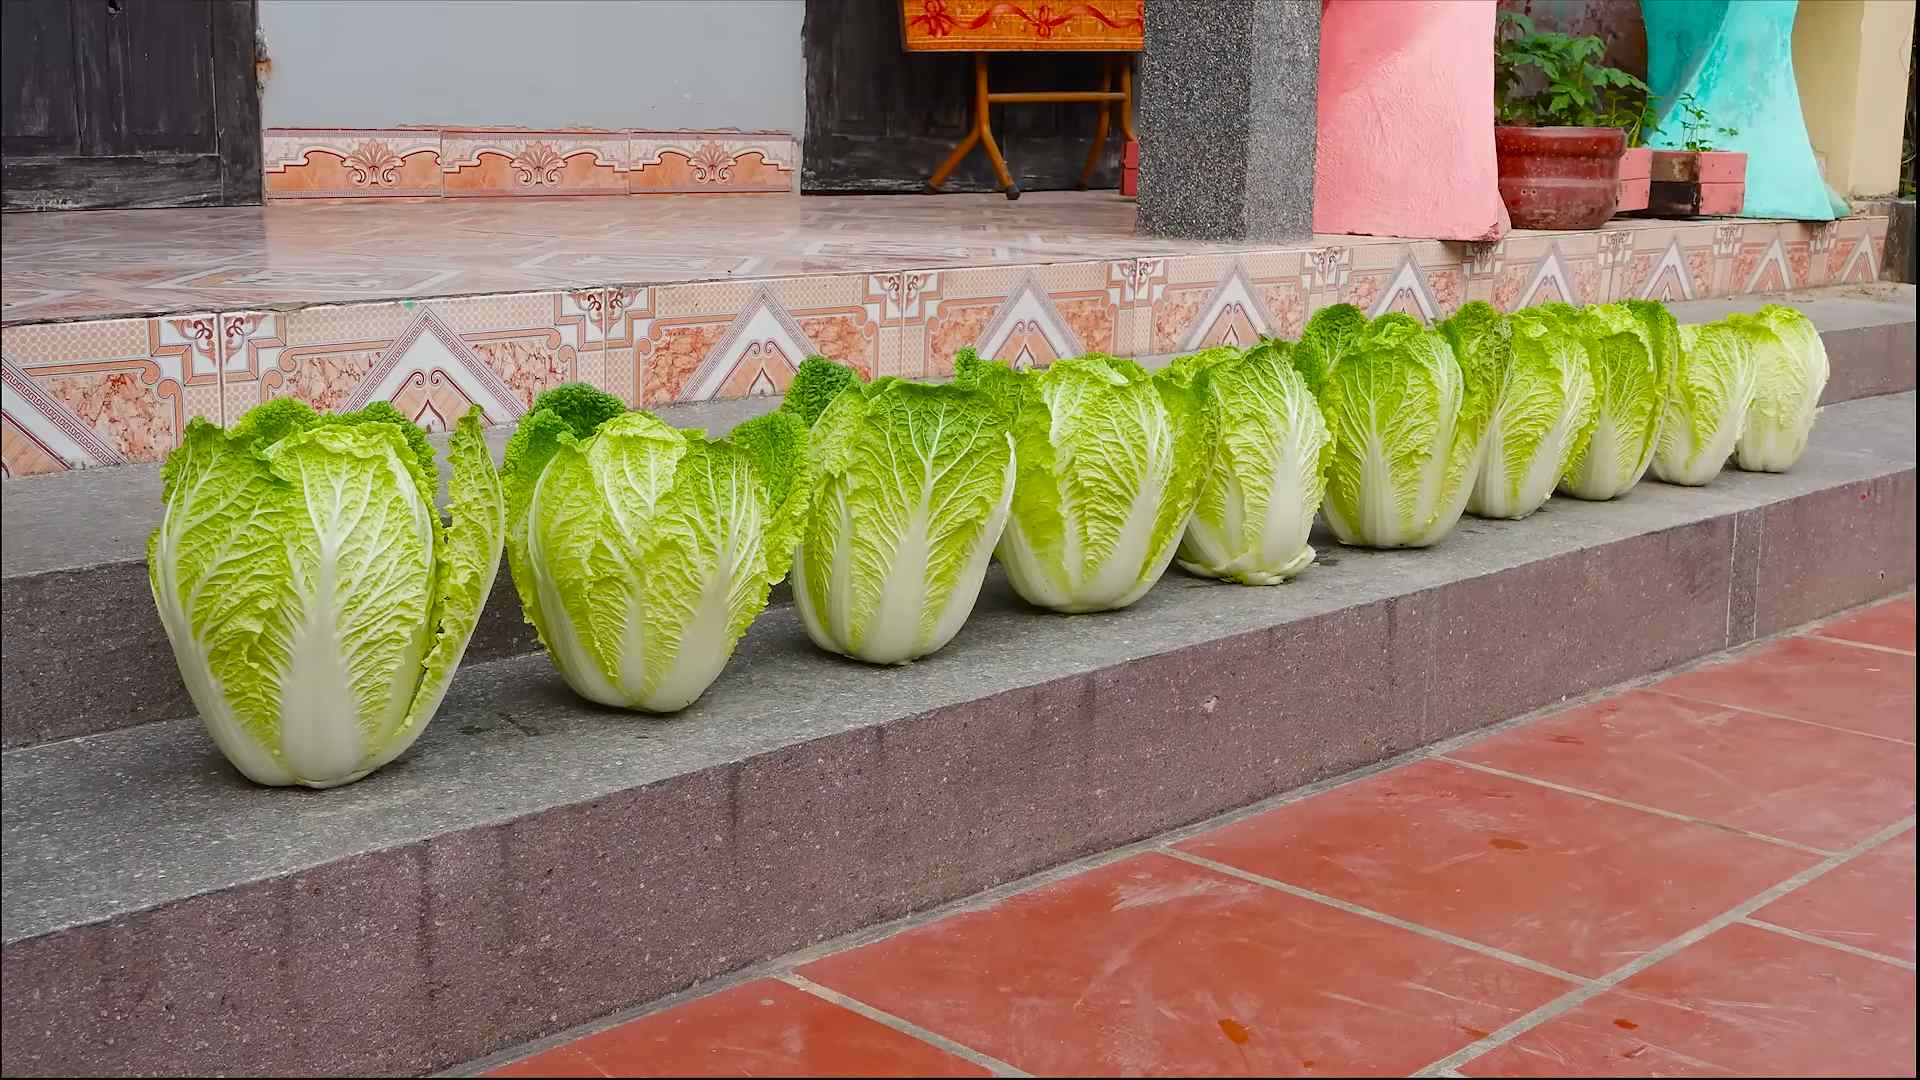
Growing Napa Cabbage Indoors might sound like a challenge reserved for seasoned gardeners, but trust me, it’s totally achievable, even if you’re just starting out! Have you ever dreamt of enjoying fresh, crisp Napa cabbage straight from your own home, regardless of the season? Well, dream no more! This DIY guide is packed with simple, effective tricks to help you cultivate this delicious vegetable right on your windowsill or under grow lights.
Napa cabbage, also known as Chinese cabbage, has a rich history rooted in East Asian cuisine. For centuries, it’s been a staple ingredient in dishes like kimchi and stir-fries, prized for its mild flavor and crunchy texture. But you don’t need to travel to Asia to enjoy its goodness.
In today’s world, where access to fresh produce can sometimes be limited or expensive, growing Napa cabbage indoors offers a fantastic solution. It’s a rewarding way to connect with nature, reduce your grocery bills, and enjoy the satisfaction of harvesting your own food. Plus, it’s a fun and educational activity for the whole family! So, let’s dive in and discover the secrets to successfully growing Napa cabbage indoors, transforming your home into a mini-garden of deliciousness!
Growing Napa Cabbage Indoors: A Step-by-Step Guide
Hey there, fellow gardening enthusiasts! Ever thought about growing your own Napa cabbage indoors? It’s totally doable, and I’m here to walk you through the whole process. Trust me, there’s nothing quite like harvesting your own fresh, crisp Napa cabbage, especially when the weather outside is less than ideal. So, let’s get started!
What You’ll Need
Before we dive in, let’s gather all the necessary supplies. Having everything ready beforehand will make the whole process smoother and more enjoyable. Here’s a checklist:
* **Napa Cabbage Seeds:** Choose a variety that’s known to do well in containers. Smaller varieties are generally better suited for indoor growing.
* **Seed Starting Trays or Small Pots:** These are perfect for getting your seeds germinated.
* **Seed Starting Mix:** This is a light, sterile mix that provides the ideal environment for seedlings.
* **Larger Pots (at least 12 inches in diameter):** Once your seedlings are big enough, they’ll need to be transplanted into larger pots to accommodate their growth.
* **Potting Soil:** A well-draining potting mix is crucial for healthy cabbage growth.
* **Grow Lights:** Napa cabbage needs plenty of light, so grow lights are essential, especially during the shorter days of the year.
* **Watering Can or Spray Bottle:** For gentle watering.
* **Fertilizer:** A balanced liquid fertilizer will provide your cabbage with the nutrients it needs.
* **pH Meter (optional):** To ensure your soil pH is within the ideal range (6.0-7.5).
* **Small Shovel or Trowel:** For transplanting.
Phase 1: Starting Your Seeds
This is where the magic begins! Getting your seeds off to a good start is crucial for a successful harvest.
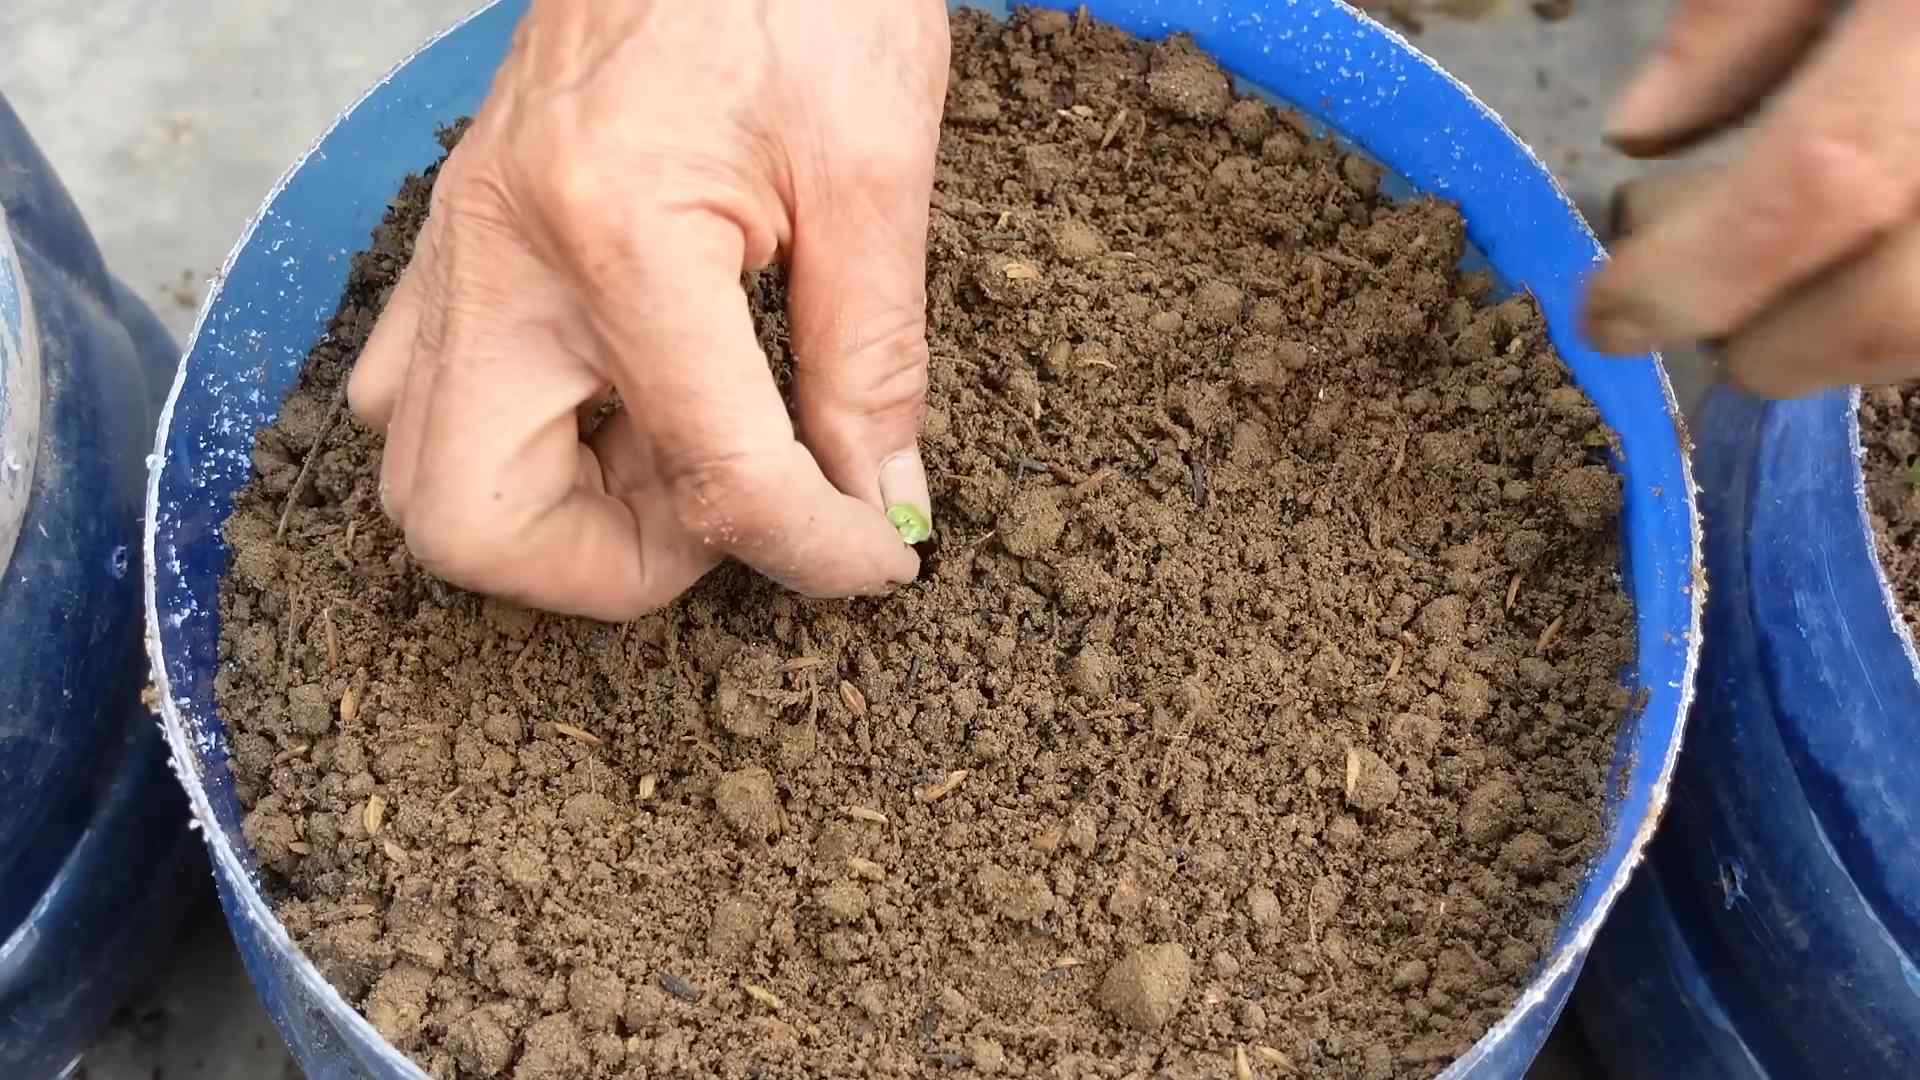
1. **Prepare Your Seed Starting Trays:** Fill your seed starting trays or small pots with seed starting mix. Gently pat it down to create a level surface.
2. **Sow the Seeds:** Sow 2-3 seeds per cell or pot, about ¼ inch deep. This increases your chances of at least one seed germinating in each spot.
3. **Water Gently:** Use a spray bottle or watering can with a gentle nozzle to moisten the soil. Avoid overwatering, as this can lead to damping-off disease.
4. **Provide Warmth:** Napa cabbage seeds germinate best in temperatures between 65-75°F (18-24°C). You can use a heat mat to provide consistent warmth.
5. **Cover with a Humidity Dome (Optional):** Covering the trays with a humidity dome or plastic wrap will help retain moisture and speed up germination. Just make sure to remove the cover once the seedlings emerge to prevent fungal diseases.
6. **Wait for Germination:** Keep the soil consistently moist but not soggy. You should see seedlings emerge in about 5-10 days.
Phase 2: Caring for Your Seedlings
Once your seedlings have sprouted, it’s time to provide them with the care they need to grow strong and healthy.
1. **Provide Adequate Light:** As soon as the seedlings emerge, place them under grow lights. Position the lights a few inches above the seedlings and keep them on for 12-16 hours per day. This will prevent them from becoming leggy and weak.
2. **Thin the Seedlings:** Once the seedlings have developed their first true leaves (the second set of leaves), thin them to one seedling per cell or pot. Choose the strongest, healthiest-looking seedling and gently snip off the others at the soil line.
3. **Water Regularly:** Keep the soil consistently moist, but avoid overwatering. Allow the top inch of soil to dry out slightly between waterings.
4. **Fertilize Lightly:** Start fertilizing your seedlings with a diluted liquid fertilizer about two weeks after they emerge. Follow the instructions on the fertilizer label and use a balanced formula (e.g., 10-10-10).
5. **Harden Off the Seedlings (Optional):** If you plan to eventually move your cabbage plants outdoors, you’ll need to harden them off before transplanting. This involves gradually exposing them to outdoor conditions over a period of 1-2 weeks. Start by placing them outside for a few hours each day in a sheltered location, gradually increasing the amount of time they spend outdoors.
Phase 3: Transplanting to Larger Pots
Now that your seedlings are strong and healthy, it’s time to transplant them into larger pots where they’ll have plenty of room to grow.
1. **Prepare Your Larger Pots:** Fill your larger pots (at least 12 inches in diameter) with well-draining potting mix.
2. **Carefully Remove the Seedlings:** Gently remove the seedlings from their seed starting trays or small pots. Be careful not to damage the roots. If the seedlings are root-bound (the roots are tightly circling the bottom of the pot), gently loosen them before transplanting.
3. **Plant the Seedlings:** Dig a hole in the center of each pot that’s large enough to accommodate the seedling’s root ball. Place the seedling in the hole and gently backfill with potting mix. Make sure the top of the root ball is level with the soil surface.
4. **Water Thoroughly:** Water the newly transplanted seedlings thoroughly to help settle the soil and reduce transplant shock.
5. **Provide Support (Optional):** If your cabbage plants start to get top-heavy, you may need to provide them with some support. You can use stakes or tomato cages to help keep them upright.
Phase 4: Ongoing Care
Once your cabbage plants are established in their larger pots, it’s important to provide them with ongoing care to ensure a healthy and productive harvest.
1. **Light:** Napa cabbage needs at least 6 hours of direct sunlight per day. If you’re growing your cabbage indoors, you’ll need to supplement natural light with grow lights. Keep the lights on for 12-16 hours per day.
2. **Watering:** Water your cabbage plants regularly, keeping the soil consistently moist but not soggy. Check the soil moisture regularly and water when the top inch of soil feels dry to the touch.
3. **Fertilizing:** Fertilize your cabbage plants every 2-3 weeks with a balanced liquid fertilizer. Follow the instructions on the fertilizer label. You can also supplement with compost tea or other organic fertilizers.
4. **Temperature:** Napa cabbage prefers cool temperatures, ideally between 60-70°F (15-21°C). Avoid exposing your plants to temperatures above 80°F (27°C), as this can cause them to bolt (go to seed prematurely).
5. **Humidity:** Napa cabbage prefers moderate humidity levels. If the air in your home is dry, you can increase humidity by placing a tray of water near your plants or using a humidifier.
6. **Pest and Disease Control:** Keep an eye out for pests and diseases. Common pests that can affect Napa cabbage include aphids, cabbage worms, and slugs. Common diseases include black rot and clubroot. If you notice any signs of pests or diseases, take action immediately. You can use insecticidal soap or neem oil to control pests, and fungicides to control diseases. Always follow the instructions on the product label.
7. **Air Circulation:** Good air circulation is important for preventing fungal diseases. Make sure your plants have plenty of space around them and that there’s good airflow in your growing area. You can use a fan to improve air circulation.
Phase 5: Harvesting Your Napa Cabbage
The moment you’ve been waiting for! Harvesting your own homegrown Napa cabbage is incredibly rewarding.
1. **Harvest Time:** Napa cabbage is typically ready to harvest in 70-80 days from planting. The heads should be firm and compact.
2. **How to Harvest:** To harvest your Napa cabbage, use a sharp knife to cut the head off at the base of the plant.
3. **Storage:** Store your harvested Napa cabbage in the refrigerator. It will keep for several weeks if stored properly.
Troubleshooting
Even with the best care, you might encounter some challenges along the way. Here are a few common problems and how to address them:
* **Leggy Seedlings:** This is usually caused by insufficient light. Make sure your seedlings are getting enough light, either from natural sunlight or grow lights.
* **Yellowing Leaves:** This can be caused by a variety of factors, including overwatering, underwatering, nutrient deficiencies, or pests. Check the soil moisture and adjust your watering accordingly. Fertilize your plants with a balanced fertilizer. Inspect your plants for pests and take action if necessary.
* **Bolting:** This is when the plant prematurely goes to seed. It’s usually caused by stress, such as high temperatures or inconsistent watering. Try to maintain consistent temperatures and watering practices.
* **Pest Infestations:** Inspect your plants regularly for pests and take action immediately if you notice any. Insecticidal soap and neem oil are effective treatments for many common pests.
Conclusion
So, there you have it! Growing Napa cabbage indoors might seem like a challenge, but with a little patience and the right approach, you can enjoy fresh, homegrown Napa cabbage even if you don’t have a sprawling outdoor garden. This DIY trick is a must-try for several compelling reasons. First and foremost, it grants you control over the growing environment, shielding your precious cabbages from unpredictable weather, pests, and diseases that often plague outdoor crops. Imagine the satisfaction of harvesting crisp, flavorful Napa cabbage heads, knowing you nurtured them from seed to table, completely independent of external factors.
Beyond the control factor, growing Napa cabbage indoors extends your growing season significantly. You’re no longer limited by the constraints of your local climate’s growing window. You can start seeds earlier, ensuring a continuous supply of fresh cabbage throughout the year. This is particularly beneficial for those who live in regions with short summers or harsh winters.
Furthermore, this method allows for a more sustainable and eco-friendly approach to food production. By growing your own Napa cabbage, you reduce your reliance on commercially grown produce, which often involves long-distance transportation, contributing to carbon emissions. You also have the freedom to choose organic growing practices, avoiding harmful pesticides and herbicides.
But the benefits don’t stop there! Growing Napa cabbage indoors can be a rewarding and educational experience. It’s a fantastic way to connect with nature, learn about plant life cycles, and develop your gardening skills. It’s also a great activity to share with children, fostering an appreciation for healthy eating and sustainable living.
Now, let’s talk about variations. While the method outlined in this article provides a solid foundation, feel free to experiment and adapt it to your specific needs and preferences. For instance, you could try different types of grow lights to see which ones yield the best results. You could also explore various soil mixes to optimize drainage and nutrient availability. Consider using self-watering containers to simplify watering and prevent overwatering.
Another exciting variation is to experiment with different Napa cabbage varieties. While the standard variety is delicious, there are other options available, each with its unique flavor and texture. Try growing ‘Blues’, known for its disease resistance, or ‘Optiko’, which matures quickly.
Don’t be afraid to get creative and personalize your indoor Napa cabbage garden. The possibilities are endless!
Ultimately, the success of your indoor Napa cabbage growing endeavor hinges on your willingness to learn, adapt, and persevere. It may require some trial and error, but the rewards are well worth the effort. The taste of freshly harvested, homegrown Napa cabbage is simply unmatched.
So, what are you waiting for? Give this DIY trick a try and experience the joy of growing your own Napa cabbage indoors. We’re confident that you’ll be amazed by the results. And most importantly, don’t forget to share your experiences with us! We’d love to hear about your successes, challenges, and any tips or tricks you’ve discovered along the way. Share your photos and stories on social media using #IndoorNapaCabbage or leave a comment below. Let’s build a community of indoor Napa cabbage enthusiasts and inspire others to embrace the joys of homegrown food! Remember, mastering the art of growing Napa cabbage indoors is within your reach.
FAQ
What is the ideal temperature for growing Napa cabbage indoors?
Napa cabbage thrives in cooler temperatures, ideally between 60°F and 70°F (15°C and 21°C). While it can tolerate slightly warmer temperatures, prolonged exposure to heat can cause bolting (premature flowering), which affects the taste and quality of the cabbage. Monitor the temperature in your indoor growing space and adjust accordingly. If it gets too warm, consider using a fan to circulate air or moving the plants to a cooler location.
How much light does Napa cabbage need when grown indoors?
Napa cabbage requires a significant amount of light to grow properly. Aim for at least 6-8 hours of direct light per day, or 12-14 hours of artificial light. If you’re using grow lights, choose full-spectrum LED lights that provide a balanced spectrum of light for optimal plant growth. Position the lights close enough to the plants to provide adequate illumination, but not so close that they burn the leaves. Monitor the plants for signs of insufficient light, such as leggy growth or pale leaves, and adjust the light accordingly.
What type of soil is best for growing Napa cabbage in containers?
Napa cabbage prefers well-draining, fertile soil that is rich in organic matter. A good potting mix for Napa cabbage should consist of a combination of peat moss, perlite, and vermiculite. You can also amend the soil with compost or aged manure to improve its fertility and drainage. Avoid using heavy clay soils, as they can retain too much moisture and lead to root rot. Ensure that the containers you use have drainage holes to prevent waterlogging.
How often should I water my indoor Napa cabbage plants?
Water Napa cabbage plants regularly, keeping the soil consistently moist but not waterlogged. Check the soil moisture level daily by sticking your finger into the soil. If the top inch of soil feels dry, it’s time to water. Water deeply, allowing the water to drain out of the drainage holes. Avoid overwatering, as this can lead to root rot. Adjust the watering frequency based on the temperature, humidity, and size of the plants.
What are some common pests and diseases that affect Napa cabbage, and how can I prevent them indoors?
While growing Napa cabbage indoors reduces the risk of pest and disease problems, it’s still important to be vigilant. Common pests that can affect Napa cabbage include aphids, cabbage worms, and flea beetles. Inspect your plants regularly for signs of infestation, such as small holes in the leaves or sticky residue. If you find pests, you can try removing them by hand or using insecticidal soap or neem oil. Diseases that can affect Napa cabbage include clubroot and black rot. To prevent these diseases, use disease-free seeds, practice good sanitation, and avoid overwatering.
How long does it take for Napa cabbage to mature when grown indoors?
The time it takes for Napa cabbage to mature when grown indoors depends on the variety, growing conditions, and your starting method (seed or transplant). Generally, Napa cabbage takes about 70-80 days to mature from seed. If you start with transplants, you can reduce the growing time by a few weeks. Monitor the plants closely and harvest them when the heads are firm and compact.
Can I grow Napa cabbage indoors year-round?
Yes, you can grow Napa cabbage indoors year-round, provided you have the right growing conditions. Napa cabbage prefers cooler temperatures, so you may need to adjust the temperature in your growing space during the summer months. You’ll also need to provide adequate light, either through natural sunlight or grow lights. With proper care, you can enjoy fresh, homegrown Napa cabbage throughout the year.
How do I harvest Napa cabbage?
Harvest Napa cabbage when the heads are firm and compact. To harvest, use a sharp knife to cut the head off at the base of the plant. Leave a few outer leaves on the plant, as they can help protect the cut surface. Store the harvested Napa cabbage in the refrigerator for up to a week.
Can I save seeds from my indoor-grown Napa cabbage?
Saving seeds from Napa cabbage can be challenging, as it is a biennial plant, meaning it typically flowers and produces seeds in its second year. To save seeds, you would need to overwinter the plants and allow them to flower the following spring. However, this can be difficult to do indoors, as Napa cabbage requires a period of cold dormancy to trigger flowering. Additionally, Napa cabbage is often cross-pollinated, so the seeds may not produce plants that are true to type. For these reasons, it’s generally easier to purchase seeds from a reputable source.

Leave a Comment