
Indoor Arugula Planting Easy Ways – that’s what we’re diving into today! Have you ever craved a peppery, fresh salad in the dead of winter, only to be met with sad, wilted greens at the grocery store? Or maybe you’re simply looking for a fun, rewarding DIY project that brings a touch of nature indoors. Well, you’re in the right place!
Growing your own arugula isn’t just a modern trend; leafy greens have been cultivated indoors for centuries, from ancient Roman greenhouses to medieval monastery gardens. The desire for fresh produce, regardless of the season, is a timeless human pursuit. And let’s be honest, there’s something incredibly satisfying about snipping fresh leaves from your own little indoor garden.
But why arugula, you ask? Because it’s fast-growing, relatively low-maintenance, and packed with flavor and nutrients! Plus, with the right techniques, indoor arugula planting easy ways can be surprisingly successful, even for beginners. I’m going to share some simple, effective DIY tricks and hacks that will have you enjoying delicious, homegrown arugula in no time. Forget expensive store-bought greens – let’s get our hands dirty (figuratively, of course, since we’re indoors!) and create our own little oasis of peppery goodness!
Growing Arugula Indoors: A Beginner’s Guide to Peppery Greens
Hey there, fellow plant enthusiasts! Are you craving fresh, peppery arugula but don’t have a garden? No problem! I’m going to walk you through the super simple process of growing arugula indoors. It’s easier than you think, and you’ll be enjoying delicious, homegrown salads in no time. Let’s get started!
What You’ll Need
Before we dive in, let’s gather our supplies. Here’s a checklist of everything you’ll need to successfully grow arugula indoors:
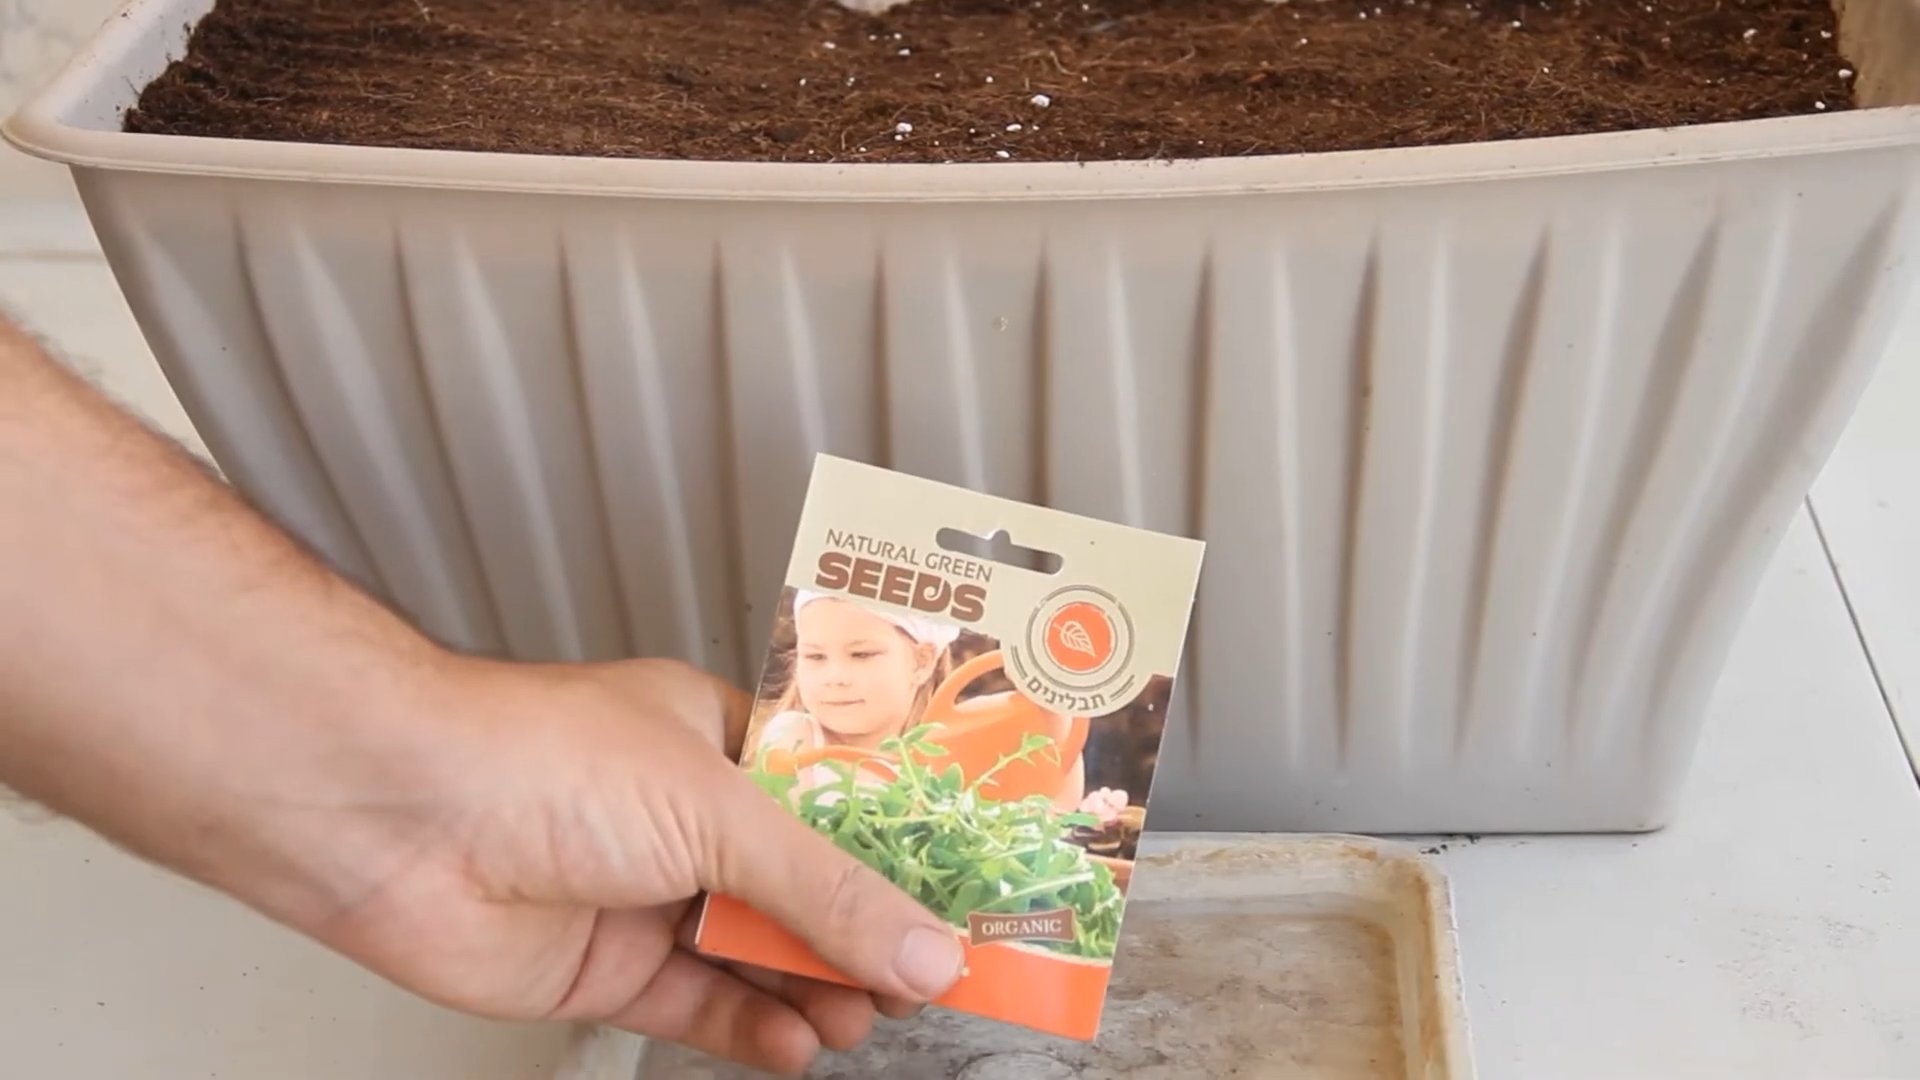
* Arugula Seeds: Obviously! Look for organic seeds if possible. You can find these at most garden centers or online.
* Container: Choose a container that’s at least 6 inches deep. A rectangular planter box, a large pot, or even a repurposed container will work. Just make sure it has drainage holes.
* Potting Mix: Use a high-quality potting mix specifically designed for containers. Avoid using garden soil, as it can compact and not drain well.
* Watering Can or Spray Bottle: For gentle watering.
* Grow Lights (Optional but Recommended): Arugula needs plenty of light. If you don’t have a sunny windowsill, grow lights are a great investment.
* Small Shovel or Trowel: For planting the seeds.
* Spray Bottle with Water: To keep the soil moist during germination.
Choosing the Right Location
Arugula thrives in bright light. A sunny windowsill that receives at least 6 hours of direct sunlight per day is ideal. If you don’t have a sunny spot, don’t worry! That’s where grow lights come in handy. Place your container under the grow lights, ensuring they’re about 6-12 inches above the soil surface.
Planting Your Arugula Seeds
Okay, now for the fun part – planting!
1. Prepare the Container: Fill your container with potting mix, leaving about an inch of space at the top. Gently pat down the soil to create a level surface.
2. Sow the Seeds: Arugula seeds are tiny, so be careful not to overcrowd them. Sprinkle the seeds evenly over the surface of the soil. Aim for about 1/4 inch spacing between seeds. You can also sow them in rows if you prefer.
3. Cover the Seeds: Lightly cover the seeds with a thin layer of potting mix (about 1/4 inch).
4. Water Gently: Use a spray bottle or watering can with a gentle nozzle to water the soil thoroughly. You want the soil to be moist but not soggy.
5. Maintain Moisture: Cover the container with plastic wrap or a clear plastic bag to create a humid environment. This will help the seeds germinate. Remove the plastic wrap once the seedlings emerge.
6. Place in a Sunny Location or Under Grow Lights: As mentioned before, ensure your container is in a bright location or under grow lights.
Caring for Your Arugula
Now that your arugula is planted, it’s time to nurture it!
1. Watering: Keep the soil consistently moist, but avoid overwatering. Check the soil moisture daily by sticking your finger into the soil. If the top inch feels dry, it’s time to water.
2. Lighting: If you’re using grow lights, keep them on for about 12-14 hours per day.
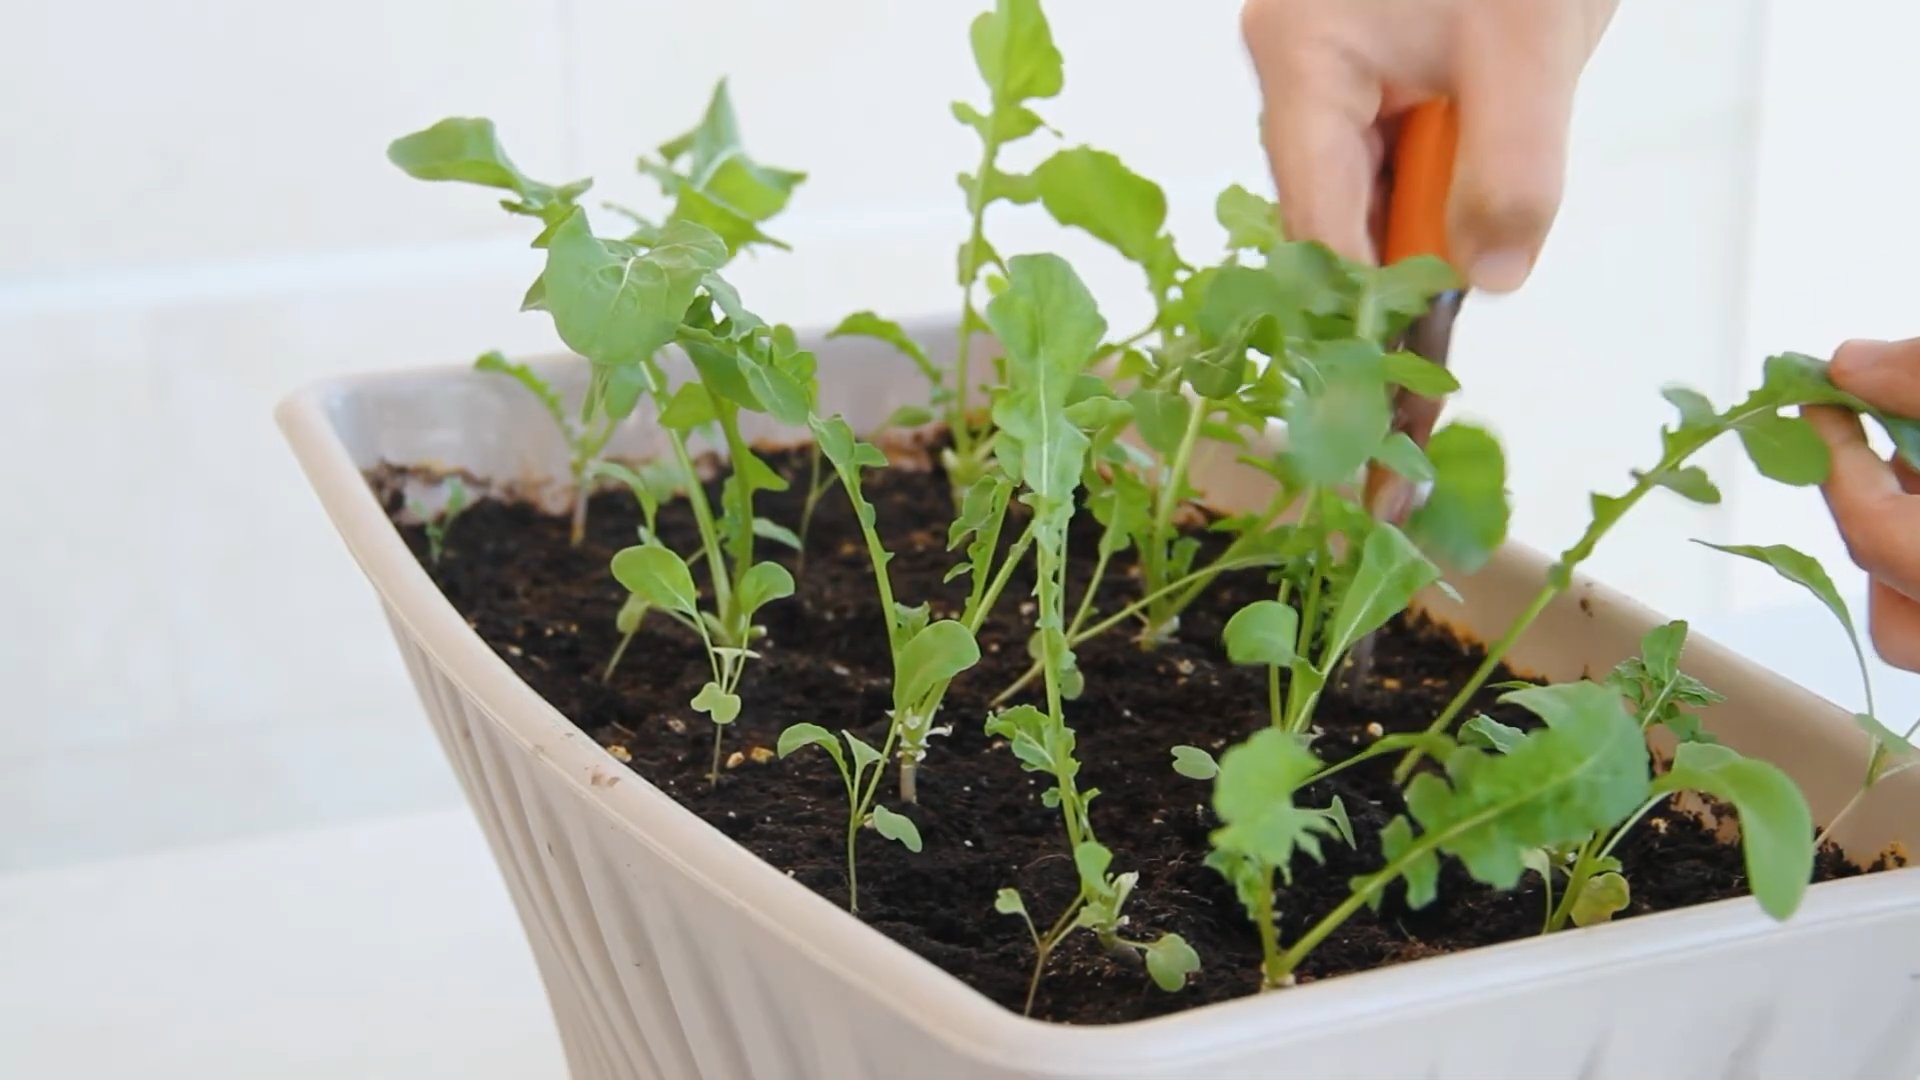
3. Thinning (Optional): Once the seedlings have a few sets of true leaves, you can thin them out if they’re too crowded. This will give the remaining plants more room to grow. Simply snip off the weaker seedlings at the soil line.
4. Fertilizing (Optional): Arugula doesn’t need a lot of fertilizer, but you can give it a boost with a diluted liquid fertilizer every few weeks. Look for a fertilizer that’s specifically designed for leafy greens.
5. Pest Control: Arugula is relatively pest-resistant, but keep an eye out for aphids or other common garden pests. If you spot any, you can try spraying them off with a strong stream of water or using an insecticidal soap.
Harvesting Your Arugula
The best part – harvesting and enjoying your homegrown arugula!
1. When to Harvest: You can start harvesting arugula leaves when they’re about 2-3 inches long. This usually takes about 3-4 weeks after planting.
2. How to Harvest: Use scissors or your fingers to snip off the outer leaves, leaving the inner leaves to continue growing. This is called “cut and come again” harvesting, and it allows you to harvest arugula multiple times from the same plant.
3. Harvest Regularly: Harvesting regularly encourages the plant to produce more leaves.
4. Enjoy Your Harvest: Wash the arugula leaves thoroughly and enjoy them in salads, sandwiches, pizzas, or as a garnish.
Troubleshooting
Even with the best care, you might encounter a few challenges along the way. Here are some common problems and how to fix them:
* Leggy Seedlings: If your seedlings are tall and spindly, it means they’re not getting enough light. Move them to a brighter location or closer to the grow lights.
* Yellowing Leaves: Yellowing leaves can be a sign of overwatering or nutrient deficiency. Make sure you’re not overwatering and consider fertilizing with a diluted liquid fertilizer.
* Slow Growth: Slow growth can be caused by a variety of factors, including insufficient light, poor soil, or lack of water. Make sure your arugula is getting enough light, water, and nutrients.
* Pests: As mentioned before, keep an eye out for pests and take action if you spot any.
Extending Your Harvest
Want to keep the arugula coming? Here are a few tips for extending your harvest:
* Succession Planting: Plant a new batch of arugula seeds every few weeks to ensure a continuous supply.
* Cool Temperatures: Arugula prefers cool temperatures. If it gets too hot, it can bolt (go to seed), which will make the leaves bitter. If you live in a warm climate, try growing arugula in a cooler location or during the cooler months.
* Prevent Bolting: If your arugula starts to bolt, you can try pinching off the flower buds to prolong the harvest.
Choosing the Right Container: A Deeper Dive
Let’s talk more about choosing the perfect container for your indoor arugula garden. While any container with drainage holes will technically work, there are a few factors to consider to optimize your growing experience.
* Material: Plastic, terracotta, and ceramic pots are all viable options. Plastic pots are lightweight and retain moisture well, which can be beneficial if you tend to underwater. Terracotta pots are porous, allowing for better air circulation and drainage, which can help prevent overwatering. Ceramic pots offer a good balance between the two.
* Size: As mentioned earlier, a container that’s at least 6 inches deep is recommended. This gives the arugula roots enough room to grow. The width and length of the container will depend on how much arugula you want to grow. A rectangular planter box is a great option for growing a larger quantity of arugula.
* Drainage: This is crucial! Make sure your container has drainage holes to prevent water from accumulating at the bottom, which can lead to root rot. If your container doesn’t have drainage holes, you can drill some yourself.
* Aesthetics: While functionality is important, don’t forget about aesthetics! Choose a container that you find visually appealing and that complements your home decor.
Understanding Grow Lights: A Guide for Indoor Gardeners
If you’re serious about growing arugula indoors, especially if you don’t have a sunny windowsill, grow lights are a game-changer. But with so many options available, it can be overwhelming to choose the right one. Here’s a breakdown of the different types of grow lights and their pros and cons:
* Fluorescent Grow Lights: These are a popular and affordable option for beginners. They’re energy-efficient and produce relatively little heat. T5 fluorescent lights are a good choice for growing arugula.
* LED Grow Lights: LED grow lights are becoming increasingly popular due to their energy efficiency, long lifespan, and ability to produce specific wavelengths of light that plants need. They can be more expensive than fluorescent lights, but they’re a worthwhile investment in the long run.
* Incandescent Grow Lights: These are the least efficient type of grow light and produce a lot of heat. They’re not recommended for growing arugula.
* Placement: The distance between the grow lights and the plants is important. Generally, you want to keep the lights about 6-12 inches above the soil surface. You may need to adjust the distance depending on the type of grow light you’re using.
* Light Spectrum: Arugula needs a full spectrum of light to thrive. Look for grow lights that emit both blue and red
Conclusion
So, there you have it! Cultivating your own arugula indoors is not only achievable, but surprisingly simple and incredibly rewarding. We’ve walked you through the easy steps, from selecting the right container and soil to ensuring adequate light and consistent watering. But why is this DIY trick a must-try?
Firstly, imagine the convenience of having fresh, peppery arugula readily available right in your kitchen. No more last-minute trips to the grocery store or settling for wilted greens. You’ll have a constant supply of vibrant, flavorful arugula to elevate your salads, sandwiches, pizzas, and countless other dishes. The taste difference between store-bought and freshly harvested arugula is truly remarkable. The peppery bite is more pronounced, the texture is crisper, and the overall flavor is simply more intense.
Secondly, growing your own arugula indoors is a fantastic way to connect with nature, even in the heart of the city. It’s a therapeutic activity that can reduce stress and boost your mood. Watching those tiny seeds sprout and transform into leafy greens is a truly satisfying experience. Plus, you’ll have the peace of mind knowing exactly where your food comes from and that it’s free from harmful pesticides and herbicides.
Thirdly, this method of **indoor arugula planting** is incredibly cost-effective. A packet of arugula seeds is relatively inexpensive, and you can reuse your containers and soil for multiple plantings. Over time, you’ll save money on groceries and reduce your environmental impact by minimizing food waste and transportation.
Looking for variations? Consider experimenting with different types of arugula seeds. Some varieties are spicier than others, while others have a milder flavor. You can also try growing arugula alongside other leafy greens, such as spinach or lettuce, in the same container. This will create a diverse and flavorful salad mix. Another fun variation is to use different types of containers. Upcycled yogurt containers, mason jars, or even old teacups can all be used to grow arugula indoors. Just make sure the container has drainage holes.
Don’t be afraid to experiment with different lighting conditions. While arugula thrives in bright light, it can also tolerate partial shade. If you don’t have a sunny windowsill, you can use a grow light to supplement the natural light.
We are confident that you’ll find this DIY trick to be a game-changer in your culinary adventures. It’s easy, affordable, and incredibly rewarding. So, grab a packet of arugula seeds, gather your supplies, and get ready to enjoy the freshest, most flavorful arugula you’ve ever tasted.
We encourage you to try this method of indoor arugula planting and share your experience with us! Let us know how it goes, what challenges you encounter, and what tips you discover along the way. We’d love to see photos of your indoor arugula gardens! Share your stories and photos on social media using #IndoorArugula and inspire others to grow their own food. Happy growing!
Frequently Asked Questions (FAQ)
What is the best time of year to start indoor arugula planting?
Arugula can be grown indoors year-round! Unlike outdoor gardening, you’re not limited by seasonal weather conditions. As long as you can provide adequate light, water, and temperature, you can enjoy fresh arugula any time of the year. However, many people find that starting in the fall or winter is particularly beneficial, as it provides a source of fresh greens during the colder months when outdoor gardening is less feasible.
How much light does arugula need when grown indoors?
Arugula thrives in bright light, ideally 6-8 hours of direct sunlight per day. If you don’t have a sunny windowsill, you can supplement with a grow light. Place the grow light about 6-12 inches above the plants and keep it on for 12-14 hours per day. Signs that your arugula isn’t getting enough light include leggy growth (long, thin stems) and pale leaves.
What kind of soil is best for indoor arugula planting?
Arugula prefers well-draining soil that is rich in organic matter. A good option is a potting mix specifically formulated for vegetables. You can also make your own potting mix by combining equal parts of compost, peat moss (or coconut coir), and perlite or vermiculite. Avoid using garden soil, as it can be too heavy and may contain pests or diseases.
How often should I water my indoor arugula?
Water your arugula regularly, keeping the soil consistently moist but not waterlogged. Check the soil moisture by sticking your finger about an inch deep. If the soil feels dry, it’s time to water. Avoid overwatering, as this can lead to root rot. Make sure your container has drainage holes to allow excess water to escape.
How long does it take for arugula to germinate and grow?
Arugula seeds typically germinate within 5-7 days. You can start harvesting leaves as soon as they are large enough to eat, usually about 3-4 weeks after planting. For a continuous harvest, sow new seeds every 2-3 weeks.
How do I harvest arugula?
Harvest arugula by snipping off the outer leaves with scissors or a knife. Leave the inner leaves to continue growing. You can harvest arugula multiple times from the same plant. For the best flavor, harvest arugula in the morning, before the sun gets too hot.
What are some common problems when growing arugula indoors?
Some common problems include aphids, flea beetles, and fungal diseases. Aphids can be controlled with insecticidal soap or by handpicking them off the plants. Flea beetles can be deterred by covering the plants with row covers. Fungal diseases can be prevented by providing good air circulation and avoiding overwatering.
Can I grow arugula in a hydroponic system?
Yes, arugula can be successfully grown in a hydroponic system. Hydroponics is a method of growing plants without soil, using nutrient-rich water solutions. Arugula is well-suited to hydroponics because it grows quickly and doesn’t require a lot of space.
How can I make my arugula spicier?
The spiciness of arugula is influenced by several factors, including the variety, growing conditions, and harvest time. To encourage spicier arugula, try growing it in a sunny location, watering it less frequently, and harvesting it when the leaves are young and small. Some varieties of arugula are naturally spicier than others.
Is it necessary to fertilize indoor arugula?
While not strictly necessary, fertilizing your indoor arugula can help it grow faster and produce more flavorful leaves. Use a balanced liquid fertilizer diluted to half strength. Fertilize every 2-3 weeks, or as needed. Avoid over-fertilizing, as this can lead to leggy growth and bitter-tasting leaves.
How do I prevent arugula from bolting (going to seed)?
Bolting is a natural process that occurs when arugula is exposed to high temperatures or long days. To prevent bolting, try to keep the temperature below 75°F (24°C) and provide some shade during the hottest part of the day. You can also choose bolt-resistant varieties of arugula.
Can I save seeds from my indoor arugula plants?
Yes, you can save seeds from your indoor arugula plants, but it requires allowing the plants to bolt and produce flowers. Once the flowers have dried and the seed pods have turned brown, you can harvest the seeds. Store the seeds in a cool, dry place. Keep in mind that seeds saved from hybrid varieties may not produce plants that are true to type.


Leave a Comment