
Natural Oven Cleaning: Sparkling Results Without Harsh Chemicals
I’ve always loved the feeling of a sparkling clean kitchen, but the thought of scrubbing a baked-on mess from my oven always filled me with dread. Those harsh chemical oven cleaners? Not only are they expensive, but the fumes alone are enough to make your eyes water! That’s why I started exploring natural oven cleaning methods – and let me tell you, the results have been amazing. This isn’t just about saving money; it’s about creating a healthier home environment for myself and my family. Forget the toxic fumes and elbow grease; this article is your guide to achieving a brilliantly clean oven using simple, readily available ingredients.
The history of oven cleaning is surprisingly fascinating! While modern ovens and cleaning products are relatively recent inventions, the need to keep cooking surfaces clean has existed for centuries. Think about the traditional wood-fired ovens of our ancestors – they required regular cleaning, often using natural materials like ashes and water. My natural oven cleaning techniques draw inspiration from these age-old methods, adapting them for the modern kitchen.
Why You Need These Natural Oven Cleaning Tricks
In today’s world, we’re all becoming more conscious of the chemicals we bring into our homes. Harsh oven cleaners can contain ingredients that are harmful to both our health and the environment. Natural oven cleaning offers a safer, more sustainable alternative. These DIY methods are not only effective but also incredibly cost-effective, saving you money on expensive commercial products. Plus, there’s a real sense of satisfaction in achieving a sparkling clean oven using your own ingenuity and natural ingredients. So, let’s dive in and discover the secrets to a naturally clean and healthy kitchen!
Building a Custom Bookshelf from Reclaimed Wood
I’ve always loved the look of reclaimed wood, and I’ve been wanting a unique bookshelf for my living room. So, I decided to combine my love for rustic aesthetics with my DIY spirit and build one myself! This project took a bit of time, but the result is totally worth it. Here’s how I did it:
Phase 1: Sourcing and Preparing the Wood
- Find your wood: This is the fun part! I scoured local salvage yards and even checked out Craigslist for reclaimed wood. Look for planks that are relatively straight and free of major cracks or rot. I ended up with a mix of different types of wood – some pine, some oak – which added to the character of the final piece. Aim for planks that are roughly the same thickness for easier assembly.
- Clean the wood: Once you have your wood, give it a good cleaning. I used a wire brush to remove loose debris and dirt. For stubborn grime, a pressure washer can be helpful, but be careful not to damage the wood. Let it dry completely.
- Cut the wood to size: This is where accurate measurements are crucial. I measured the space where I wanted the bookshelf to go and planned out the dimensions of each shelf and the side supports. Using a circular saw (or a hand saw if you’re feeling ambitious!), I cut the wood to the exact lengths I needed. Remember to account for the thickness of the wood when calculating the overall height and width.
- Sand the wood: This step is essential for a smooth finish. I started with a coarser grit sandpaper (around 80 grit) to remove any rough edges or splinters, then gradually moved to finer grits (120, then 220) for a super smooth surface. Wear a dust mask during this process to protect your lungs.
Phase 2: Assembling the Bookshelf
- Prepare the side supports: I decided to use two sturdy planks as the side supports of my bookshelf. I measured and marked the locations for the shelf supports on each side piece. These markings will guide you when you attach the shelves.
- Attach the shelf supports: I used pocket hole screws to attach the shelf supports to the side pieces. Pocket holes are drilled at an angle, allowing the screws to be hidden. This gives a cleaner, more professional look. If you don’t have a pocket hole jig, you can use wood glue and screws, but be sure to pre-drill holes to prevent the wood from splitting.
- Position and attach the shelves: Carefully place each shelf onto the shelf supports. Make sure they are level and evenly spaced. I used wood glue and screws to secure each shelf to the supports. Again, pre-drilling holes is recommended to prevent splitting.
- Check for stability: Once all the shelves are attached, give the bookshelf a good shake to ensure it’s stable and sturdy. If anything feels loose, tighten the screws or add additional support as needed.
Phase 3: Finishing Touches
- Apply wood stain or paint: This is where you can really personalize your bookshelf. I chose a dark walnut stain to enhance the natural beauty of the reclaimed wood. Apply the stain according to the manufacturer’s instructions, using a brush or rag. Let it dry completely before applying a second coat if desired.
- Apply a sealant: A sealant protects your bookshelf from moisture and wear and tear. I used a polyurethane sealant, applying two thin coats, allowing each coat to dry completely before applying the next. This will help preserve the beauty of your creation for years to come.
- Let it dry completely: This is crucial. Allow the stain and sealant to dry completely before handling or placing books on the shelves. This could take several hours or even a day, depending on the products you used and the environmental conditions.
- Optional: Add hardware: If you want, you can add some decorative hardware, such as metal brackets or shelf pins. This is purely for aesthetics, but it can add a nice touch.
Phase 4: Troubleshooting and Tips
Dealing with Uneven Planks:
If your reclaimed wood planks are uneven in thickness, you might need to use shims to level the shelves. Shims are thin pieces of wood that can be used to fill gaps and create a level surface.
Preventing Wood Splitting:
Always pre-drill pilot holes before driving screws into the wood, especially when using hardwoods. This will prevent the wood from splitting.
Choosing the Right Fasteners:
Use screws that are appropriate for the thickness of your wood. Too short screws won’t provide enough support, while too long screws can go through the wood and damage the other side.
Safety First:
Always wear safety glasses and a dust mask when using power tools and sanding. Be careful when handling sharp tools and heavy wood.
Enjoy your new bookshelf!
Remember, this is just a guide. Feel free to adapt it to your own style and preferences. The beauty of DIY is the ability to personalize your projects. Have fun and enjoy the process!
Conclusion
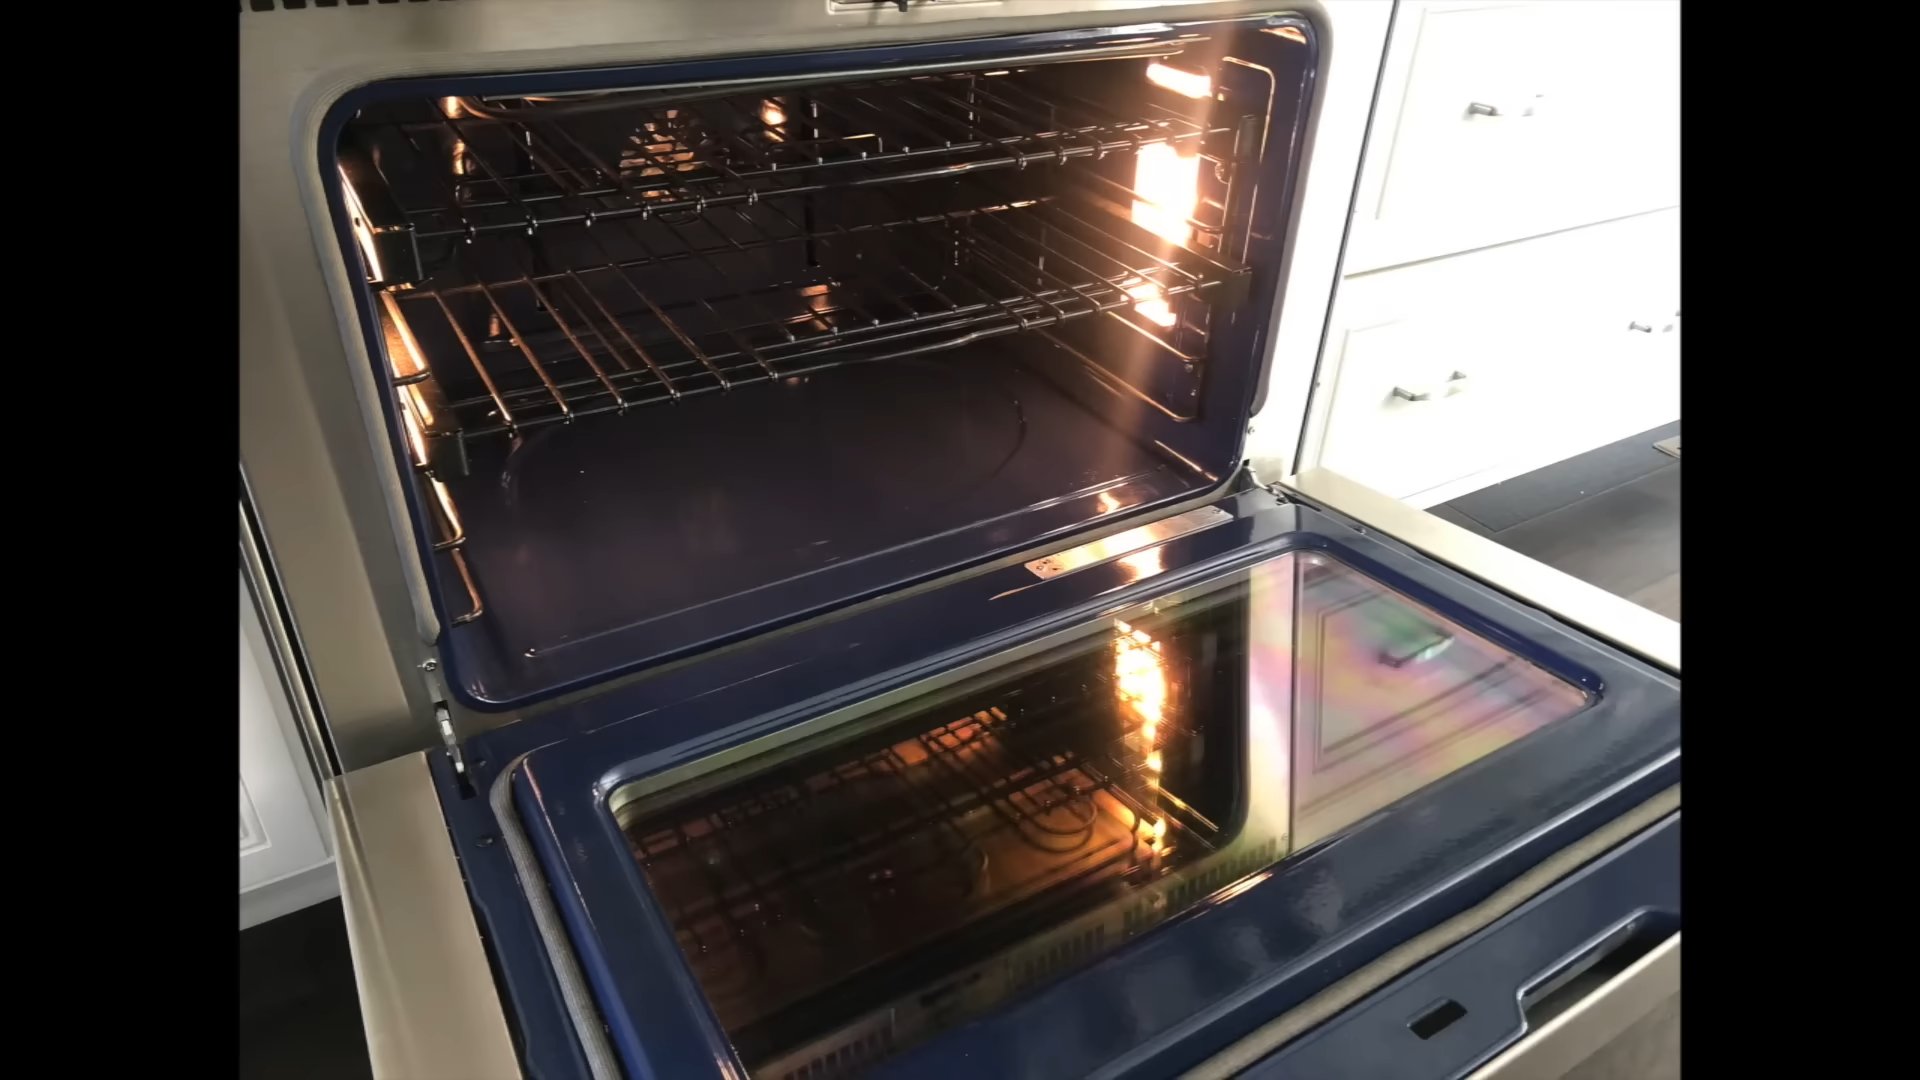
So there you have it – a completely natural and effective way to clean your oven, leaving it sparkling and residue-free without harsh chemicals. This Natural Oven Cleaning method is a must-try for several reasons. Firstly, it’s incredibly budget-friendly, utilizing ingredients you likely already have in your pantry. Secondly, it’s significantly safer for your family and pets, eliminating the risks associated with inhaling or touching strong chemical cleaners. Thirdly, and perhaps most importantly, it’s remarkably effective. The combination of baking soda’s abrasive power and vinegar’s acidity cuts through even the most stubborn baked-on grease and grime, leaving your oven looking brand new. You’ll be amazed at how easily this simple DIY trick transforms your oven from a grimy mess to a gleaming appliance. This method is far superior to commercial oven cleaners, offering a healthier and more environmentally conscious alternative. You’ll not only save money but also contribute to a cleaner and safer home environment.
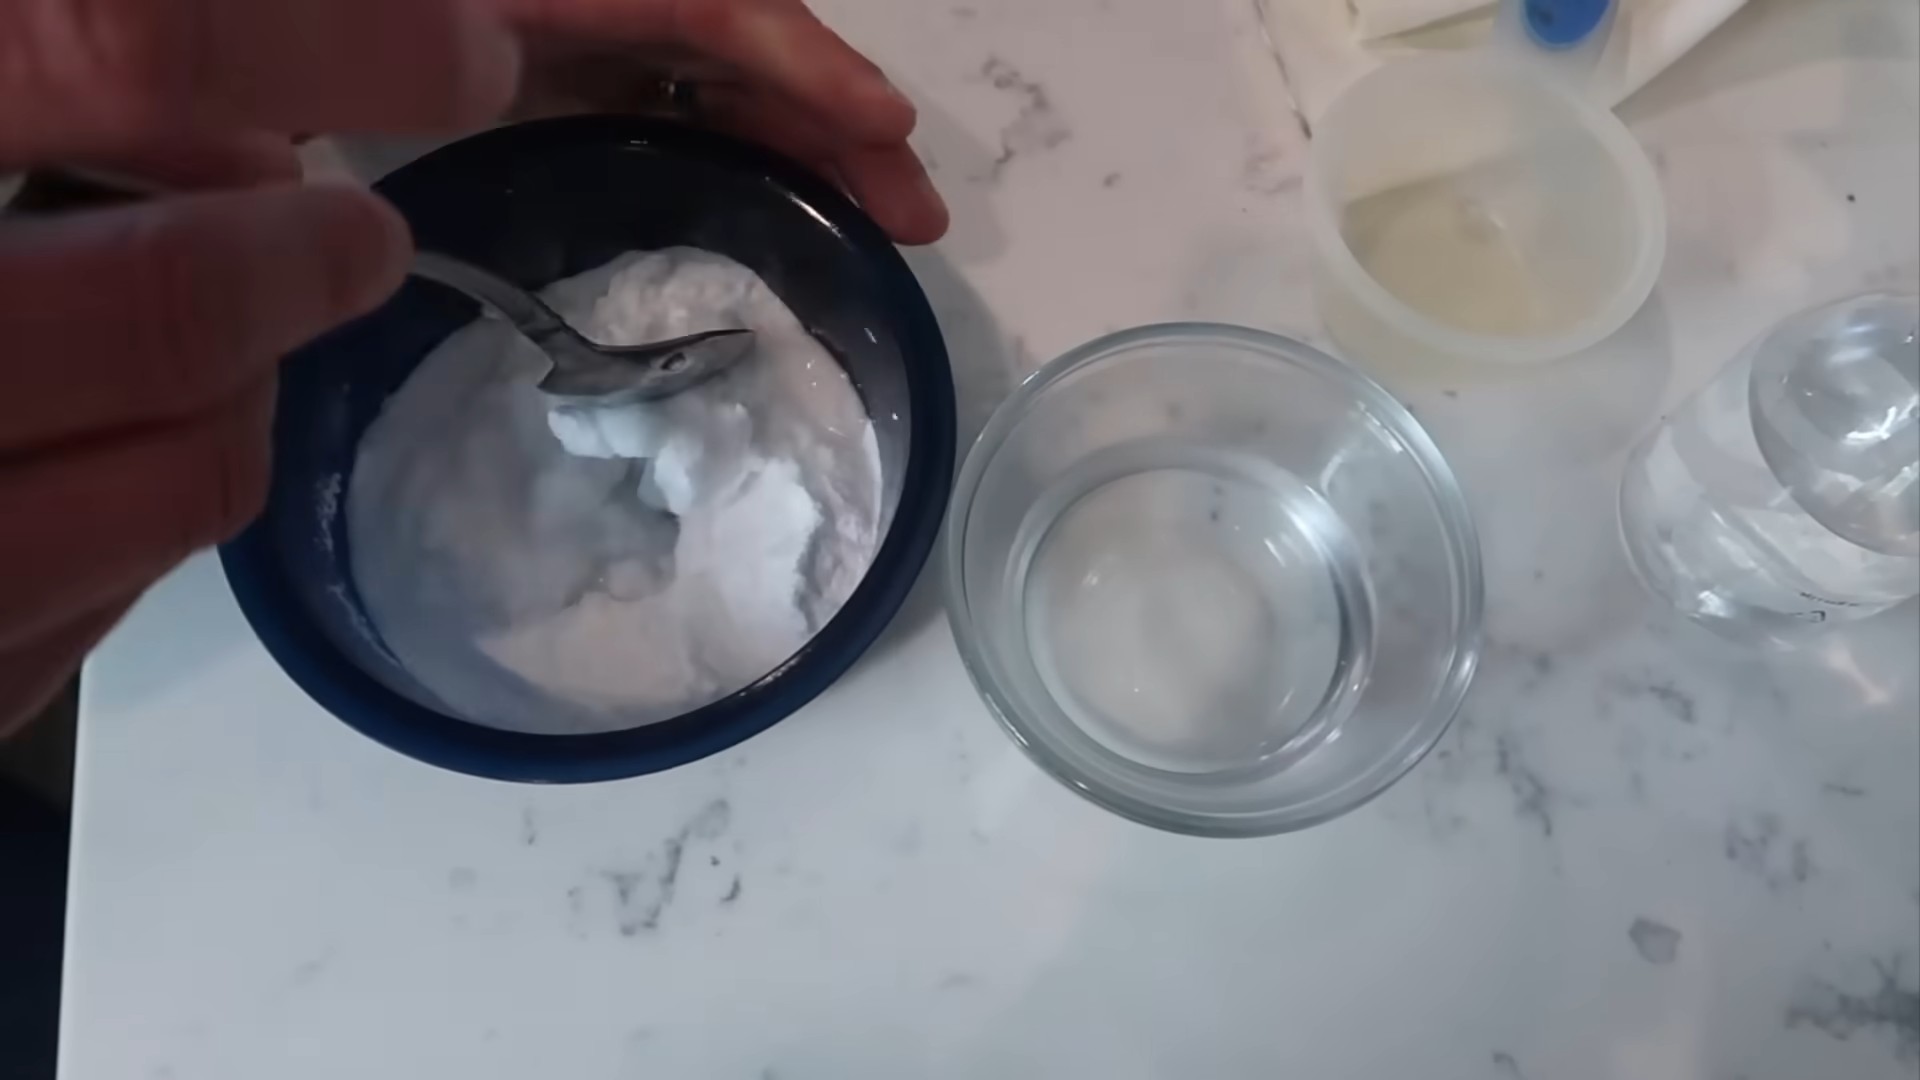
Beyond the basic recipe, there are several ways to customize this Natural Oven Cleaning method to suit your needs. For particularly stubborn stains, you can let the paste sit overnight, allowing the ingredients more time to work their magic. If you prefer a stronger cleaning action, you can add a few drops of essential oils like lemon or tea tree oil to the paste for a fresh scent and added cleaning power. For those with sensitive skin, always wear gloves while handling the cleaning paste and ensure adequate ventilation in your kitchen. Experiment with different ratios of baking soda and vinegar to find the consistency that works best for you. Some people prefer a thicker paste, while others prefer a thinner consistency. Remember, the key is to create a paste that is thick enough to cling to the oven surfaces but not so thick that it’s difficult to spread.
We strongly encourage you to try this Natural Oven Cleaning method and experience the difference for yourself. It’s a simple, effective, and environmentally friendly solution that will save you time, money, and effort in the long run. Share your results with us! We’d love to hear about your experience and see photos of your sparkling clean ovens. Post your before-and-after pictures on social media using the hashtag #NaturalOvenCleaning and tag us – let’s inspire others to embrace a cleaner, greener way to clean their ovens. Don’t be afraid to experiment and adapt the recipe to your specific needs and preferences. With a little elbow grease and this powerful natural cleaning solution, you can achieve professional-level oven cleaning results right in your own kitchen. This is more than just a cleaning method; it’s a commitment to a healthier and more sustainable lifestyle.
Frequently Asked Questions
How often should I use this natural oven cleaning method?
The frequency of using this Natural Oven Cleaning method depends on how often you use your oven. For those who bake or cook frequently, a monthly cleaning might be necessary. For less frequent users, every two to three months should suffice. Regular cleaning prevents grease and grime from building up excessively, making future cleanings much easier. Remember, consistent, less intensive cleaning is better than infrequent, strenuous scrubbing.
What if the paste doesn’t remove all the stains?
For extremely stubborn stains, you may need to repeat the process or let the paste sit for a longer period, even overnight. You can also try gently scrubbing with a non-abrasive sponge or a soft cloth. Avoid using steel wool or abrasive cleaners, as these can scratch the oven’s surface. If the stain persists after multiple attempts, you may need to consider a more specialized cleaning product, but always prioritize natural and environmentally friendly options whenever possible.
Can I use this method on all types of ovens?
While this method is generally safe for most oven types, it’s crucial to check your oven’s manufacturer’s instructions before proceeding. Some ovens may have specific cleaning recommendations or restrictions. Always exercise caution and avoid using excessive force or abrasive tools that could damage the oven’s surface. This method is particularly well-suited for self-cleaning ovens, as it provides a gentler alternative to the high-heat self-cleaning cycle.
What should I do if I get the paste on other surfaces?
Immediately wipe up any spills with a damp cloth. The baking soda and vinegar mixture is generally non-toxic, but it’s best to clean up any spills promptly to prevent staining or damage. Remember, prevention is key. Take your time applying the paste carefully to avoid accidental spills onto surrounding surfaces.
Are there any safety precautions I should take?
Always wear gloves to protect your hands from the paste. Ensure adequate ventilation in your kitchen while cleaning, as the vinegar can produce a slight odor. Keep children and pets away from the area during the cleaning process. If you have any concerns or allergies, consult a medical professional before using this method. Remember, safety should always be your top priority.
Can I use this method on the oven door?
Yes, you can use this method on the oven door, but be extra cautious. The oven door is often made of glass, which can be more susceptible to scratching. Use a soft cloth or sponge and avoid excessive scrubbing. If your oven door has a special coating or finish, consult your oven’s manual before applying the cleaning paste.
What if I don’t have white vinegar?
While white vinegar is the most effective due to its acidity, you can try substituting with apple cider vinegar or another mild acid, but the results might not be as effective. White vinegar is preferred for its lack of color and strong cleaning properties. If you don’t have vinegar, you can try using lemon juice as a substitute, but it might require a longer cleaning time.
Is this method safe for self-cleaning ovens?
Yes, this method is generally safe for self-cleaning ovens, offering a gentler alternative to the high-heat self-cleaning cycle. However, always check your oven’s manufacturer’s instructions before proceeding. This method can help maintain the cleanliness of your self-cleaning oven between high-heat cycles, extending its lifespan and reducing the frequency of harsh self-cleaning cycles.


Leave a Comment