
Grow Mint Indoors Kitchen: Imagine stepping into your kitchen and snipping fresh, fragrant mint leaves to brighten your morning tea or add a zesty kick to your favorite dish. No more last-minute grocery store runs or settling for wilted herbs! That’s the magic we’re unlocking today with simple, effective DIY tricks to cultivate your own thriving mint patch right in your kitchen.
Mint, with its vibrant history, has been cherished for centuries. From ancient Egyptians using it for medicinal purposes to Romans crowning themselves with mint wreaths, this herb boasts a rich cultural significance. Today, we’re bringing this tradition into the modern home, adapting age-old wisdom for the contemporary kitchen gardener.
Why should you embark on this DIY adventure? Well, for starters, growing your own mint is incredibly rewarding. It’s a sustainable way to enjoy fresh herbs, reduces your carbon footprint, and adds a touch of greenery to your living space. Plus, let’s be honest, store-bought mint can be expensive and often lacks the intense flavor of homegrown varieties. I’m going to show you how easy it is to grow mint indoors kitchen, even if you don’t have a green thumb. Get ready to transform your kitchen into a fragrant oasis with these easy-to-follow tips and tricks!
Growing Mint Indoors: A Kitchen Herb Garden Guide
Hey there, fellow herb enthusiasts! Ever dreamt of having fresh, fragrant mint readily available right in your kitchen? Well, dream no more! I’m going to walk you through the super simple process of growing mint indoors. Trust me, it’s easier than you think, and the reward of having homegrown mint for mojitos, teas, or even just a refreshing garnish is totally worth it. Let’s get started!
What You’ll Need
Before we dive in, let’s gather our supplies. This is a pretty low-key project, so you probably already have some of these things lying around.
* **Mint Cuttings or a Small Mint Plant:** You can either take cuttings from an existing mint plant (a friend’s garden, maybe?) or buy a small plant from your local nursery or garden center. I’ll cover both methods.
* **Pot with Drainage Holes:** Drainage is crucial! Mint doesn’t like soggy roots. Choose a pot that’s at least 6 inches in diameter to give your mint room to grow.
* **Potting Mix:** Use a good quality potting mix, not garden soil. Potting mix is lighter and drains better, which is exactly what mint needs.
* **Watering Can or Spray Bottle:** For gentle watering.
* **Sunny Windowsill or Grow Light:** Mint needs plenty of light to thrive. A south-facing windowsill is ideal, but if you don’t have one, a grow light will do the trick.
* **Optional: Rooting Hormone (for cuttings):** This isn’t strictly necessary, but it can help your cuttings root faster.
* **Optional: Small Pebbles or Gravel:** To place at the bottom of the pot for even better drainage.
Taking Mint Cuttings (If You’re Not Starting with a Plant)
Okay, so you’ve decided to propagate your mint from cuttings. Awesome! This is a great way to multiply your mint supply.
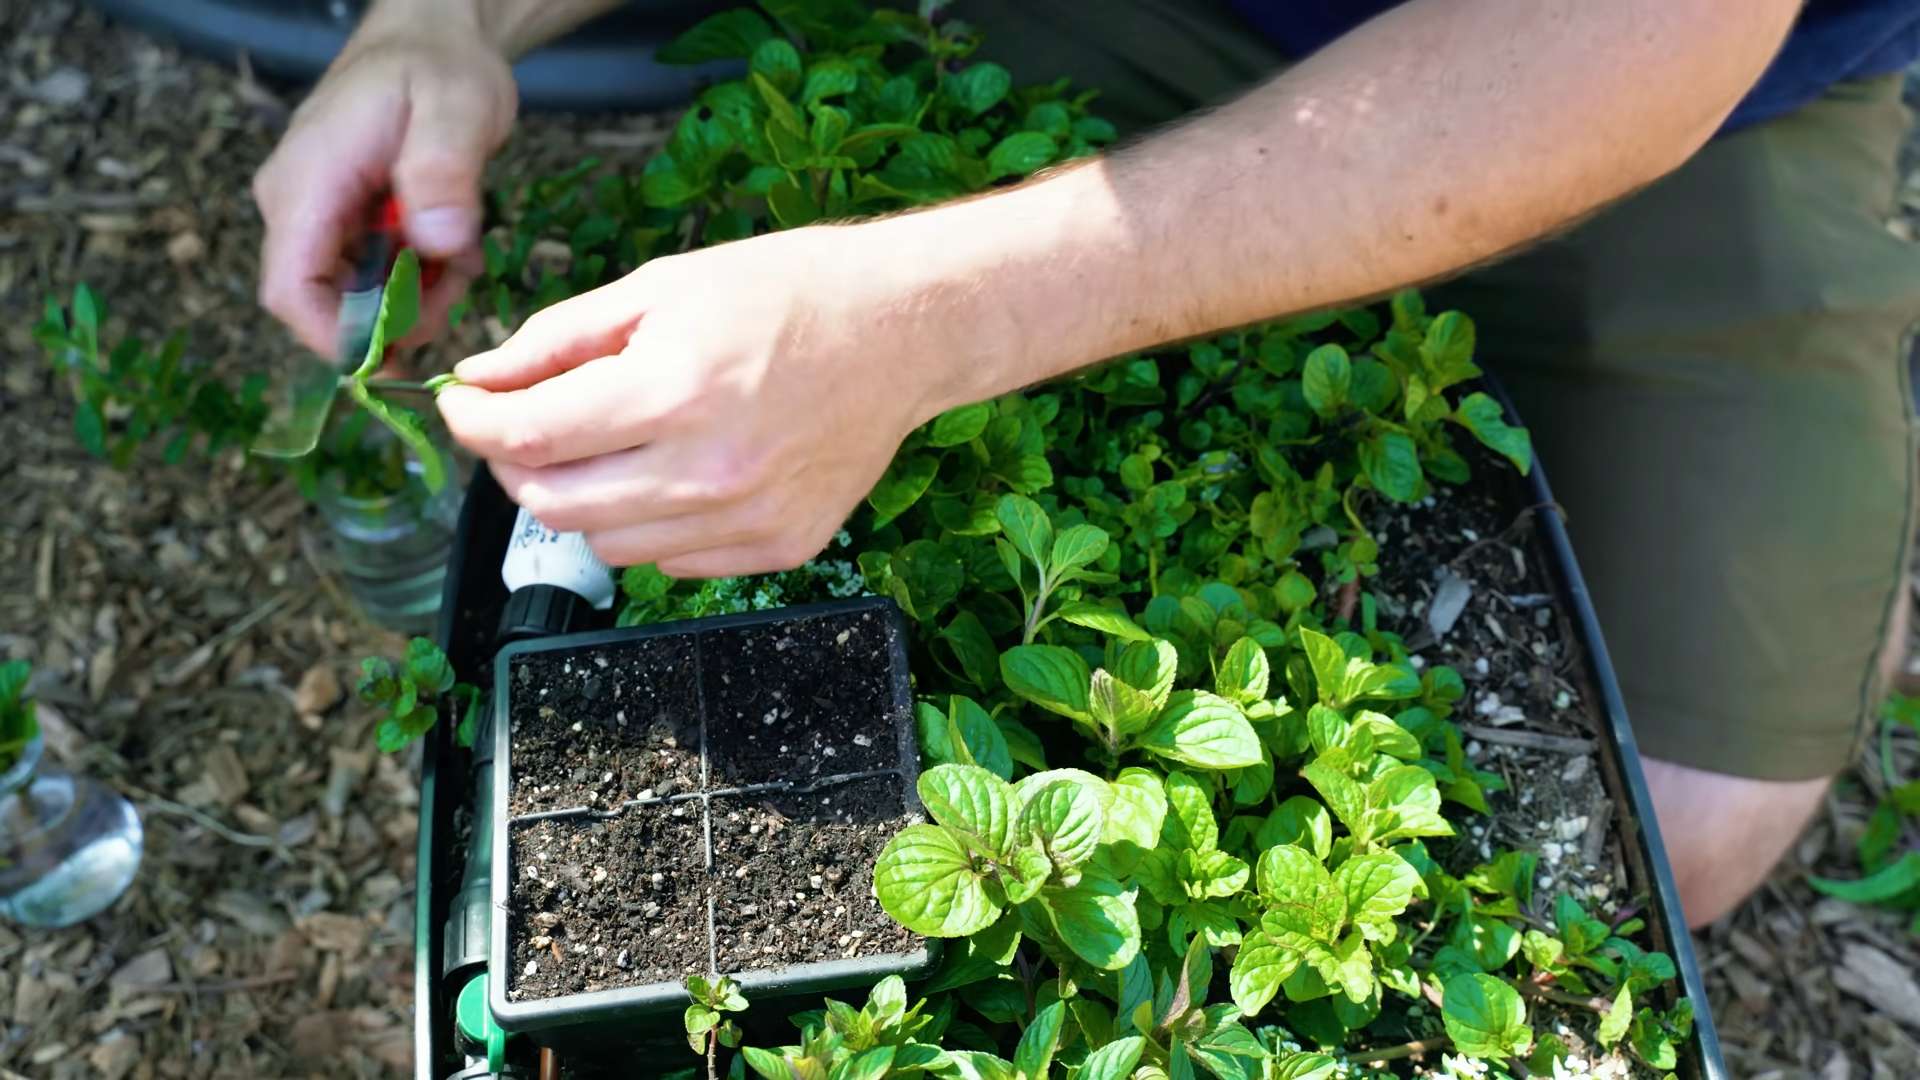
1. **Choose Healthy Stems:** Look for healthy, vibrant green stems that are about 4-6 inches long. Avoid stems that are flowering, as they won’t root as easily.
2. **Make the Cut:** Using clean scissors or pruning shears, make a clean cut just below a leaf node (the point where a leaf grows out of the stem).
3. **Remove Lower Leaves:** Remove the leaves from the bottom 1-2 inches of the stem. This is where the roots will grow, and you don’t want those leaves rotting in the water.
4. **Rooting Hormone (Optional):** If you’re using rooting hormone, dip the cut end of the stem into the powder or liquid. Follow the instructions on the product label.
5. **Place in Water:** Put the cuttings in a glass or jar filled with water. Make sure the leaves are above the water line.
6. **Find a Sunny Spot:** Place the glass in a bright, indirect light location. Avoid direct sunlight, which can scorch the leaves.
7. **Change the Water Regularly:** Change the water every 1-2 days to keep it fresh and prevent bacteria growth.
8. **Wait for Roots:** Be patient! It usually takes about 2-4 weeks for roots to develop. You’ll see small white roots emerging from the stem.
9. **Plant Your Cuttings:** Once the roots are about an inch long, you can plant your cuttings in a pot filled with potting mix.
Planting Your Mint (Whether from Cuttings or a Store-Bought Plant)
Alright, whether you’ve patiently waited for your cuttings to root or you’re starting with a small plant from the store, the planting process is the same.
1. **Prepare the Pot:** If you’re using pebbles or gravel for drainage, place a layer at the bottom of the pot. This will help prevent the roots from sitting in water.
2. **Fill with Potting Mix:** Fill the pot with potting mix, leaving about an inch of space at the top.
3. **Make a Hole:** Use your finger or a small trowel to create a hole in the center of the potting mix. The hole should be large enough to accommodate the roots of your cuttings or the root ball of your store-bought plant.
4. **Plant the Mint:**
* **For Cuttings:** Gently place the rooted cuttings into the hole, spreading the roots out as much as possible.
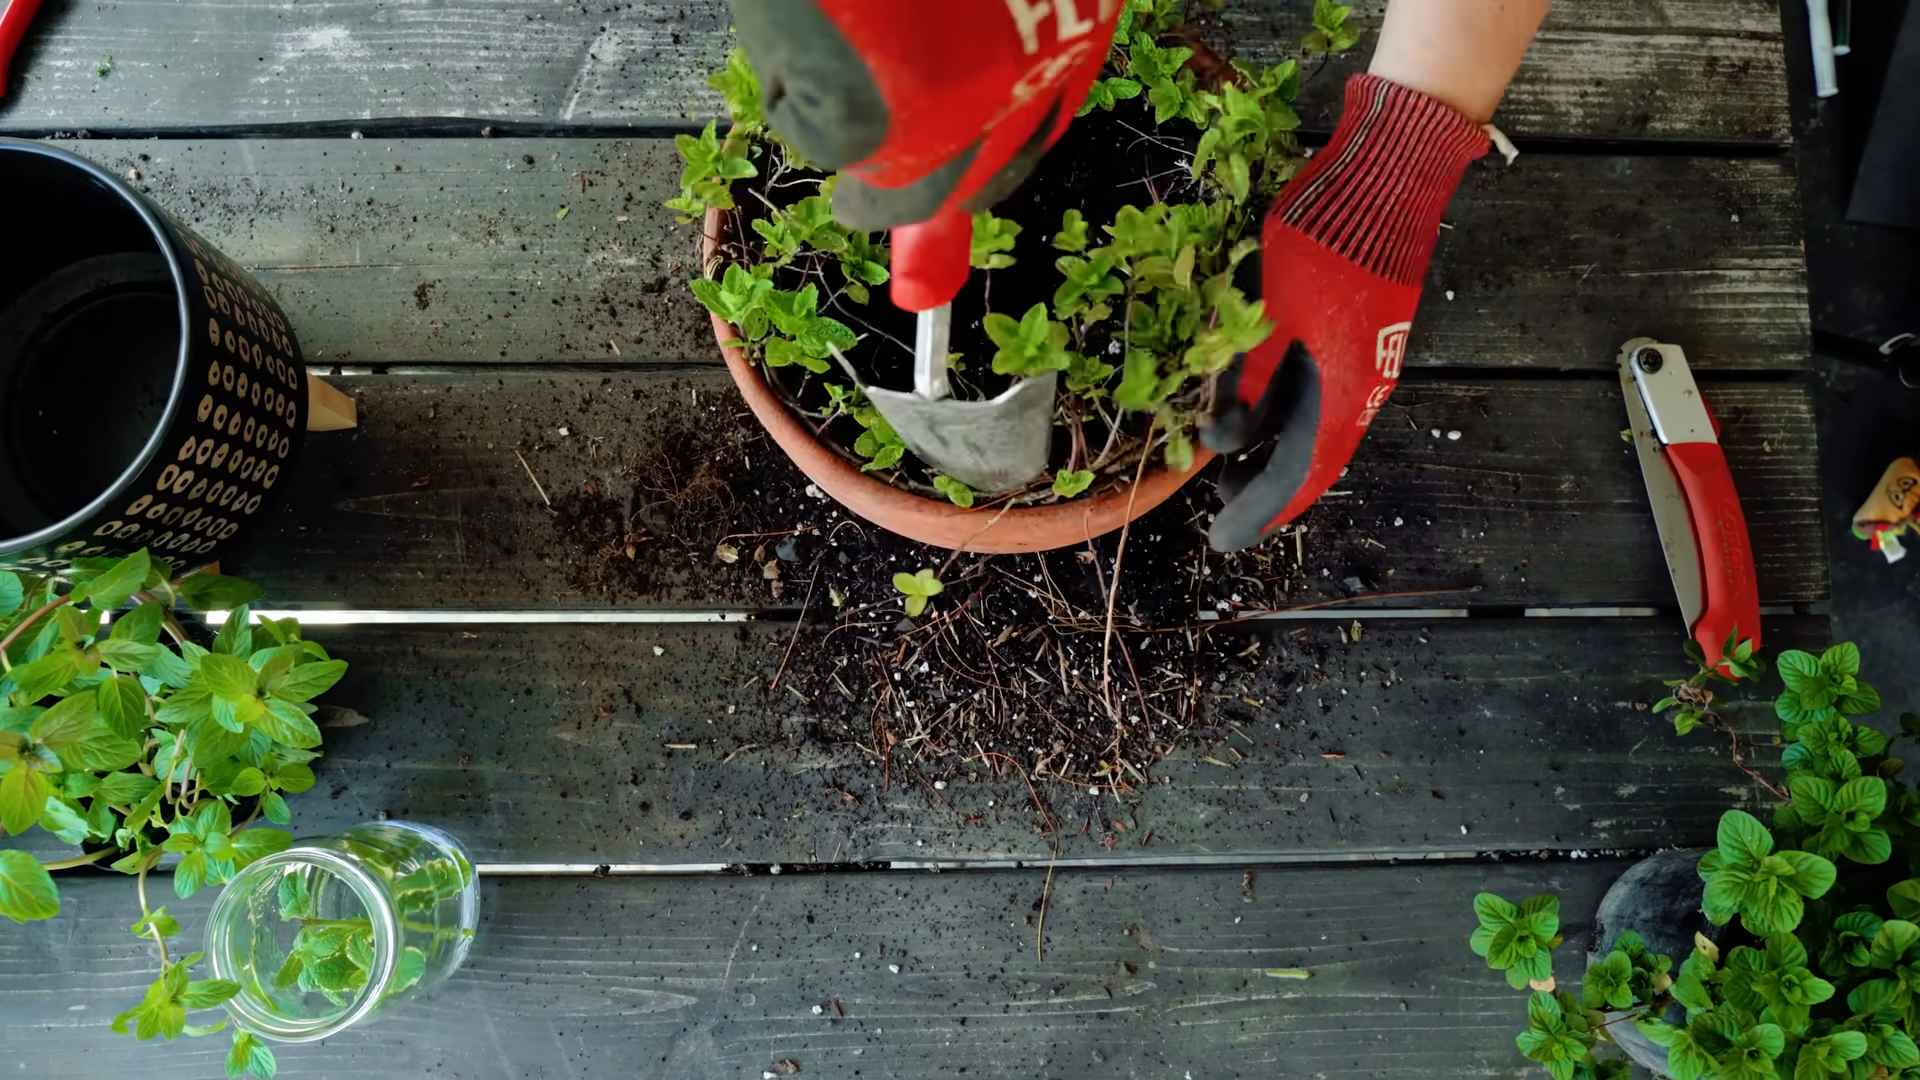
* **For Store-Bought Plant:** Gently remove the plant from its nursery pot. If the roots are tightly bound, gently loosen them with your fingers. Place the plant in the hole.
5. **Fill in with Potting Mix:** Fill in the hole around the mint with potting mix, gently pressing down to secure the plant.
6. **Water Thoroughly:** Water the mint thoroughly until water drains out of the drainage holes. This will help settle the potting mix and ensure the roots are well-hydrated.
Caring for Your Indoor Mint Plant
Now that your mint is planted, it’s time to give it the TLC it needs to thrive.
1. **Light:** Mint loves light! Place your pot on a sunny windowsill that receives at least 6 hours of direct sunlight per day. If you don’t have a sunny windowsill, use a grow light. Position the grow light a few inches above the plant and keep it on for 12-14 hours per day.
2. **Watering:** Keep the soil consistently moist, but not soggy. Water when the top inch of soil feels dry to the touch. Avoid overwatering, which can lead to root rot. I usually check the soil moisture every other day.
3. **Humidity:** Mint prefers slightly humid conditions. If your home is dry, you can increase humidity by misting the plant with water regularly or placing a tray of water near the pot.
4. **Fertilizing:** Feed your mint plant with a balanced liquid fertilizer every 2-4 weeks during the growing season (spring and summer). Follow the instructions on the fertilizer label.
5. **Pruning:** Pruning is essential for keeping your mint plant healthy and productive. Regularly pinch off the top leaves to encourage bushier growth. You can also harvest larger stems as needed. Don’t be afraid to prune! The more you prune, the more it will grow.
6. **Pest Control:** Keep an eye out for pests like aphids, spider mites, and whiteflies. If you spot any pests, treat them with insecticidal soap or neem oil. I prefer to use organic pest control methods whenever possible.
7. **Repotting:** Mint is a fast-growing plant, so you may need to repot it into a larger pot every year or two. Choose a pot that’s a few inches larger in diameter than the current pot.
Troubleshooting
Even with the best care, you might encounter a few challenges along the way. Here are some common problems and how to fix them:
* **Yellowing Leaves:** This could be a sign of overwatering, underwatering, or nutrient deficiency. Check the soil moisture and adjust your watering accordingly. If the soil is consistently moist, you’re probably overwatering. If the soil is dry, you’re probably underwatering. If the leaves are yellowing all over, it could be a nutrient deficiency. Try fertilizing your plant with a balanced liquid fertilizer.
* **Leggy Growth:** This is usually caused by insufficient light. Move your plant to a sunnier location or use a grow light.
* **Brown Leaf Tips:** This could be a sign of dry air or salt buildup in the soil. Increase humidity by misting the plant or placing a tray of water near the pot. Flush the soil with water to remove salt buildup.
* **Pests:** As mentioned earlier, keep an eye out for pests and treat them promptly with insecticidal soap or neem oil.
Harvesting Your Mint
The best part about growing your own mint is, of course, harvesting it!
1. **When to Harvest:** You can start harvesting mint as soon as the plant is a few inches tall.
2. **How to Harvest:** Use scissors or pruning shears to cut off stems just above a leaf node. This will encourage new growth.
3. **How Much to Harvest:** Don’t harvest more than one-third of the plant at a time. This will allow the plant to recover and continue growing.
4. **Using Your Mint:** Fresh mint is best used immediately. You can add it to teas, cocktails, salads, desserts, and more!
5. **Storing Your Mint:** If you’re not using your mint right away, you can store it in the refrigerator. Wrap the stems in a damp paper towel and place them in a plastic bag. Mint will stay fresh in the refrigerator for up to a week. You can also dry mint for later use. Hang the stems upside down in a cool, dry place until they are completely dry.
Preventing Mint from Taking Over (Important!)
Mint is notorious for being invasive. Even indoors, if you’re not careful, it can spread. Here’s how to keep it contained:
* **Keep it in a Pot:** Always grow
Conclusion
So, there you have it! Growing mint indoors is not only achievable, but it’s also a game-changer for any home cook or beverage enthusiast. Forget those sad, wilted bunches from the grocery store. Imagine stepping into your kitchen and snipping fresh, vibrant mint leaves whenever you need them. The aroma alone is enough to brighten your day, and the flavor is simply unparalleled. This DIY trick is a must-try because it puts the power of fresh herbs directly into your hands, regardless of the season or your outdoor space.
Beyond the convenience and superior flavor, growing your own mint is incredibly rewarding. It’s a small connection to nature that you can cultivate right in your own home. Plus, it’s a sustainable choice, reducing your reliance on commercially grown herbs that often travel long distances.
Want to take your indoor mint garden to the next level? Consider these variations:
* **Mint Varieties:** Experiment with different types of mint, such as peppermint, spearmint, chocolate mint, or even orange mint. Each variety offers a unique flavor profile that can elevate your culinary creations.
* **Container Gardening:** Get creative with your containers! Use repurposed teacups, mason jars, or even old watering cans for a charming and eco-friendly touch. Just ensure they have adequate drainage.
* **Companion Planting:** While mint is best grown on its own due to its invasive nature, you can strategically place your mint plant near other indoor herbs or vegetables to deter pests.
* **Mint-Infused Creations:** Once your mint is thriving, explore the endless possibilities of mint-infused recipes. From refreshing mojitos and mint juleps to flavorful sauces and desserts, the possibilities are endless. Try adding fresh mint to your water for a refreshing and healthy drink. You can also dry your mint leaves to make your own mint tea.
* Hydroponic Mint: For a more advanced approach, consider growing your mint hydroponically. This method uses nutrient-rich water instead of soil, allowing for faster growth and greater control over the growing environment.
Don’t be intimidated if you’ve never grown herbs indoors before. This method is surprisingly simple and forgiving. With a little sunlight, water, and care, you’ll be enjoying fresh, homegrown mint in no time.
We wholeheartedly encourage you to try this DIY trick for growing mint indoors. It’s a simple, affordable, and incredibly satisfying way to enhance your culinary experience and bring a touch of green into your home. And most importantly, we want to hear about your experience! Share your photos, tips, and stories with us in the comments below. Let’s create a community of indoor mint growers and inspire others to discover the joy of fresh, homegrown herbs. What are you waiting for? Get planting!
Frequently Asked Questions (FAQ)
**Q: What kind of container is best for growing mint indoors?**
A: The best container for growing mint indoors is one that is at least 6 inches deep and has drainage holes. Mint spreads quickly, so it’s best to choose a container that is large enough to accommodate its growth. Terracotta pots are a good option because they allow the soil to breathe, but any pot made of plastic, ceramic, or metal will work as long as it has drainage. Make sure to use a well-draining potting mix to prevent root rot.
**Q: How much sunlight does indoor mint need?**
A: Mint thrives in bright, indirect sunlight. Aim for at least 4-6 hours of sunlight per day. If you don’t have a sunny windowsill, you can supplement with a grow light. Place the grow light about 6-12 inches above the plant and keep it on for 12-14 hours per day. Rotate the plant regularly to ensure even growth on all sides.
**Q: How often should I water my indoor mint plant?**
A: Water your mint plant when the top inch of soil feels dry to the touch. Avoid overwatering, as this can lead to root rot. Water thoroughly until water drains out of the drainage holes. During the growing season (spring and summer), you may need to water more frequently than during the dormant season (fall and winter). Check the soil moisture regularly and adjust your watering schedule accordingly.
**Q: How do I harvest mint leaves without harming the plant?**
A: To harvest mint leaves, simply snip off the stems just above a leaf node (the point where leaves grow from the stem). This will encourage the plant to branch out and produce more leaves. Avoid removing more than one-third of the plant at a time, as this can stress the plant. Harvest regularly to keep the plant compact and bushy.
**Q: My mint plant is getting leggy. What should I do?**
A: Leggy growth in mint plants is often caused by insufficient light. Move your plant to a sunnier location or supplement with a grow light. You can also prune the leggy stems back to encourage bushier growth. Pinch off the tips of the stems to promote branching. Regular harvesting will also help to keep the plant compact and prevent it from becoming leggy.
**Q: How do I prevent my indoor mint from becoming invasive?**
A: Mint is known for its invasive nature, so it’s important to contain it when growing it indoors. The best way to prevent it from spreading is to grow it in a pot and not plant it directly in the ground. Make sure the pot has drainage holes to prevent waterlogging. If you notice any runners (stems that grow horizontally along the surface of the soil), trim them off immediately.
**Q: Can I grow mint from cuttings?**
A: Yes, growing mint from cuttings is a very easy and effective way to propagate new plants. Simply take a 4-6 inch cutting from a healthy stem, remove the lower leaves, and place the cutting in a glass of water. Change the water every few days. After a week or two, roots will begin to form. Once the roots are about an inch long, you can plant the cutting in a pot of well-draining potting mix.
**Q: My mint leaves are turning yellow. What could be the problem?**
A: Yellowing leaves on a mint plant can be caused by several factors, including overwatering, underwatering, nutrient deficiencies, or pests. Check the soil moisture to make sure you’re not overwatering or underwatering. If the soil is consistently wet, allow it to dry out before watering again. If the soil is dry, water thoroughly. You can also fertilize your mint plant with a balanced liquid fertilizer every few weeks to provide it with the nutrients it needs. Inspect the leaves for pests, such as aphids or spider mites, and treat accordingly.
**Q: How do I deal with pests on my indoor mint plant?**
A: Common pests that can affect indoor mint plants include aphids, spider mites, and whiteflies. You can control these pests by spraying the plant with insecticidal soap or neem oil. Be sure to follow the instructions on the product label. You can also try wiping the leaves with a damp cloth to remove pests. Regularly inspect your plant for pests and take action as soon as you notice them.
**Q: Can I use tap water to water my mint plant?**
A: While tap water is generally safe to use, it can sometimes contain chlorine or other chemicals that can harm your mint plant. If your tap water is heavily chlorinated, it’s best to let it sit out for 24 hours before using it to water your plants. This will allow the chlorine to evaporate. You can also use filtered water or rainwater.
**Q: How do I overwinter my indoor mint plant?**
A: Mint is a perennial plant, which means it can live for several years. To overwinter your indoor mint plant, reduce watering and fertilizing during the fall and winter months. Place the plant in a cool, bright location. You can also prune the plant back to encourage new growth in the spring. In the spring, resume regular watering and fertilizing.


Leave a Comment