
Oven cleaning baking soda vinegar – sounds like a science experiment, right? Well, in a way, it is! But trust me, it’s a science experiment that will leave your oven sparkling clean without the harsh chemicals. For generations, resourceful homemakers have relied on the power of simple, natural ingredients to tackle tough cleaning tasks. Think about it – before the age of commercial cleaners, baking soda and vinegar were staples in every household, used for everything from baking to, you guessed it, cleaning!
Why should you ditch the store-bought oven cleaners and embrace this DIY method? Because those commercial cleaners are often packed with fumes and chemicals that can be harmful to your health and the environment. Plus, they can be expensive! With just baking soda and vinegar, you can achieve the same, if not better, results for a fraction of the cost. I’m going to show you a simple, effective, and eco-friendly way to get your oven looking brand new again. So, grab your baking soda, vinegar, and let’s get started on this oven cleaning baking soda vinegar adventure! You’ll be amazed at how easy and satisfying it is to transform your grimy oven into a gleaming masterpiece.
DIY Oven Cleaning with Baking Soda and Vinegar: A Sparkling Clean Oven Awaits!
Okay, let’s face it, cleaning the oven is probably on everyone’s list of least favorite chores. But a clean oven is a happy oven (and makes for tastier food!), so let’s tackle this together. I’m going to show you how to clean your oven using the power of baking soda and vinegar – two ingredients you probably already have in your pantry! This method is not only effective but also avoids harsh chemicals, making it a safer and more eco-friendly option.
What You’ll Need
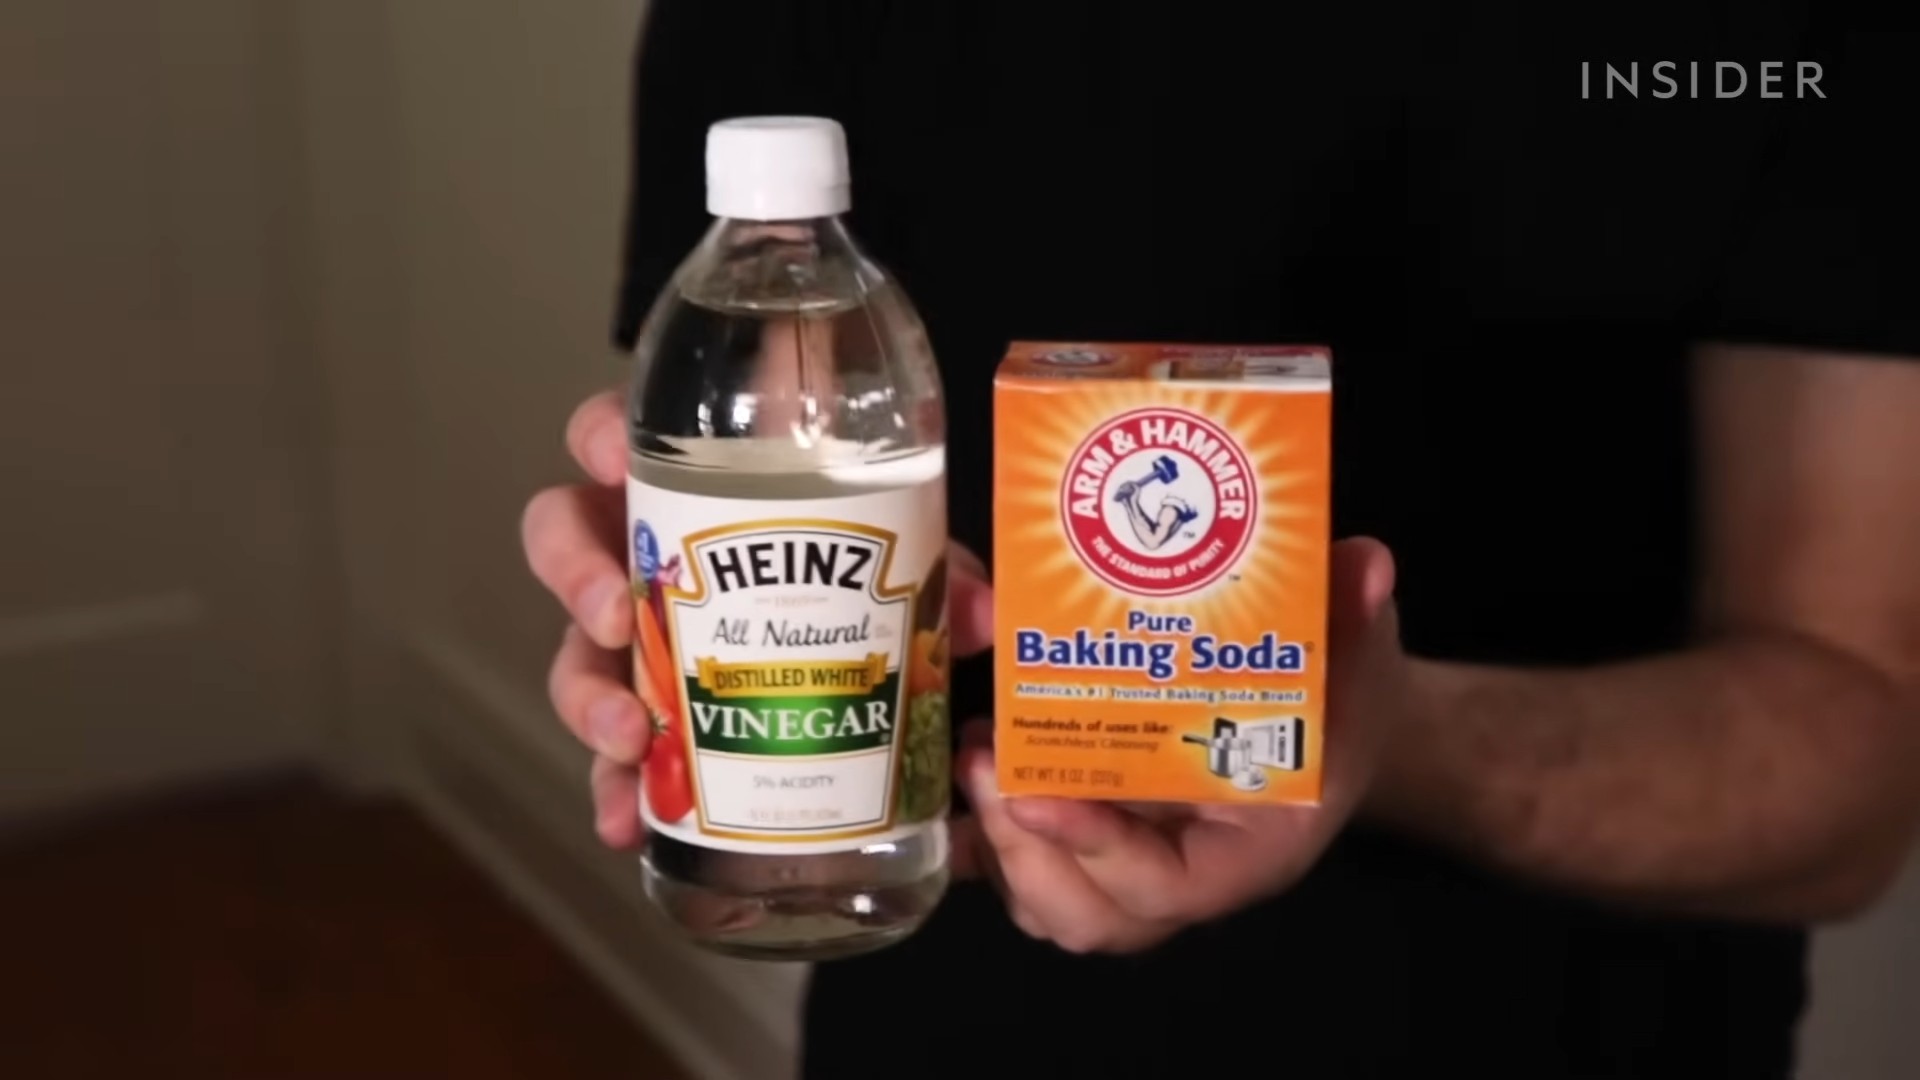
Before we dive in, let’s gather our supplies. Trust me, having everything ready beforehand will make the process much smoother.
* Baking soda (about ½ cup to 1 cup, depending on how dirty your oven is)
* White vinegar (in a spray bottle)
* Water
* A bowl
* Spatula or scraper
* Rubber gloves (trust me, you’ll want these!)
* Sponge or scrubbing brush
* Paper towels or a clean cloth
* Old towel or newspaper (to protect your floor)
Preparing Your Oven
This is a crucial step, so don’t skip it! Proper preparation will make the cleaning process much easier.
1. Remove Oven Racks and Accessories: Take out all the oven racks, baking stones, thermometers, and anything else that’s inside your oven. We’ll clean the racks separately later.
2. Protect Your Floor: Lay down an old towel or newspaper around the base of your oven. This will catch any drips and spills, saving you from extra cleanup later.
3. Give it a Quick Wipe Down: Use a damp cloth or paper towel to wipe up any loose crumbs or debris from the bottom of the oven. This will help the baking soda paste adhere better.
Making and Applying the Baking Soda Paste
This is where the magic begins! The baking soda paste will work its way into the grime and loosen it up.
1. Mix the Paste: In a bowl, combine ½ cup of baking soda with enough water to form a thick, spreadable paste. You want it to be similar to the consistency of frosting. If you accidentally add too much water, just add a little more baking soda until you get the right consistency.
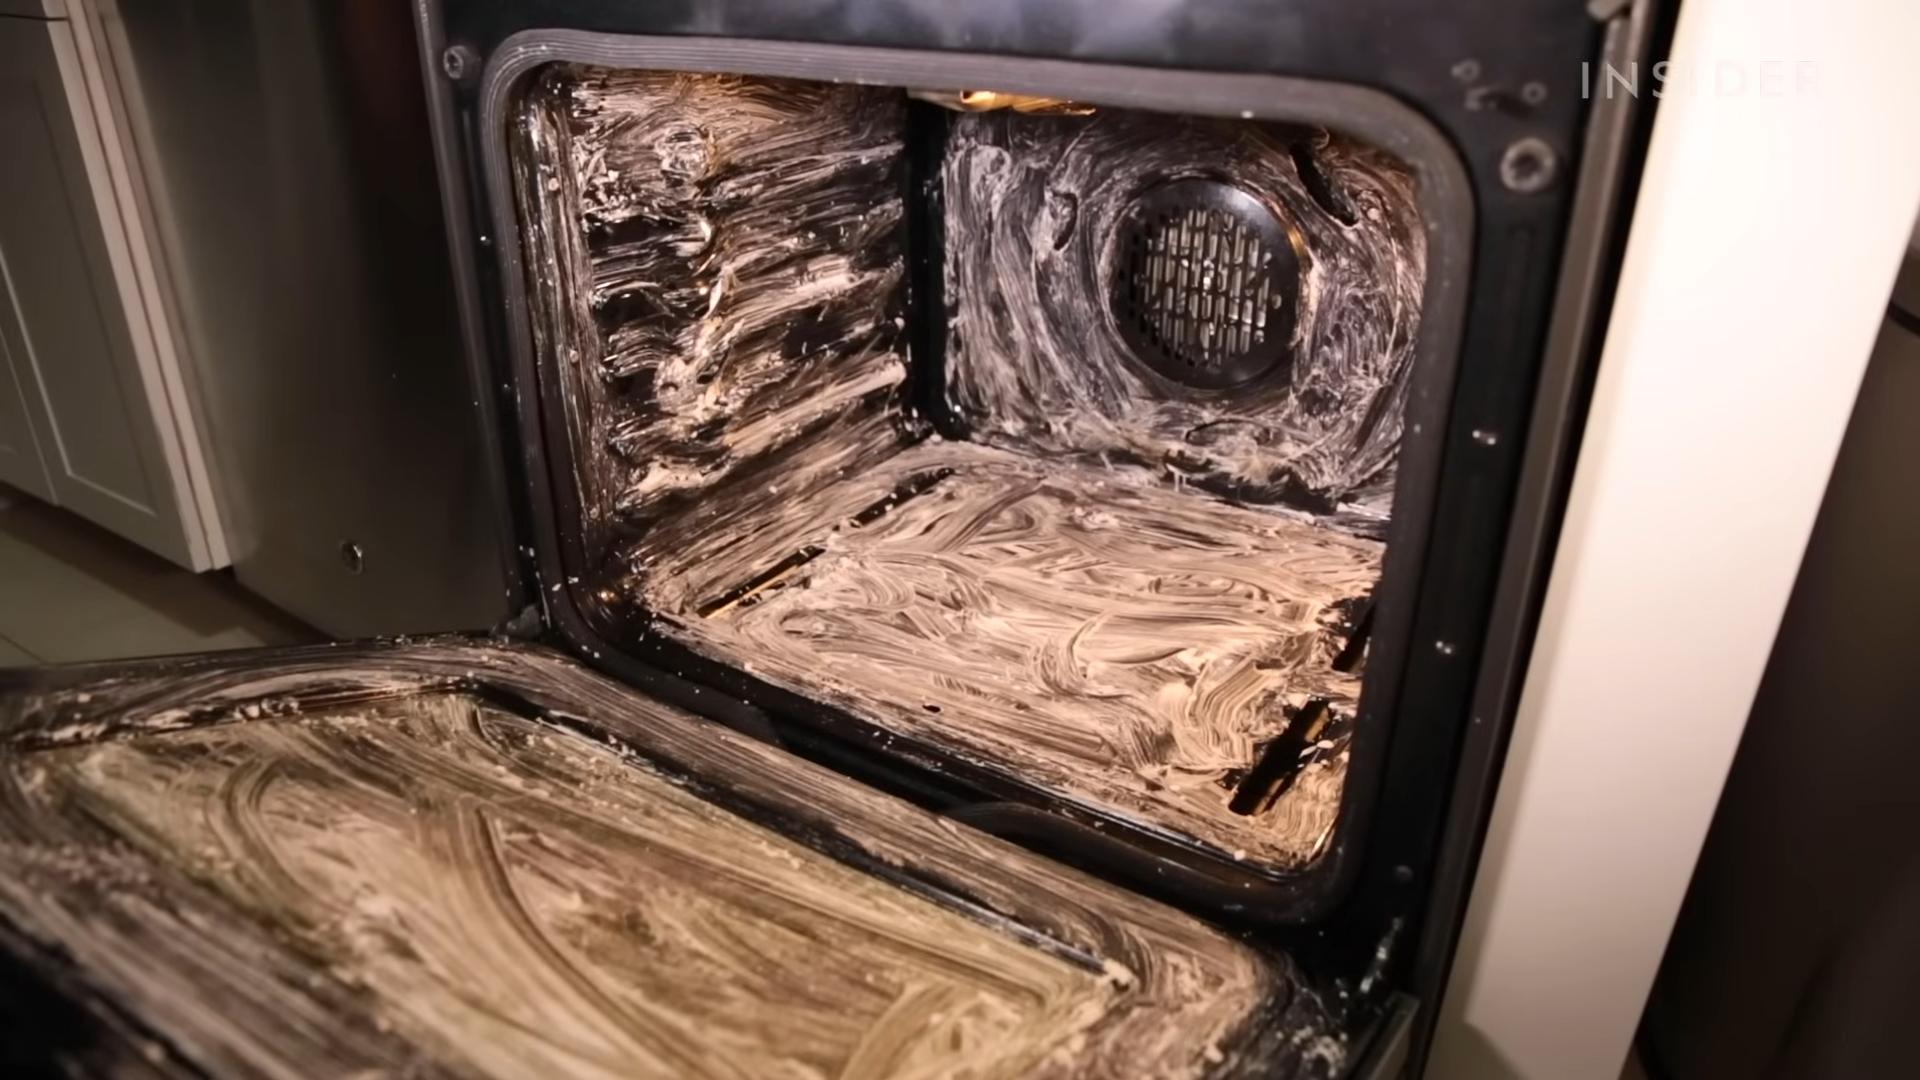
2. Coat the Oven: Using your spatula or scraper (or even your gloved hands!), spread the baking soda paste all over the interior surfaces of your oven. Avoid the heating elements! Make sure to coat the back, sides, top, bottom, and even the inside of the oven door.
3. Focus on Problem Areas: Pay special attention to areas with baked-on grease or food splatters. Apply a thicker layer of paste to these spots.
4. Let it Sit (and Work its Magic!): This is the most important part! Let the baking soda paste sit in your oven for at least 12 hours, or even overnight. The longer it sits, the more effective it will be at loosening the grime. I usually apply it before I go to bed and let it work its magic while I sleep.
Cleaning the Oven Racks
While the baking soda paste is doing its thing inside the oven, let’s tackle those grimy oven racks.
1. Soak the Racks: The easiest way to clean oven racks is to soak them in hot, soapy water. Fill your bathtub (or a large utility sink) with hot water and add a generous amount of dish soap.
2. Submerge the Racks: Place the oven racks in the water and make sure they are completely submerged. You might need to add more water to cover them fully.
3. Let Them Soak: Let the racks soak for at least 2-3 hours, or even overnight if they are really dirty. The hot, soapy water will help to loosen the baked-on grease and food particles.
4. Scrub and Rinse: After soaking, use a scrubbing brush or sponge to scrub the racks clean. You might need to use a little elbow grease, but the soaking should have made the grime much easier to remove.
5. Rinse Thoroughly: Rinse the racks thoroughly with clean water to remove any remaining soap and grime.
6. Dry the Racks: Dry the racks completely with a clean towel before putting them back in the oven.
Removing the Baking Soda Paste and Vinegar Power!
Okay, it’s been at least 12 hours (or overnight!), and the baking soda paste has done its job. Now it’s time to remove it and reveal a cleaner oven.
1. Vinegar Time: Fill your spray bottle with white vinegar.
2. Spray the Vinegar: Generously spray the baking soda paste with vinegar. The vinegar will react with the baking soda, causing it to fizz. This fizzing action helps to further loosen the grime and make it easier to remove.
3. Wipe it Away: Using a damp sponge or cloth, wipe away the baking soda and vinegar mixture. You might need to rinse your sponge or cloth frequently as you go.
4. Scrub Stubborn Spots: For any stubborn spots that are still clinging on, use a scrubbing brush or a scraper to gently scrub them away. Be careful not to scratch the oven’s interior.
5. Rinse and Repeat: Rinse the oven thoroughly with a clean, damp cloth to remove any remaining baking soda and vinegar residue. You might need to repeat this step a few times to ensure that all the residue is gone.
Final Touches and Getting Your Oven Ready to Cook!
We’re almost there! Just a few more steps to ensure your oven is sparkling clean and ready for your next culinary adventure.
1. Clean the Oven Door: Don’t forget the oven door! Clean the inside and outside of the door with a glass cleaner or a mixture of vinegar and water.
2. Dry the Oven: Use a clean, dry cloth to dry the interior of the oven. This will help to prevent any water spots from forming.
3. Replace the Racks: Once the oven is completely dry, carefully replace the oven racks.
4. Low Heat Test: Turn on your oven to a low temperature (around 200 degrees Fahrenheit) for about 15-20 minutes. This will help to burn off any remaining residue and ensure that your oven is completely dry. Keep an eye on it and ventilate the kitchen well during this process. There might be a slight vinegar smell, but it should dissipate quickly.
5. Admire Your Work: Step back and admire your sparkling clean oven! You did it!
Tips and Tricks for a Super Clean Oven
Here are a few extra tips to help you get the best results and keep your oven clean in the future:
* Clean Regularly: The more often you clean your oven, the easier it will be to maintain. Try to clean it every few months, or even more frequently if you use it a lot.
* Spot Clean Spills Immediately: If you spill something in your oven, clean it up as soon as possible. This will prevent it from baking onto the surface and becoming harder to remove later.
* Use Oven Liners: Consider using oven liners to catch drips and spills. This will help to keep the bottom of your oven clean and prevent food from baking onto the surface.
* Baking Soda Paste for Spot Cleaning: You can also use the baking soda paste for spot cleaning. If you notice a small area of baked-on grease or food, apply a small amount of paste to the area and let it sit for a few hours before wiping it away.
* Ventilate Your Kitchen: Always ventilate your kitchen well when cleaning your oven, especially when using vinegar or turning on the oven to dry it.
Troubleshooting Common Issues
Sometimes, even with the best efforts, you might encounter a few challenges. Here’s how to tackle them:
* Stubborn Grime: If you have areas with really stubborn grime, try applying a thicker layer of baking soda paste and letting it sit for a longer period of time. You can also try using a more abrasive scrubbing brush or a scraper.
* Baking Soda Residue: If you’re having trouble removing all of the baking soda residue, try rinsing the oven with a mixture of vinegar and water. The vinegar will help to dissolve the baking soda and make it easier to remove.
* Vinegar Smell: The vinegar smell should dissipate quickly after you turn on the oven to dry it. If the smell lingers, try leaving the oven door open for a few hours to allow it to air out.
I hope this guide helps you achieve a sparkling clean oven! It might take a little time and effort, but the results are definitely worth it. Happy cleaning!
Conclusion
So, there you have it! Ditching those harsh chemicals and embracing the power of baking soda and vinegar for oven cleaning is more than just a trend; it’s a game-changer for your kitchen and your well-being. We’ve walked you through the simple steps, highlighting how this dynamic duo can effectively tackle even the most stubborn baked-on grime. But why is this DIY trick a must-try?
Firstly, it’s incredibly cost-effective. Baking soda and vinegar are pantry staples, meaning you likely already have everything you need on hand. Compared to expensive commercial oven cleaners, this method is a budget-friendly alternative that delivers impressive results. Secondly, and perhaps more importantly, it’s a safer option. Say goodbye to the noxious fumes and harsh chemicals that can irritate your skin, eyes, and respiratory system. This natural approach is gentler on your health and the environment, making it a win-win for everyone.
Beyond the basic method, there’s room for experimentation. For particularly stubborn stains, consider creating a thicker paste of baking soda and water and letting it sit overnight before adding the vinegar. You can also add a few drops of your favorite essential oil, like lemon or tea tree, to the baking soda paste for a fresh, clean scent. If you have a self-cleaning oven, remember that this method is a great alternative to the high-heat, energy-intensive self-cleaning cycle, which can also release unpleasant odors.
This baking soda and vinegar oven cleaning method is a testament to the power of simple, natural ingredients. It’s effective, affordable, and safe, making it an ideal choice for anyone looking to maintain a clean and healthy kitchen.
We wholeheartedly encourage you to give this DIY trick a try. You’ll be amazed at how easily you can transform your oven from a greasy mess to a sparkling clean appliance. And once you’ve experienced the magic of baking soda and vinegar, we’d love to hear about it! Share your before-and-after photos, tips, and variations in the comments below. Let’s build a community of clean oven enthusiasts! Your experiences can help others discover the benefits of this simple yet powerful cleaning solution. Don’t hesitate to share any challenges you faced or any modifications you made to the process. Together, we can refine this method and make it even more effective for everyone. So, grab your baking soda and vinegar, and let’s get cleaning!
Frequently Asked Questions (FAQ)
1. Is baking soda and vinegar really effective for cleaning a very dirty oven?
Yes, baking soda and vinegar can be surprisingly effective, even for heavily soiled ovens. The key is patience and allowing the baking soda paste to sit for an extended period, ideally overnight. The baking soda helps to loosen the baked-on grime, while the vinegar reacts with the baking soda to create a fizzing action that further lifts the dirt. For extremely stubborn areas, you may need to repeat the process or use a non-abrasive scrubbing pad to gently remove the remaining residue. Remember, multiple applications are often more effective than one aggressive scrubbing session.
2. Can I use this method on a self-cleaning oven?
Absolutely! In fact, this method is a great alternative to using the self-cleaning function. Self-cleaning cycles use extremely high temperatures, which can release unpleasant odors and consume a significant amount of energy. The baking soda and vinegar method is a gentler, more eco-friendly option that won’t damage your oven or fill your home with fumes. Just be sure to remove any large debris or loose food particles before applying the baking soda paste.
3. How long should I leave the baking soda paste on before adding the vinegar?
For best results, leave the baking soda paste on for at least 12 hours, or preferably overnight. This allows the baking soda to penetrate and loosen the baked-on grease and grime. The longer it sits, the easier it will be to remove the dirt when you add the vinegar. If you’re short on time, you can try leaving it on for a minimum of 3-4 hours, but the results may not be as dramatic.
4. What kind of vinegar should I use?
Plain white vinegar is the best choice for cleaning your oven. It’s inexpensive, readily available, and has a high acidity level, which makes it effective at dissolving grease and grime. Avoid using flavored vinegars, as they may leave behind a residue or odor. Apple cider vinegar can also be used, but it’s generally not as effective as white vinegar for heavy-duty cleaning.
5. Will the vinegar damage my oven?
No, vinegar is generally safe to use on most oven surfaces. However, it’s always a good idea to test it in an inconspicuous area first, especially if you have a newer or more delicate oven. Avoid using vinegar on any electronic components or heating elements. If you’re concerned about potential damage, you can dilute the vinegar with water before spraying it onto the baking soda paste.
6. How do I clean the oven door glass?
The baking soda and vinegar method works well on oven door glass too! Simply apply the baking soda paste to the glass, let it sit for a few hours, and then spray with vinegar. Wipe away the residue with a damp cloth or sponge. For stubborn stains, you can use a razor blade scraper to gently remove the grime. Be careful not to scratch the glass.
7. What if the baking soda and vinegar don’t remove all the grime?
If some grime remains after using the baking soda and vinegar method, don’t despair! You can try repeating the process, focusing on the stubborn areas. You can also use a non-abrasive scrubbing pad or sponge to gently scrub away the remaining residue. Avoid using steel wool or harsh abrasive cleaners, as they can scratch the oven surface. For particularly tough spots, you can try making a paste of baking soda and hydrogen peroxide.
8. How often should I clean my oven using this method?
The frequency of cleaning depends on how often you use your oven and how messy it gets. As a general rule, cleaning your oven every 3-6 months is a good practice. However, if you notice excessive smoke or odors while cooking, or if there’s a significant buildup of grease and grime, you may need to clean it more frequently. Regular cleaning will prevent the buildup of stubborn stains and make the cleaning process easier in the long run.
9. Can I use this method to clean my microwave?
While this specific method is tailored for ovens, a similar approach can be used to clean your microwave. Place a microwave-safe bowl filled with a mixture of water and vinegar (equal parts) in the microwave and heat it on high for several minutes until the mixture boils and the microwave is filled with steam. Let it sit for a few minutes to allow the steam to loosen the grime, then wipe down the interior with a damp cloth. You can also add a few drops of lemon juice to the mixture for a fresh scent.
10. What are some other natural cleaning alternatives for my kitchen?
Besides baking soda and vinegar, there are many other natural cleaning alternatives you can use in your kitchen. Lemon juice is a great degreaser and disinfectant. Salt can be used as a gentle abrasive cleaner. Hydrogen peroxide is effective at removing stains and killing bacteria. Essential oils, such as tea tree and lavender, have antibacterial and antifungal properties and can be used to add a pleasant scent to your cleaning solutions. By incorporating these natural ingredients into your cleaning routine, you can create a healthier and more eco-friendly kitchen environment.
Leave a Comment