
Restoring frying pan like new doesn’t have to be a Herculean task! Are you tired of battling burnt-on food and stubborn stains that just won’t budge, turning your once-pristine frying pan into a culinary eyesore? I know I have been! For generations, cooks have struggled with keeping their cookware in tip-top shape. From using wood ash in ancient times to the modern-day scouring pads, the quest for a sparkling clean pan is a timeless one.
But fear not, because I’m about to share some amazing DIY tricks that will breathe new life into your beloved frying pan, making it look and perform like it just came out of the box. These aren’t your grandma’s old-fashioned remedies (though some might be inspired by them!). We’re talking about simple, effective, and budget-friendly solutions that anyone can do with ingredients you probably already have in your kitchen.
Why is this so important? Well, a clean frying pan isn’t just about aesthetics. Burnt food residue can affect the taste of your meals and even damage the pan’s surface over time. Plus, let’s be honest, cooking in a sparkling clean pan is just more enjoyable! So, get ready to say goodbye to those frustrating stains and hello to a frying pan that’s ready for its next culinary adventure. Let’s get started on restoring frying pan like new!
Revive Your Beloved Frying Pan: A DIY Restoration Guide
Okay, let’s face it, we all have that one frying pan. The one that’s seen better days, coated in stubborn, burnt-on gunk that no amount of scrubbing seems to budge. You might be tempted to toss it and buy a new one, but hold on! Before you do, let me show you how to restore your frying pan to its former glory. It’s easier than you think, and you’ll feel amazing about saving money and giving your trusty pan a new lease on life.
What You’ll Need
Before we dive in, let’s gather our supplies. This is a pretty straightforward process, and you probably have most of these items already:
* Baking Soda: This is our main cleaning agent. It’s abrasive enough to lift grime but gentle enough not to damage most pan surfaces.
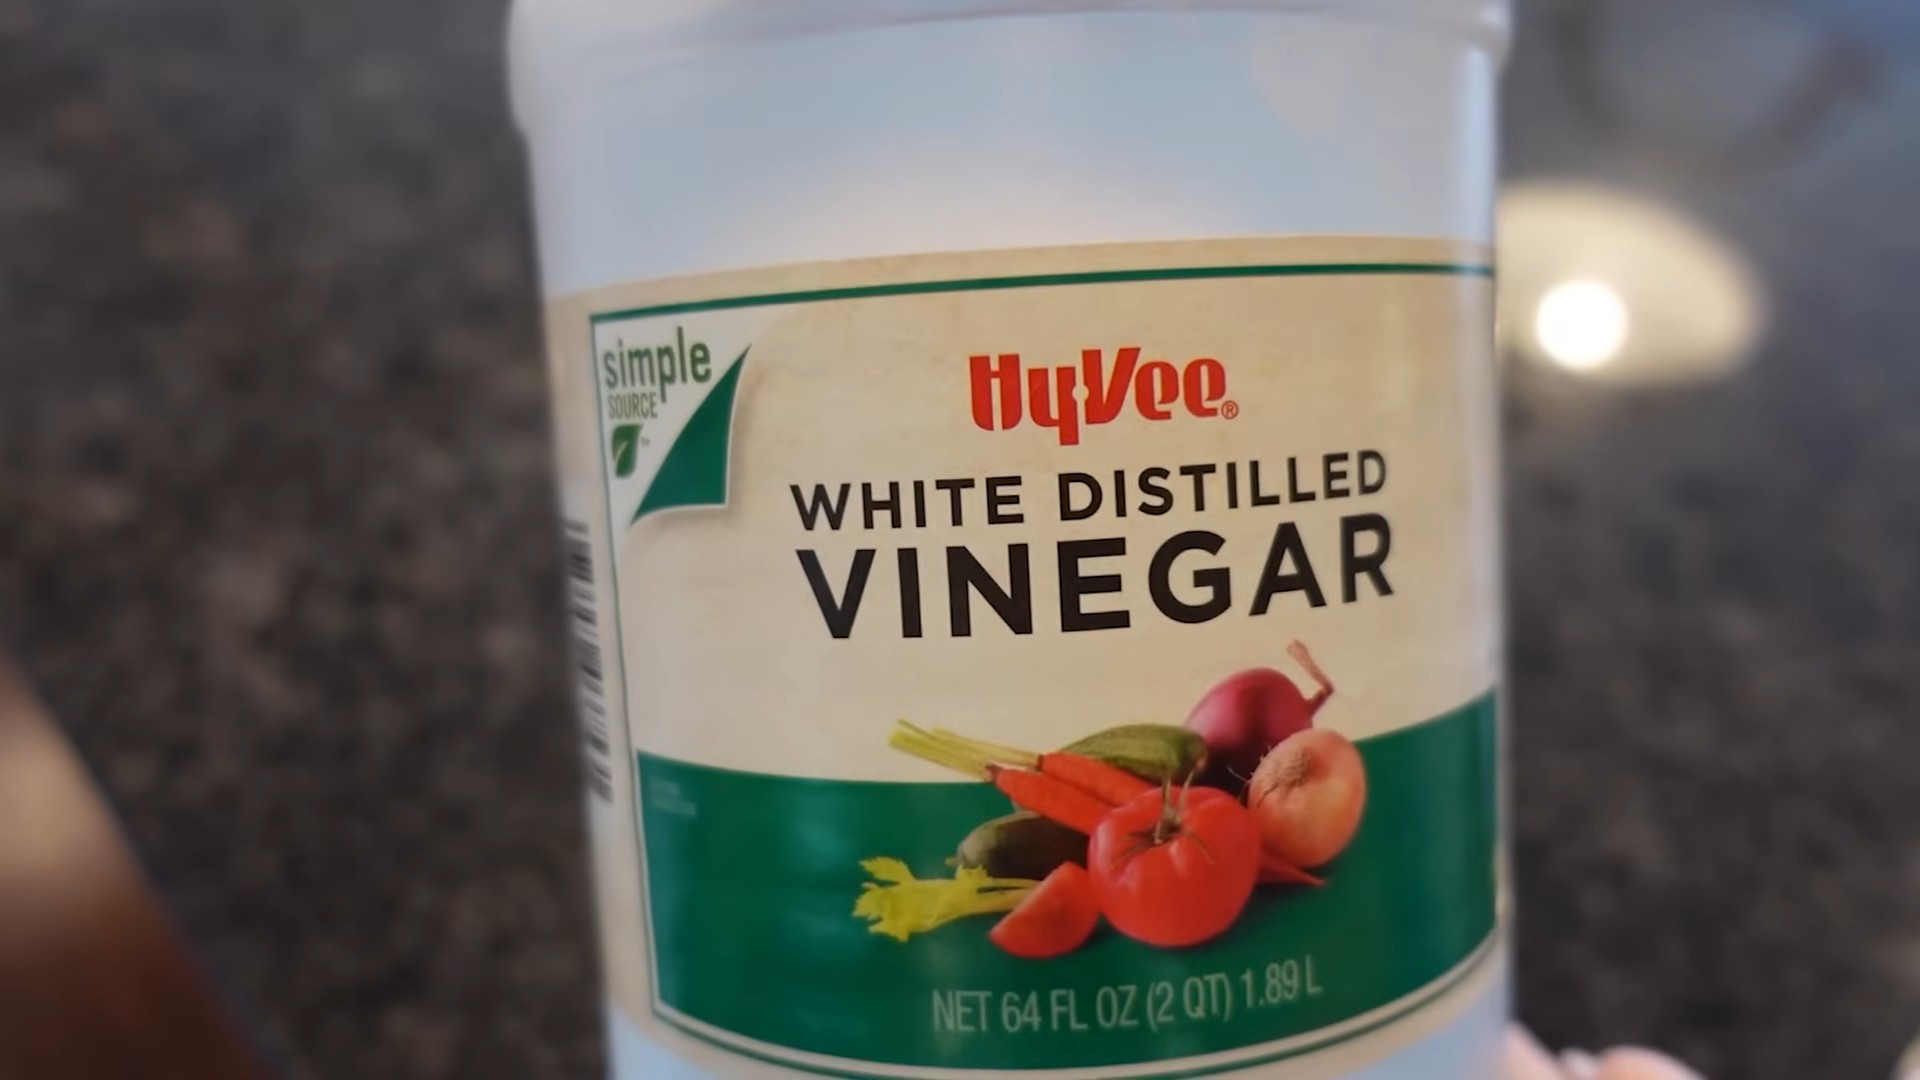
* White Vinegar: The acid in vinegar helps to break down stubborn grease and mineral deposits.
* Dish Soap: For general cleaning and degreasing.
* Water: For mixing and rinsing.
* Scrubbing Sponge or Pad: Choose one that’s appropriate for your pan’s surface. Avoid steel wool on non-stick surfaces! I prefer a non-scratch scouring pad.
* Paper Towels or Cleaning Cloths: For wiping and drying.
* Optional: Oven Cleaner (for extremely stubborn cases, use with caution!)
* Optional: Rubber Gloves: To protect your hands, especially if using oven cleaner.
* Optional: A large pot or container (big enough to submerge the pan)
Assessing the Damage
Before you start, take a good look at your frying pan. What kind of material is it made of? Is it non-stick, stainless steel, cast iron, or something else? This will determine the best cleaning method. Also, how severe is the buildup? Is it just a light coating of grease, or is it a thick layer of burnt-on food? This will help you decide if you need to use the oven cleaner method.
The Baking Soda and Vinegar Method (For Most Pans)
This is my go-to method for restoring frying pans. It’s effective, gentle, and uses ingredients you probably already have in your pantry.
1. Initial Cleaning: Start by washing the pan with dish soap and water to remove any loose debris. Rinse thoroughly.
2. Baking Soda Paste: Make a paste of baking soda and water. You want a consistency that’s thick enough to spread easily but not too dry. I usually start with about 1/2 cup of baking soda and add water a little at a time until I get the right consistency.
3. Apply the Paste: Spread the baking soda paste generously over the affected areas of the pan. Focus on the burnt-on spots and any areas with stubborn grease.
4. Vinegar Power: Pour a thin layer of white vinegar over the baking soda paste. You’ll see it start to fizz – that’s the magic happening! The fizzing action helps to lift the grime.
5. Let it Sit: Let the mixture sit for at least 30 minutes, or even longer for heavily soiled pans. I sometimes let it sit for a few hours or even overnight for really tough spots.
6. Scrubbing Time: After the soaking period, use your scrubbing sponge or pad to scrub the pan. You should see the burnt-on food start to loosen and lift away. Apply some elbow grease!
7. Rinse and Repeat: Rinse the pan thoroughly with water. If there are still some stubborn spots, repeat steps 2-6.
8. Final Wash: Once you’re satisfied with the cleaning, wash the pan again with dish soap and water to remove any remaining baking soda and vinegar residue.
9. Dry Thoroughly: Dry the pan completely with a clean towel. This will prevent rust from forming, especially on stainless steel or cast iron pans.
Dealing with Extremely Stubborn Buildup: The Oven Cleaner Method (Use with Caution!)
If the baking soda and vinegar method isn’t cutting it, you can try using oven cleaner. However, this is a more aggressive method, so use it with caution and always follow the manufacturer’s instructions. This method is not recommended for non-stick pans, as it can damage the coating.
1. Protective Gear: Put on rubber gloves to protect your hands. Work in a well-ventilated area.
2. Apply Oven Cleaner: Spray the oven cleaner evenly over the affected areas of the pan. Make sure to cover all the burnt-on food.
3. Bag it Up: Place the pan in a large plastic bag and seal it tightly. This will help to keep the oven cleaner from drying out and will concentrate its cleaning power.
4. Wait Patiently: Let the pan sit in the bag for several hours, or even overnight. The longer it sits, the better the oven cleaner will work.
5. Rinse Thoroughly: After the soaking period, remove the pan from the bag and rinse it thoroughly with water. Be sure to remove all traces of the oven cleaner.
6. Scrub and Wash: Use a scrubbing sponge or pad to scrub the pan. The burnt-on food should now be much easier to remove. Wash the pan with dish soap and water to remove any remaining oven cleaner residue.
7. Final Rinse and Dry: Rinse the pan thoroughly with water and dry it completely with a clean towel.
Restoring Cast Iron Pans: A Special Approach
Cast iron pans require a slightly different approach because they are prone to rusting. Here’s how to restore a cast iron frying pan:
1. Remove Rust (if any): If your cast iron pan has rust, you’ll need to remove it first. You can use steel wool or a wire brush to scrub away the rust. Be sure to scrub thoroughly to remove all traces of rust.
2. Wash with Soap and Water: Wash the pan with dish soap and water to remove any loose debris and grease.
3. Dry Thoroughly: Dry the pan completely with a clean towel.
4. Seasoning is Key: This is the most important step for cast iron pans. Seasoning creates a protective layer that prevents rust and makes the pan non-stick. To season your pan, preheat your oven to 350 degrees Fahrenheit (175 degrees Celsius).
5. Apply Oil: Coat the entire pan, inside and out, with a thin layer of cooking oil. I prefer to use vegetable oil, but you can also use canola oil or flaxseed oil.
6. Wipe Off Excess Oil: Use a clean cloth to wipe off any excess oil. You want the pan to be lightly coated, not dripping with oil.
7. Bake it In: Place the pan upside down on the middle rack of your oven. Place a baking sheet on the rack below to catch any drips.
8. Bake for One Hour: Bake the pan for one hour. After one hour, turn off the oven and let the pan cool completely inside the oven.
9. Repeat as Needed: Repeat the seasoning process 2-3 times to build up a good protective layer.
Maintaining Your Restored Frying Pan
Once you’ve restored your frying pan, it’s important to take care of it to prevent future buildup. Here are a few tips:
* Clean After Each Use: Wash your pan with dish soap and water after each use. Don’t let food sit in the pan for long periods of time.
* Avoid Abrasive Cleaners: Avoid using abrasive cleaners or steel wool on non-stick pans, as they can damage the coating.
* Don’t Overheat: Avoid overheating your pan, as this can cause food to burn and stick.
* Proper Storage: Store your pan in a dry place to prevent rust.
Troubleshooting
* Still Seeing Stubborn Spots?: If you’re still seeing stubborn spots after trying these methods, you can try using a combination of baking soda, vinegar, and a little bit of elbow grease. You can also try using a specialized cleaning product designed for removing burnt-on food.
* Pan is Discolored?: Some pans may become discolored after cleaning. This is usually just cosmetic and doesn’t affect the pan’s performance. You can try using a stainless steel cleaner to remove discoloration from stainless steel pans.
* Non-Stick Coating Damaged?: If the non-stick coating on your pan is damaged, it’s probably time to replace the pan. Damaged non-stick coatings can release harmful chemicals into your food.
By following these steps, you can restore your beloved frying pan to its former glory and enjoy cooking with it for years to come. Good luck, and happy cooking!
Conclusion
So, there you have it! Reviving your beloved frying pan back to its former glory isn’t some Herculean task reserved for professional chefs. It’s an achievable, satisfying project that can save you money and reduce waste. This DIY method for restoring frying pans like new is more than just a cleaning hack; it’s a way to extend the life of your cookware, ensuring you can continue creating delicious meals for years to come.
Why is this a must-try? Because it’s effective, affordable, and environmentally conscious. Instead of tossing out a perfectly good pan due to stubborn stains or burnt-on residue, you can breathe new life into it with simple household ingredients. Imagine the satisfaction of seeing that once-grimy surface gleam again, ready for your next culinary adventure.
But the best part? This method is incredibly versatile. While we’ve outlined a specific process, feel free to experiment with variations to suit your needs and the specific type of pan you’re working with. For instance, if you’re dealing with a particularly stubborn stain, you might consider letting the baking soda paste sit for a longer period, even overnight. Or, if you’re working with a delicate non-stick surface, be extra gentle with your scrubbing and opt for a softer sponge or cloth.
Consider these variations to tailor the process to your specific pan and preferences:
* For Stainless Steel: A mixture of vinegar and salt can work wonders on water spots and discoloration. After the baking soda treatment, try a quick scrub with this mixture for an extra shine.
* For Cast Iron: After restoring the pan, remember to re-season it properly to protect the surface and prevent rusting. A thin layer of oil baked in the oven will do the trick.
* For Non-Stick: Exercise extreme caution! Avoid abrasive scrubbers and harsh chemicals. A gentle paste of baking soda and water, applied with a soft cloth, is usually sufficient. If the non-stick coating is severely damaged, consider whether the pan is still safe to use.
We truly believe that this DIY trick is a game-changer for anyone who loves to cook. It’s a simple, effective way to maintain your cookware and keep it looking its best.
Now, it’s your turn! We encourage you to give this method a try and see the amazing results for yourself. Don’t be afraid to experiment and find what works best for your specific pans. And most importantly, we want to hear about your experience! Share your before-and-after photos, tips, and variations in the comments below. Let’s build a community of happy cooks with sparkling clean frying pans! Let us know if you have any questions, and we’ll do our best to help. Happy cooking!
Frequently Asked Questions (FAQ)
Here are some of the most common questions people have about restoring frying pans and our recommended DIY method:
What types of frying pans can this method be used on?
This method is generally safe for most types of frying pans, including stainless steel, cast iron, and even some non-stick pans. However, it’s crucial to adjust the technique based on the material of your pan. For example, you’ll want to be much gentler with non-stick surfaces than with stainless steel or cast iron. Always test a small, inconspicuous area first to ensure the method doesn’t damage the pan’s surface. For cast iron, remember to re-season after cleaning to prevent rust. For non-stick, avoid abrasive scrubbers and harsh chemicals.
Is baking soda safe for all types of frying pans?
Baking soda is generally safe and effective for cleaning most frying pans. It’s a mild abrasive that can help loosen burnt-on food and stains without scratching the surface. However, as mentioned earlier, use caution with non-stick pans. While baking soda is less abrasive than some other cleaning agents, it can still potentially damage the non-stick coating if used too aggressively. Always use a soft cloth or sponge and avoid excessive scrubbing. For other types of pans like stainless steel and cast iron, baking soda is usually perfectly safe and can even help remove stubborn stains.
How often should I restore my frying pans using this method?
The frequency of restoring your frying pans depends on how often you use them and how well you maintain them. If you cook frequently and tend to have food sticking to the pan, you might need to restore it every few weeks. However, if you’re diligent about cleaning your pans after each use and avoid overheating them, you might only need to restore them every few months. Keep an eye on the condition of your pans and restore them as needed to maintain their performance and appearance. Regular cleaning and proper cooking techniques can significantly extend the lifespan of your frying pans.
What if the burnt-on food is extremely stubborn and doesn’t come off easily?
For extremely stubborn burnt-on food, you can try a few things. First, let the baking soda paste sit on the affected area for a longer period, even overnight. This will give the baking soda more time to loosen the residue. You can also try adding a small amount of vinegar to the baking soda paste, as the chemical reaction between the two can help break down the burnt-on food. If that doesn’t work, you might need to use a more abrasive scrubber, but be very careful not to scratch the pan’s surface, especially if it’s non-stick. As a last resort, you can try boiling water in the pan with a few tablespoons of baking soda for about 15-20 minutes. This can help loosen the burnt-on food and make it easier to scrub off.
Can I use this method on other types of cookware, like pots and baking sheets?
Yes, this method can be used on other types of cookware, such as pots, baking sheets, and even oven racks. The same principles apply: adjust the technique based on the material of the cookware and be gentle with delicate surfaces. For baking sheets with stubborn stains, you can try soaking them in a solution of hot water and baking soda before scrubbing. For oven racks, you can soak them in a bathtub filled with hot water and baking soda overnight. This will make it much easier to remove the baked-on grease and grime.
What are some tips for preventing food from sticking to my frying pans in the first place?
Preventing food from sticking to your frying pans is key to reducing the need for frequent restoration. Here are a few tips:
* Use enough oil or butter: Make sure the pan is properly lubricated before adding food.
* Preheat the pan properly: A hot pan is less likely to cause food to stick.
* Don’t overcrowd the pan: Overcrowding can lower the pan’s temperature and cause food to steam instead of sear, leading to sticking.
* Use the right heat setting: Cooking at too high a heat can cause food to burn and stick.
* Use the right type of pan for the job: Some pans are better suited for certain types of cooking than others. For example, non-stick pans are great for eggs and delicate foods, while stainless steel pans are better for searing meats.
* Clean your pans properly after each use: Don’t let food residue build up, as this can make it more likely for food to stick in the future.
How do I re-season a cast iron frying pan after restoring it?
Re-seasoning a cast iron frying pan is essential after restoring it to protect the surface and prevent rust. Here’s how:
1. Dry the pan thoroughly: After cleaning, dry the pan completely with a clean towel.
2. Apply a thin layer of oil: Use a high-smoke-point oil, such as vegetable oil, canola oil, or flaxseed oil. Apply a very thin layer to the entire surface of the pan, inside and out.
3. Wipe off excess oil: Use a clean cloth to wipe off as much oil as possible. You want the pan to be lightly coated, not greasy.
4. Bake the pan: Place the pan upside down in a preheated oven at 350-400°F (175-200°C) for one hour. Place a baking sheet on the rack below to catch any drips.
5. Let the pan cool: Turn off the oven and let the pan cool completely inside the oven.
Repeat this process a few times to build up a good seasoning layer. With proper care and seasoning, your cast iron frying pan will last for generations.
What if this method doesn’t work?
While this method is effective for many frying pans, there are cases where it might not completely restore the pan to its original condition. If the damage is too severe, such as a heavily scratched non-stick coating or deeply pitted cast iron, the pan might be beyond repair. In such cases, it might be time to consider replacing the pan. However, before giving up, you can try consulting with a professional cookware repair service. They might have specialized techniques or products that can help restore your pan.


Leave a Comment