
Rutabaga Swede Home Gardening might sound intimidating, but trust me, growing this underrated root vegetable at home is easier than you think! Have you ever dreamt of harvesting your own fresh, earthy rutabagas, ready to be roasted, mashed, or added to a hearty stew? Well, stop dreaming and start planting! This DIY guide is packed with simple tricks and hacks to help you cultivate a thriving rutabaga patch, even if you’re a complete beginner.
Rutabagas, also known as Swedes, have a fascinating history, originating as a cross between a cabbage and a turnip. They’ve been a staple in European diets for centuries, particularly during times of scarcity. Think of them as the unsung heroes of the vegetable world! But beyond their historical significance, rutabagas offer a delicious and nutritious alternative to potatoes, packed with vitamins and fiber.
Why should you bother with Rutabaga Swede Home Gardening? Because store-bought produce simply can’t compare to the flavor and satisfaction of growing your own. Plus, with rising food costs and concerns about pesticides, knowing exactly where your food comes from is more important than ever. This article will equip you with the knowledge to overcome common challenges, from choosing the right variety to protecting your plants from pests. Get ready to dig in and discover the joy of homegrown rutabagas!
Growing Your Own Rutabagas: A Gardener’s Guide
Hey there, fellow gardening enthusiasts! I’m so excited to share my experience with growing rutabagas, also known as swedes, right in my backyard. These root vegetables are incredibly versatile in the kitchen, and honestly, there’s nothing quite like harvesting something you’ve nurtured from seed to table. Don’t be intimidated – growing rutabagas is easier than you might think! Let’s dive in.
Understanding Rutabagas
Before we get our hands dirty, let’s talk a bit about what we’re growing. Rutabagas are a cross between a cabbage and a turnip, resulting in a slightly sweet, earthy flavor. They’re packed with nutrients and can be used in soups, stews, roasted dishes, or even mashed like potatoes. They are cool-season crops, meaning they thrive in cooler temperatures.
Planning Your Rutabaga Garden
Okay, so you’re ready to grow some rutabagas! Here’s what you need to consider:
* Timing is Key: Rutabagas need a long growing season, typically around 90-100 days. I usually start my seeds indoors about 4-6 weeks before the last expected frost. If you live in a warmer climate, you can direct sow in late summer for a fall harvest.
* Sunlight: Rutabagas need at least 6 hours of sunlight per day. Choose a spot in your garden that gets plenty of sunshine.
* Soil: Well-drained soil is crucial. Rutabagas don’t like soggy feet! Amend your soil with compost or well-rotted manure to improve drainage and fertility. A slightly acidic soil pH (around 6.0-6.8) is ideal.
* Space: Give your rutabagas enough room to grow. I usually space them about 6-8 inches apart in rows that are 18-24 inches apart.
Starting Rutabagas from Seed
I prefer to start my rutabagas indoors to get a head start on the growing season. Here’s how I do it:
1. Gather Your Supplies: You’ll need seed starting trays or small pots, seed starting mix, rutabaga seeds, a spray bottle, and a heat mat (optional, but helpful).
2. Sow the Seeds: Fill your trays or pots with seed starting mix. Moisten the mix with the spray bottle. Sow 2-3 seeds per cell or pot, about ¼ inch deep.
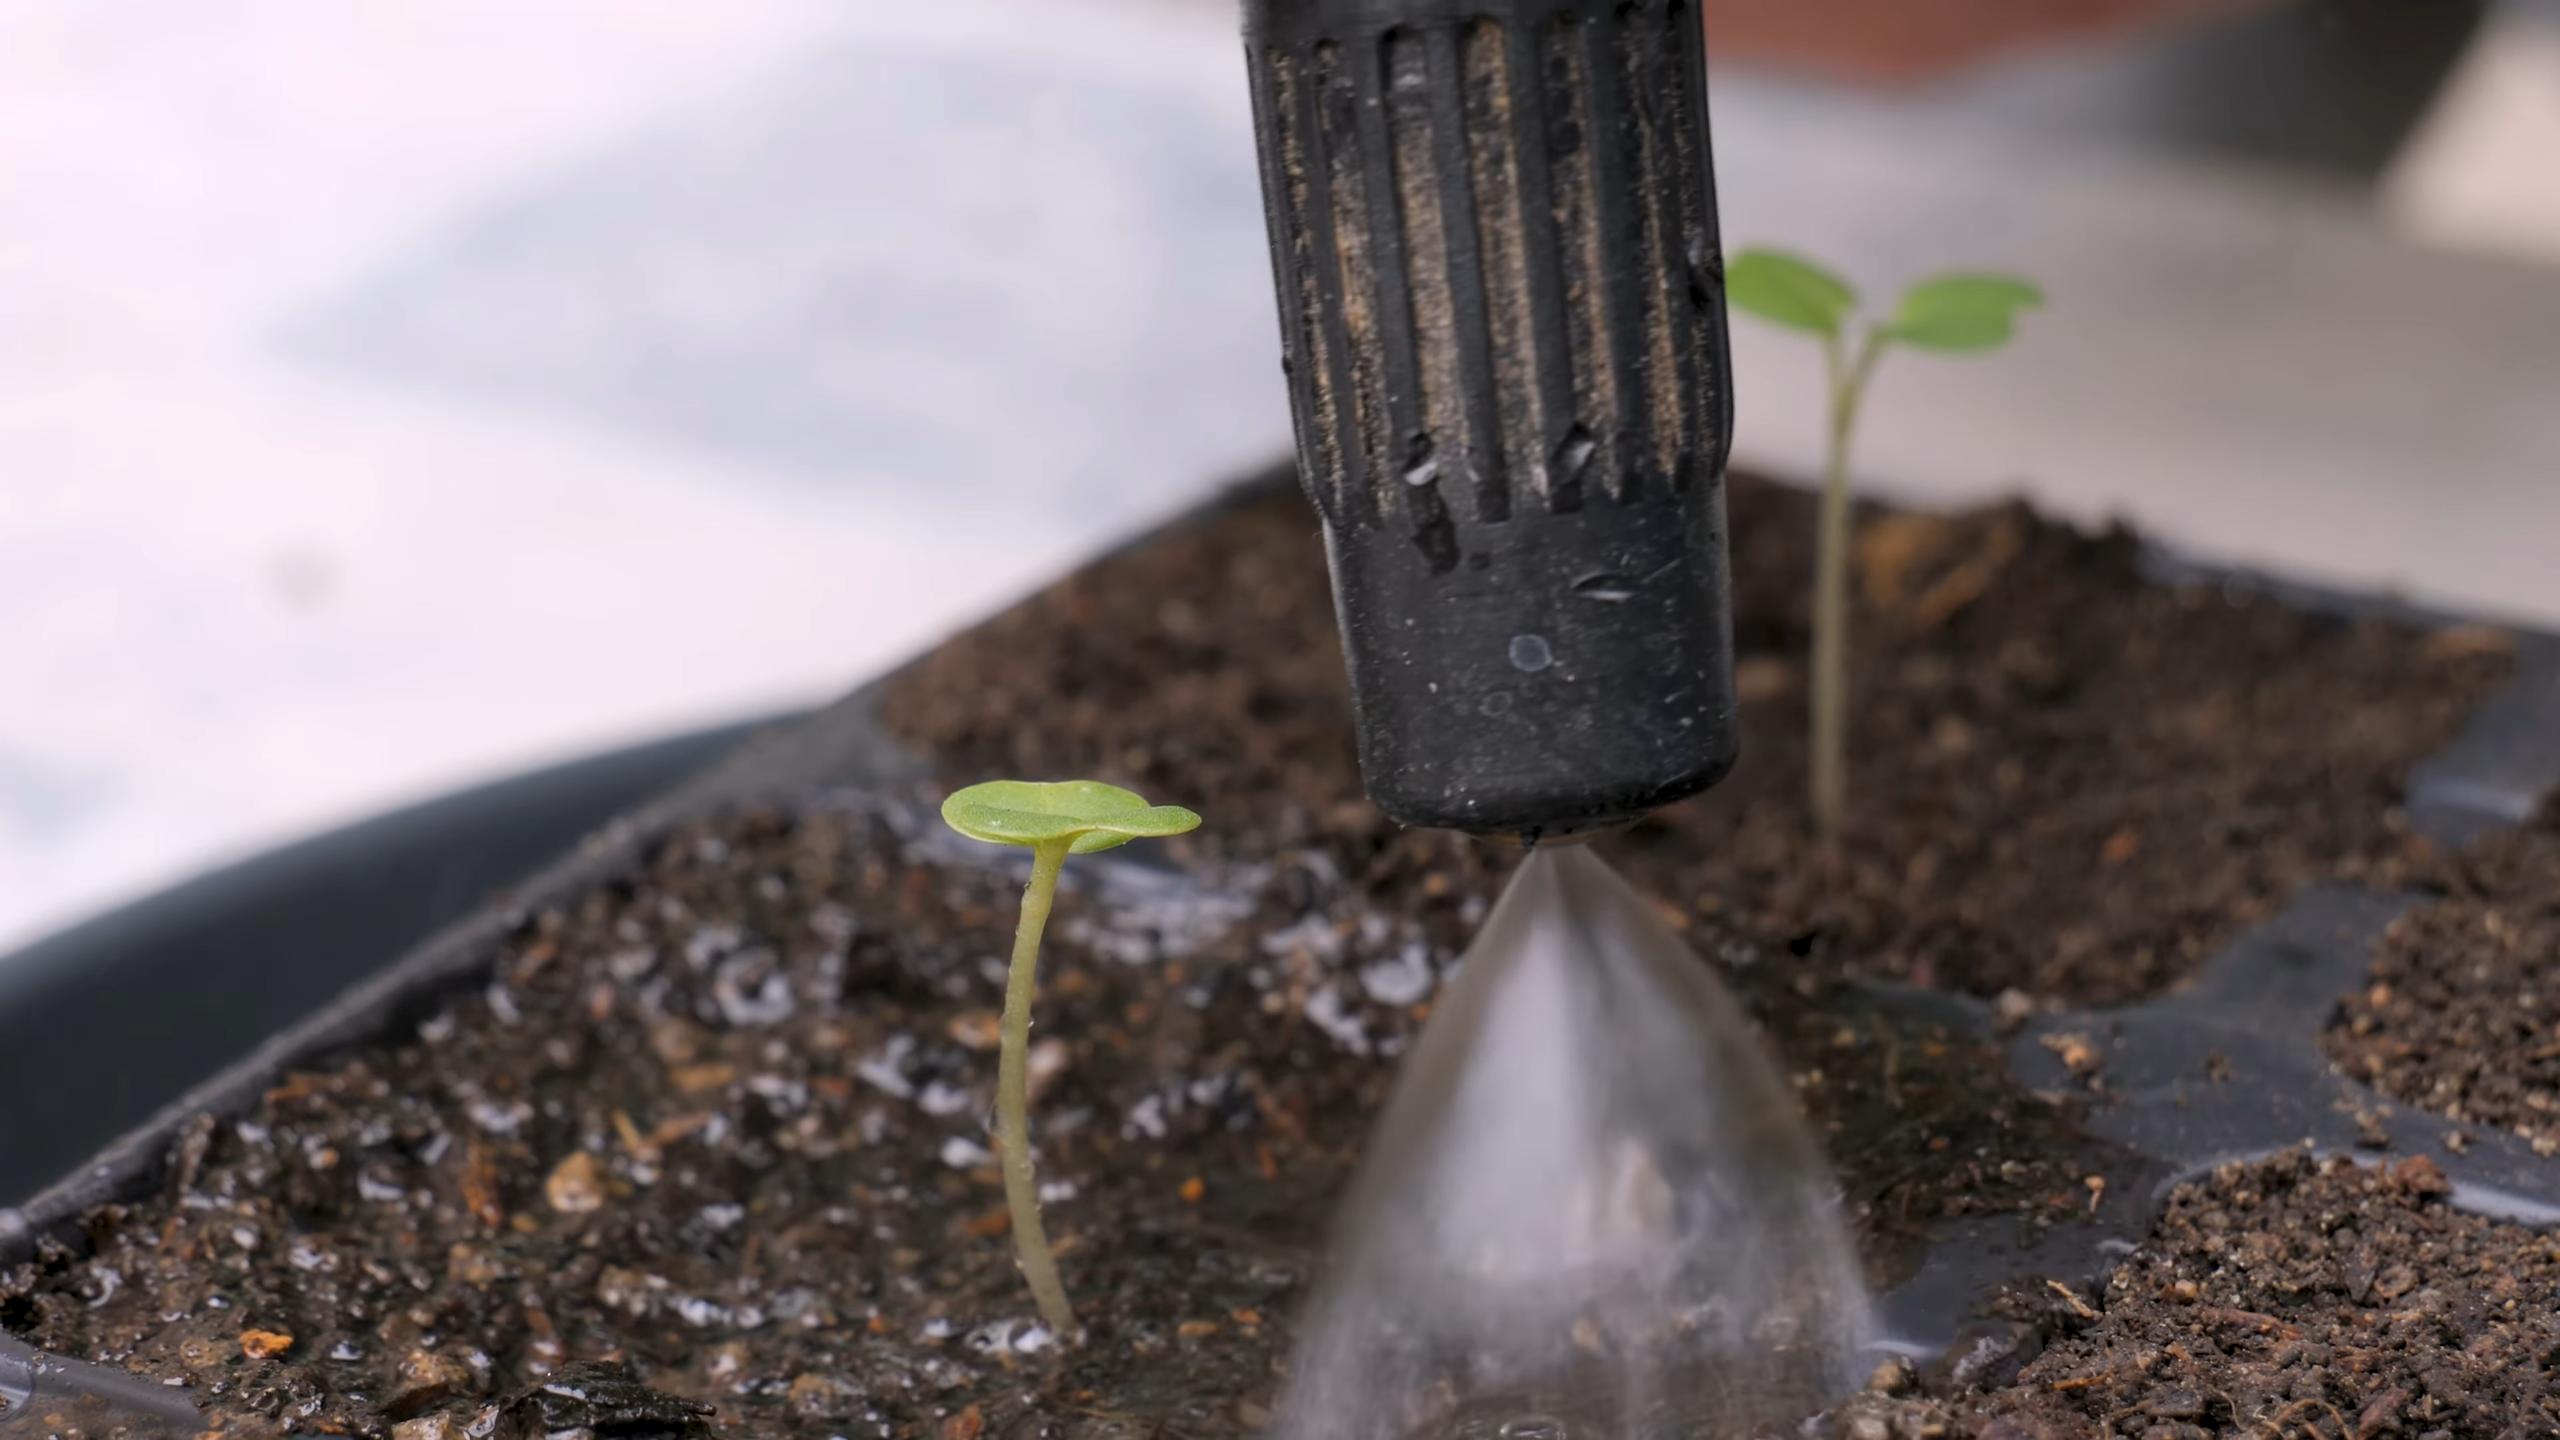
3. Provide Warmth and Moisture: Place the trays or pots on a heat mat (if using) and cover them with a humidity dome or plastic wrap. This will help keep the soil moist and warm, which is essential for germination.
4. Wait for Germination: Rutabaga seeds typically germinate in 5-10 days. Once the seedlings emerge, remove the humidity dome or plastic wrap and move the trays or pots to a sunny location or under grow lights.
5. Thin the Seedlings: Once the seedlings have a few true leaves, thin them to one plant per cell or pot. Choose the strongest seedling and snip off the others at the soil line.
Transplanting Your Rutabaga Seedlings
Once the danger of frost has passed and your seedlings are a few inches tall, it’s time to transplant them into your garden.
1. Harden Off the Seedlings: Before transplanting, you need to “harden off” the seedlings. This means gradually exposing them to outdoor conditions over a period of about a week. Start by placing them outside in a sheltered location for a few hours each day, gradually increasing the amount of time they spend outdoors.
2. Prepare the Garden Bed: Before transplanting, make sure your garden bed is well-prepared. Amend the soil with compost or well-rotted manure and rake it smooth.
3. Transplant the Seedlings: Dig small holes in the garden bed, spacing them about 6-8 inches apart. Gently remove the seedlings from their trays or pots and place them in the holes. Backfill with soil and water thoroughly.
4. Mulch: Apply a layer of mulch around the plants to help retain moisture, suppress weeds, and regulate soil temperature. I like to use straw or shredded leaves.
Caring for Your Rutabaga Plants
Now that your rutabaga plants are in the ground, it’s important to provide them with the care they need to thrive.
* Watering: Rutabagas need consistent moisture, especially during dry periods. Water deeply and regularly, aiming for about 1 inch of water per week.
* Weeding: Keep the garden bed free of weeds, which can compete with the rutabaga plants for nutrients and water. Hand-pull weeds regularly or use a hoe to cultivate the soil.
* Fertilizing: Rutabagas are heavy feeders, so it’s important to fertilize them regularly. I like to use a balanced organic fertilizer, such as compost tea or fish emulsion. Apply the fertilizer according to the package directions.
* Pest Control: Rutabagas can be susceptible to certain pests, such as flea beetles, aphids, and cabbage worms. Inspect your plants regularly for signs of pests and take action if necessary. I prefer to use organic pest control methods, such as insecticidal soap or neem oil.
* Thinning (If Needed): If you direct-sowed your rutabaga seeds, you may need to thin the plants to ensure they have enough room to grow. Thin the plants to about 6-8 inches apart when they are a few inches tall.
Harvesting Your Rutabagas
The moment we’ve all been waiting for! Harvesting your own rutabagas is so rewarding.
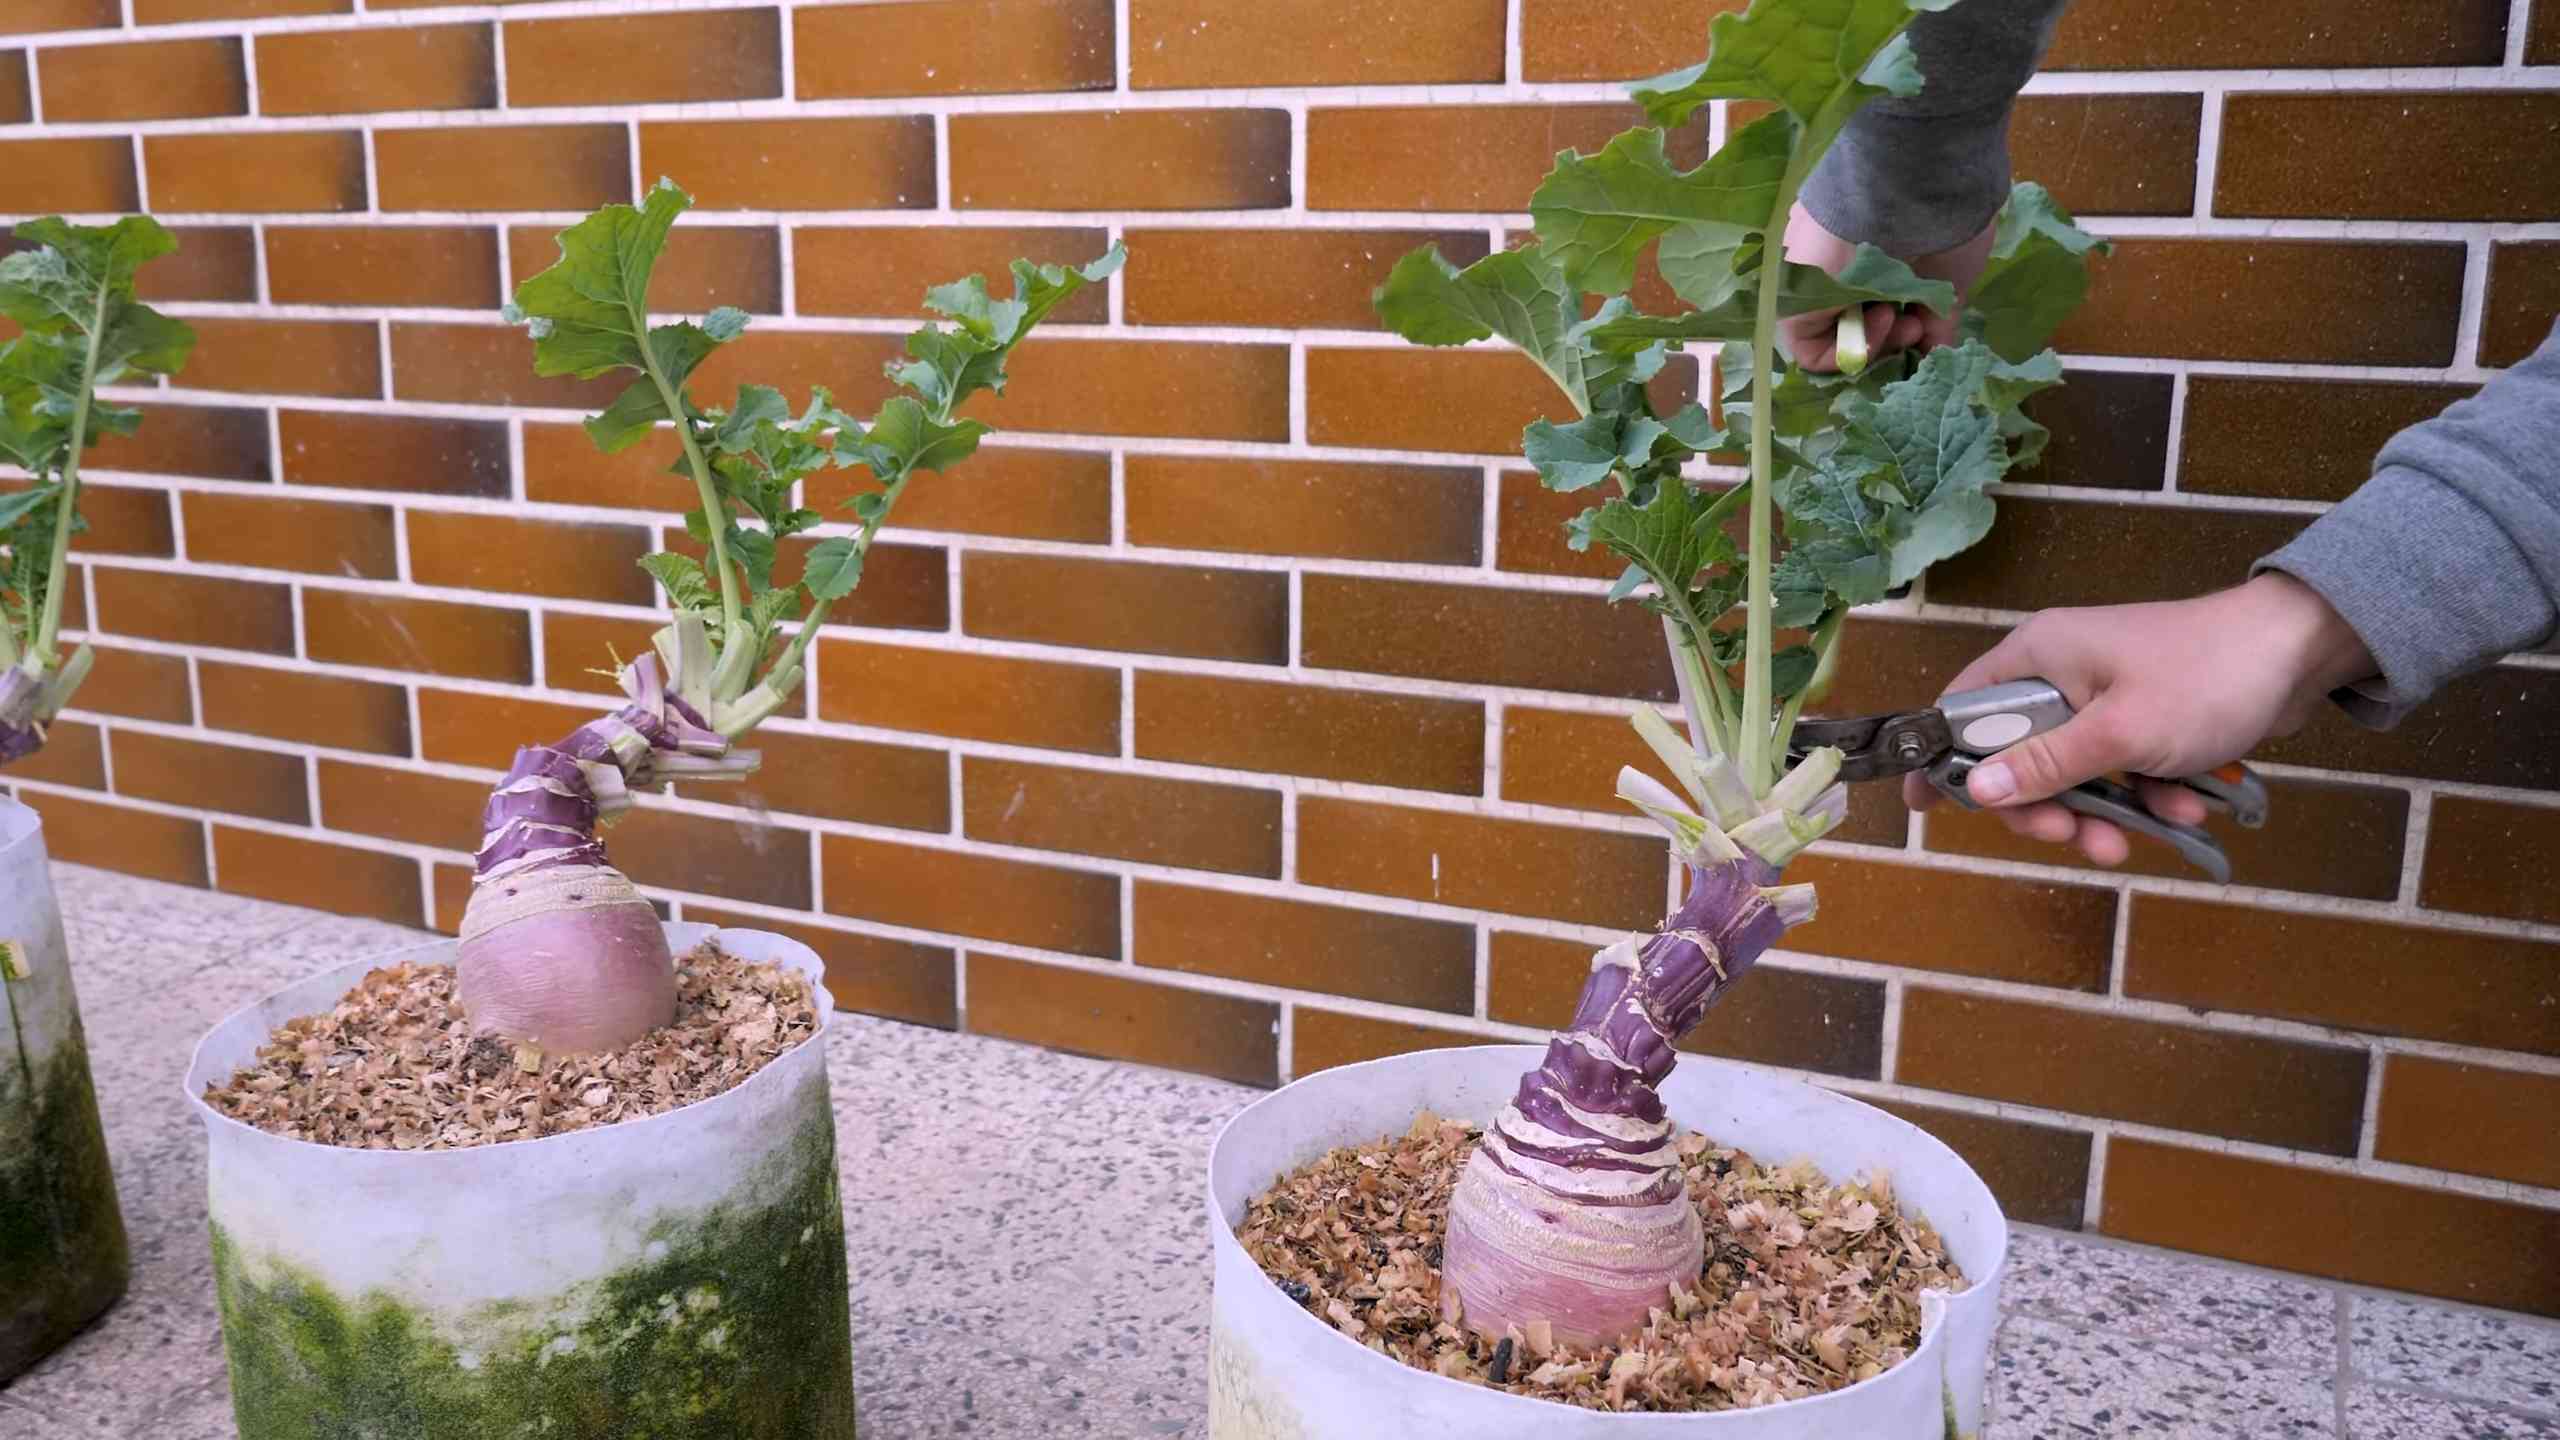
1. When to Harvest: Rutabagas are typically ready to harvest in 90-100 days from planting. The roots should be about 4-6 inches in diameter. You can also harvest the greens for a tasty side dish.
2. How to Harvest: To harvest the rutabagas, loosen the soil around the roots with a garden fork. Gently pull the plants out of the ground, being careful not to damage the roots.
3. Storing Your Rutabagas: Rutabagas can be stored for several months in a cool, dark, and humid place. I like to store them in a root cellar or in the refrigerator. Before storing, remove the greens and brush off any excess soil.
Troubleshooting Common Rutabaga Problems
Even with the best care, you might encounter some problems while growing rutabagas. Here are a few common issues and how to address them:
* Clubroot: This fungal disease can cause swollen and distorted roots. To prevent clubroot, practice crop rotation and avoid planting rutabagas in the same spot year after year. Amend the soil with lime to raise the pH.
* Root Maggots: These pests can tunnel into the roots, causing damage and decay. To prevent root maggots, cover the plants with row covers or use diatomaceous earth around the base of the plants.
* Flea Beetles: These tiny beetles can chew small holes in the leaves. To control flea beetles, use insecticidal soap or neem oil.
* Cracked Roots: Inconsistent watering can cause the roots to crack. Water deeply and regularly, especially during dry periods.
Rutabaga Recipes to Try
Now that you’ve harvested your rutabagas, it’s time to get cooking! Here are a few of my favorite rutabaga recipes:
* Roasted Rutabaga: Toss cubed rutabaga with olive oil, salt, pepper, and your favorite herbs. Roast at 400°F (200°C) for 30-40 minutes, or until tender and slightly caramelized.
* Rutabaga and Potato Mash: Boil equal parts rutabaga and potatoes until tender. Drain and mash with butter, milk, salt, and pepper.
* Rutabaga Soup: Sauté diced rutabaga, onion, and celery in olive oil. Add vegetable broth and simmer until the rutabaga is tender. Puree the soup with an immersion blender and season with salt, pepper, and your favorite herbs.
* Rutabaga Fries: Cut rutabaga into fry shapes. Toss with olive oil, salt, pepper, and paprika. Bake at 400°F (200°C) for 20-30 minutes, or until crispy.
Final Thoughts
Growing rutabagas is a rewarding experience that allows you to enjoy fresh, homegrown produce. With a little planning and care, you can successfully grow these versatile root vegetables in your own backyard. So, grab your seeds, get your hands dirty, and enjoy the fruits (or rather, roots!) of your labor! Happy gardening!
Conclusion
So, there you have it! Mastering the art of growing your own rutabaga, or swede as it’s known in some regions, is not only achievable but incredibly rewarding. We’ve walked you through the process, from seed to harvest, highlighting the key steps to ensure a bountiful crop. But why should you embark on this gardening adventure?
Firstly, the taste. Forget the bland, store-bought rutabagas you might have encountered. Homegrown rutabagas offer a sweetness and depth of flavor that is simply unmatched. Imagine roasting them with a drizzle of honey and a sprinkle of thyme, or adding them to a hearty stew for a rich, earthy undertone. The possibilities are endless!
Secondly, the satisfaction. There’s something deeply fulfilling about nurturing a plant from a tiny seed to a mature vegetable. Watching your rutabagas grow, knowing that you’ve provided them with the care and attention they need, is a truly rewarding experience. It connects you to nature and provides a sense of accomplishment that is hard to replicate.
Thirdly, the control. When you grow your own rutabagas, you have complete control over the growing process. You can choose to use organic methods, avoiding harmful pesticides and herbicides. You know exactly what’s going into your food, ensuring that it’s healthy and safe for you and your family.
But the benefits don’t stop there. Growing your own rutabagas is also a great way to save money. Store-bought vegetables can be expensive, especially if you’re buying organic. By growing your own, you can significantly reduce your grocery bill.
Now, let’s talk about variations. While we’ve focused on the traditional method of growing rutabagas, there are plenty of ways to experiment. Consider trying different varieties of rutabaga, such as the ‘Laurentian’ or ‘American Purple Top’. Each variety has its own unique flavor and characteristics. You can also experiment with different growing techniques, such as companion planting. Try planting your rutabagas alongside other vegetables, such as beans or peas, to improve their growth and yield.
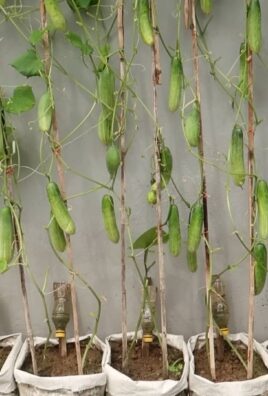
Another variation to consider is growing rutabagas in containers. This is a great option if you have limited space or if you live in an apartment. Choose a large container with good drainage and fill it with a high-quality potting mix. Be sure to water your container-grown rutabagas regularly and fertilize them every few weeks.
Don’t be afraid to experiment and find what works best for you. Gardening is a journey of discovery, and there’s always something new to learn.
So, are you ready to give it a try? We encourage you to take the plunge and start growing your own rutabagas today. It’s easier than you think, and the rewards are well worth the effort. Remember to start with good quality seeds, choose a sunny location, and provide your plants with plenty of water and nutrients.
And most importantly, don’t forget to share your experience with us! We’d love to hear about your successes, your challenges, and any tips or tricks you’ve learned along the way. Share your photos and stories on social media using the hashtag #HomegrownRutabaga. Let’s create a community of rutabaga growers and inspire others to get their hands dirty.
Growing your own rutabaga is more than just a gardening project; it’s a way to connect with nature, improve your health, and save money. It’s a rewarding experience that will bring you joy and satisfaction for years to come. So, what are you waiting for? Get out there and start growing!
Frequently Asked Questions (FAQ)
What is the best time to plant rutabaga seeds?
The ideal time to plant rutabaga seeds is in late spring or early summer, about 90-100 days before the first expected frost. This allows the rutabagas enough time to mature before the cold weather sets in. In regions with mild winters, you can also plant them in late summer for a winter harvest. Check your local frost dates to determine the best planting time for your area.
How much sunlight do rutabagas need?
Rutabagas thrive in full sun, requiring at least 6 hours of direct sunlight per day. If you live in a particularly hot climate, some afternoon shade can be beneficial to prevent the roots from overheating. Insufficient sunlight can result in smaller roots and reduced yields.
What kind of soil is best for growing rutabagas?
Rutabagas prefer well-drained, fertile soil with a pH between 6.0 and 7.0. Amend the soil with compost or other organic matter before planting to improve drainage and fertility. Avoid heavy clay soils, as they can become waterlogged and hinder root development. A slightly sandy loam is ideal.
How often should I water my rutabaga plants?
Rutabagas need consistent moisture to develop properly. Water deeply and regularly, especially during dry periods. Aim to keep the soil consistently moist but not waterlogged. Mulching around the plants can help retain moisture and suppress weeds. As a general rule, water when the top inch of soil feels dry to the touch.
How do I know when my rutabagas are ready to harvest?
Rutabagas are typically ready to harvest 90-100 days after planting. The roots should be about 3-5 inches in diameter. You can also check the size of the leaves; they should be large and healthy. To harvest, gently loosen the soil around the rutabaga and pull it up by the base of the leaves.
Can I eat the leaves of rutabaga plants?
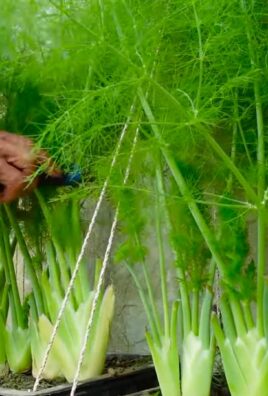
Yes, the leaves of rutabaga plants are edible and nutritious. They can be cooked like spinach or other leafy greens. Harvest the leaves while they are young and tender for the best flavor. Older leaves may be tougher and more bitter.
What are some common pests and diseases that affect rutabagas?
Common pests that affect rutabagas include aphids, flea beetles, and root maggots. Diseases include clubroot and powdery mildew. To prevent pests and diseases, practice crop rotation, maintain good soil drainage, and use organic pest control methods such as insecticidal soap or neem oil.
How do I store rutabagas after harvesting?
Rutabagas can be stored for several months in a cool, dark, and humid place. Remove the leaves and store the roots in a root cellar, basement, or refrigerator. Wrap the rutabagas in damp paper towels or store them in a perforated plastic bag to prevent them from drying out.
Can I grow rutabagas in containers?
Yes, rutabagas can be grown in containers, but you’ll need a large container with good drainage. Choose a container that is at least 12 inches deep and 12 inches wide. Fill it with a high-quality potting mix and water regularly. Container-grown rutabagas may need to be fertilized more frequently than those grown in the ground.
What are some good companion plants for rutabagas?
Good companion plants for rutabagas include beans, peas, rosemary, sage, and thyme. These plants can help deter pests, improve soil fertility, and enhance the growth of rutabagas. Avoid planting rutabagas near members of the brassica family, such as cabbage and broccoli, as they can attract the same pests and diseases.
How can I improve the flavor of my homegrown rutabagas?
The flavor of homegrown rutabagas can be improved by ensuring they receive adequate sunlight, water, and nutrients. Harvesting them after a light frost can also enhance their sweetness. Additionally, choosing the right variety and amending the soil with compost can contribute to a better flavor.
Is growing rutabaga organically difficult?
Growing rutabaga organically is not particularly difficult, but it requires attention to soil health, pest control, and disease prevention. Using organic fertilizers, practicing crop rotation, and employing natural pest control methods are key to success. Regular monitoring of your plants will help you identify and address any issues early on.
Leave a Comment