
Self Watering Water Spinach: Imagine harvesting fresh, crisp water spinach right from your backyard, without the constant worry of watering! Sounds like a dream, right? Well, it doesn’t have to be! I’m so excited to share some incredible DIY tricks that will make growing your own Ipomoea aquatica (that’s water spinach!) easier than ever before.
Water spinach, also known as Ong Choy, has been a staple in Southeast Asian cuisine for centuries. It’s not just delicious; it’s packed with nutrients! But let’s be honest, keeping it consistently watered can be a bit of a challenge, especially during those hot summer months. That’s where the magic of self-watering comes in.
In this article, I’ll guide you through simple, budget-friendly DIY methods to create your own self-watering system specifically designed for water spinach. Why is this so important? Because consistent moisture is key to a bountiful harvest. No more wilting leaves or stunted growth! With these hacks, you’ll be able to enjoy a continuous supply of fresh, homegrown self watering water spinach, even if you’re a busy bee or prone to forgetting your daily watering routine. Get ready to unlock the secrets to effortless water spinach cultivation!
DIY Self-Watering Water Spinach Container: Never Forget to Water Again!
Hey there, fellow gardening enthusiasts! Are you like me, sometimes a little forgetful when it comes to watering your plants? Or maybe you’re planning a vacation and worried about your precious greens wilting away? Well, fear not! I’m going to show you how to create a super easy and effective self-watering container specifically designed for growing water spinach (also known as kangkong or ong choy). This method is a game-changer, ensuring your water spinach thrives even when you’re a bit preoccupied. Let’s get started!
What You’ll Need: The Supply List
Before we dive in, let’s gather all the necessary materials. Don’t worry, most of these are readily available and won’t break the bank.
* **Two Plastic Containers:** One large (at least 10 gallons) and one smaller (around 5 gallons) that can fit inside the larger one with some space around the sides and bottom. Think of it like a pot-in-a-pot system. I often repurpose old storage bins or buckets. Just make sure they’re food-grade plastic if you’re concerned about chemicals leaching into your food.
* **Drill with Various Drill Bits:** We’ll need to create drainage and wicking holes.
* **PVC Pipe (about 12-18 inches long):** This will serve as our watering tube, allowing us to easily replenish the water reservoir. The diameter isn’t critical, but around 1-2 inches is ideal.
* **PVC Pipe Cap:** To cover the top of the PVC pipe and prevent debris from falling in.
* **Wicking Material:** This is crucial for drawing water up from the reservoir to the soil. I’ve had great success with cotton rope, felt strips, or even old t-shirt scraps cut into strips. Make sure it’s a material that wicks water well.
* **Potting Mix:** Choose a high-quality potting mix that retains moisture well. Avoid using garden soil, as it can compact and hinder drainage.
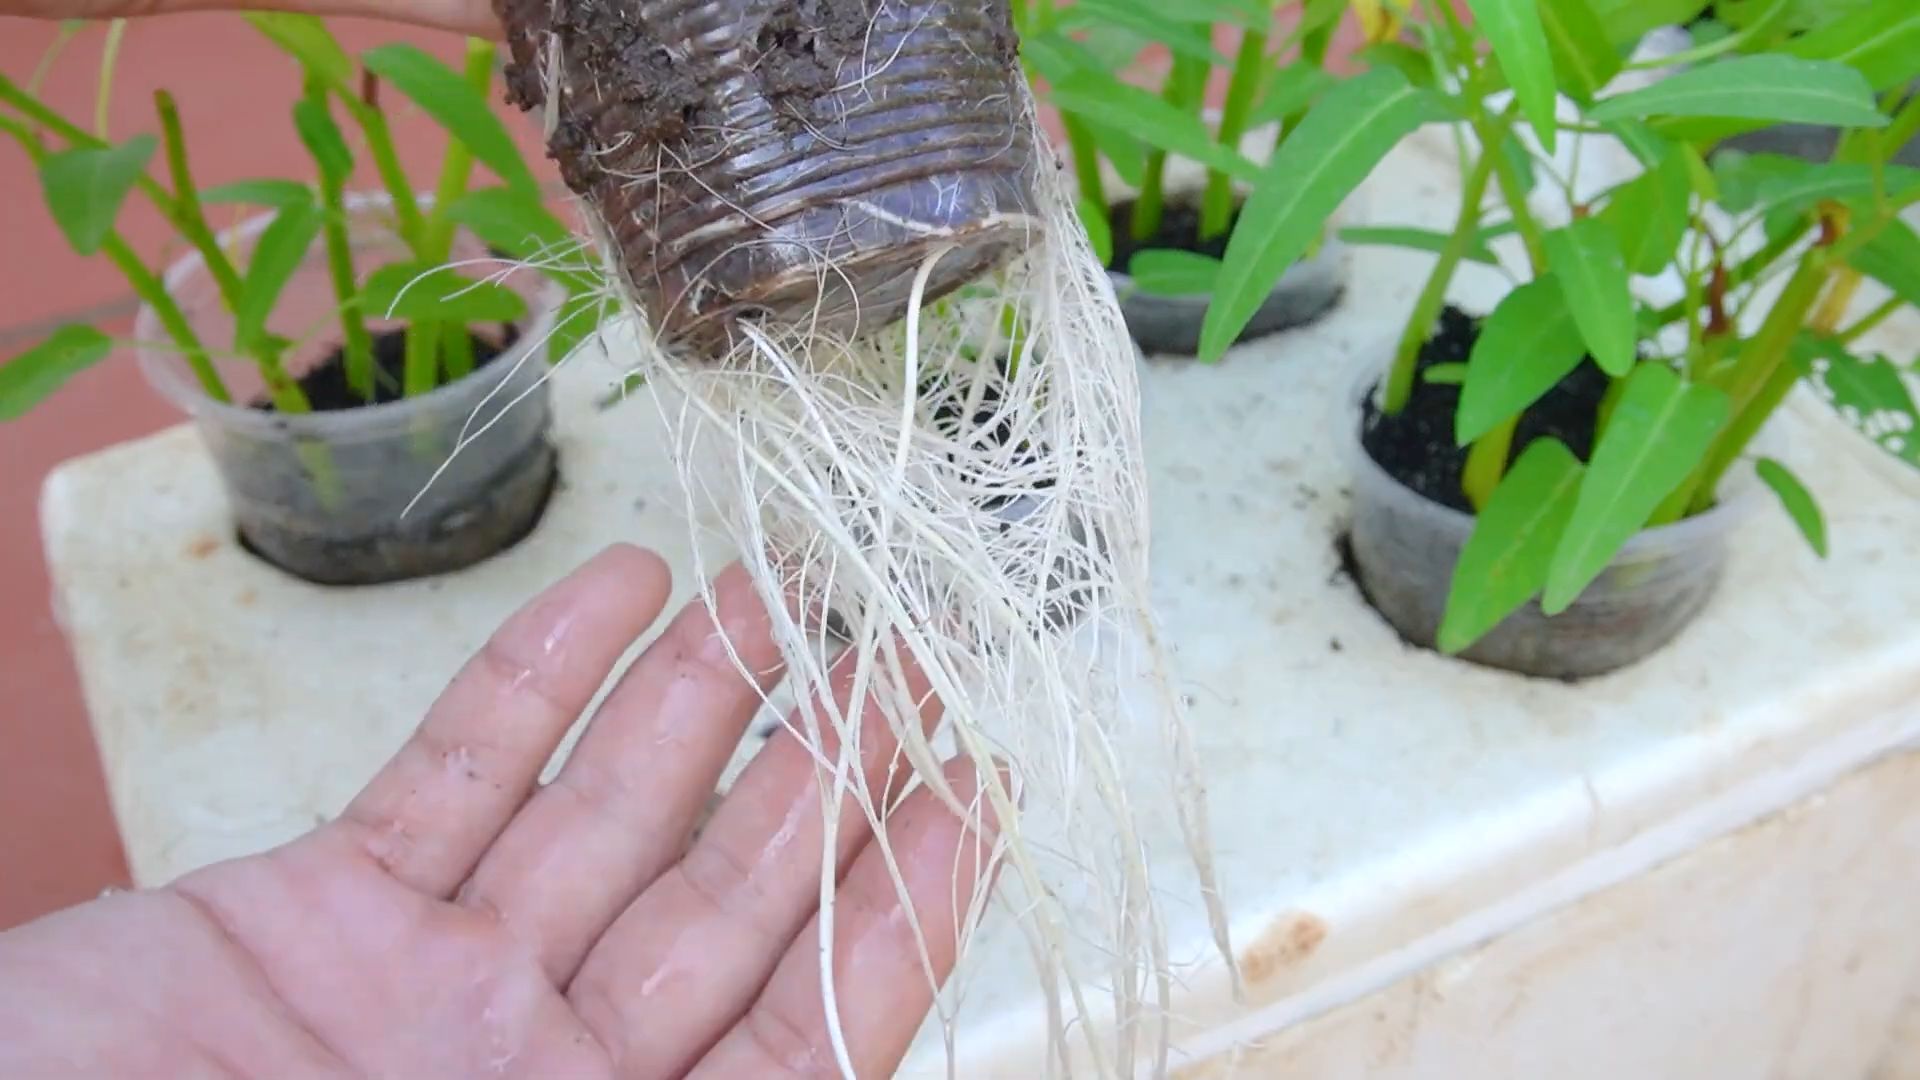
* **Water Spinach Seeds or Cuttings:** Of course, we need something to grow! You can either start from seeds or use cuttings from existing water spinach plants.
* **Landscape Fabric or Weed Barrier Fabric:** This will prevent soil from falling into the water reservoir.
* **Gravel or Pebbles (optional):** To create a drainage layer at the bottom of the inner container.
* **Measuring Tape or Ruler:** For accurate measurements.
* **Scissors or Utility Knife:** For cutting the wicking material and landscape fabric.
* **Gloves:** To protect your hands.
Building Your Self-Watering Container: Step-by-Step Instructions
Alright, let’s get our hands dirty! Follow these steps carefully, and you’ll have your self-watering water spinach container ready in no time.
1. **Prepare the Outer Container (Reservoir):** This is the larger of the two containers. We don’t need to do much to it, as it will primarily serve as the water reservoir. However, it’s a good idea to clean it thoroughly if it’s been used before.
2. **Prepare the Inner Container (Planting Container):** This is where the magic happens! This container will hold the soil and the water spinach plants.
* **Drill Drainage Holes:** Using a drill bit (around 1/4 inch), drill several drainage holes in the bottom of the inner container. These holes will allow excess water to drain into the reservoir, preventing the soil from becoming waterlogged. Space the holes evenly across the bottom. I usually aim for about 6-8 holes.
* **Drill Wicking Holes:** Now, we need to create holes for the wicking material. These holes should be located near the bottom of the container, but slightly above the drainage holes. I usually drill 2-4 holes, depending on the size of the container. The size of the drill bit should be slightly larger than the diameter of your wicking material.
* **Insert Wicking Material:** Thread the wicking material through the wicking holes, ensuring that a significant portion of the material extends out of the holes and into the space that will become the water reservoir. The more wicking material you have in the reservoir, the better the water will be drawn up to the soil. Secure the wicking material inside the container with a knot or by tying it to a small pebble to prevent it from slipping out.
3. **Create the Watering Tube:** This will allow you to easily add water to the reservoir without disturbing the plants.
* **Drill a Hole in the Inner Container:** Choose a spot near the edge of the inner container and drill a hole large enough to accommodate the PVC pipe. The hole should be located high enough so that the top of the PVC pipe will be easily accessible when the inner container is placed inside the outer container.
* **Insert the PVC Pipe:** Insert the PVC pipe through the hole, ensuring that it extends down into the space that will become the water reservoir. You can use a bit of silicone sealant around the hole to create a watertight seal, but it’s not always necessary.
* **Cap the PVC Pipe:** Place the PVC pipe cap on top of the pipe to prevent debris from falling in.
4. **Assemble the Self-Watering Container:** Now, let’s put everything together!
* **Place the Inner Container Inside the Outer Container:** Carefully lower the inner container into the outer container. Make sure the PVC pipe is accessible and that the wicking material is extending into the space between the two containers.
* **Add Gravel (Optional):** If you’re using gravel, add a layer to the bottom of the inner container before adding the potting mix. This will further improve drainage.
* **Line with Landscape Fabric:** Cut a piece of landscape fabric or weed barrier fabric that is large enough to cover the bottom of the inner container and extend up the sides slightly. This will prevent the potting mix from falling into the water reservoir.
* **Fill with Potting Mix:** Fill the inner container with high-quality potting mix, leaving a few inches of space at the top.
5. **Plant Your Water Spinach:** Now for the fun part!
* **Sow Seeds or Plant Cuttings:** If you’re starting from seeds, sow them according to the instructions on the seed packet. If you’re using cuttings, plant them directly into the potting mix, ensuring that at least one node (where leaves emerge) is buried in the soil.
* **Water Thoroughly:** Water the potting mix thoroughly after planting. This will help to settle the soil and encourage the wicking material to start drawing water up from the reservoir.
6. **Fill the Reservoir:** Pour water into the PVC pipe until the reservoir is full. You’ll need to monitor the water level in the reservoir regularly, especially during hot weather.
Maintaining Your Self-Watering Water Spinach Container
Once your self-watering container is set up, maintenance is a breeze! Here are a few tips to keep your water spinach thriving:
* **Monitor the Water Level:** Check the water level in the reservoir regularly, especially during hot weather. You can use a dipstick or simply look down the PVC pipe. Refill the reservoir as needed.
* **Fertilize Regularly:** Water spinach is a heavy feeder, so it’s important to fertilize regularly. You can use a liquid fertilizer diluted according to the instructions on the label. I like to use a balanced fertilizer with equal parts nitrogen, phosphorus, and potassium.
* **Provide Adequate Sunlight:** Water spinach needs at least 6 hours of sunlight per day to thrive. Place your container in a sunny location.
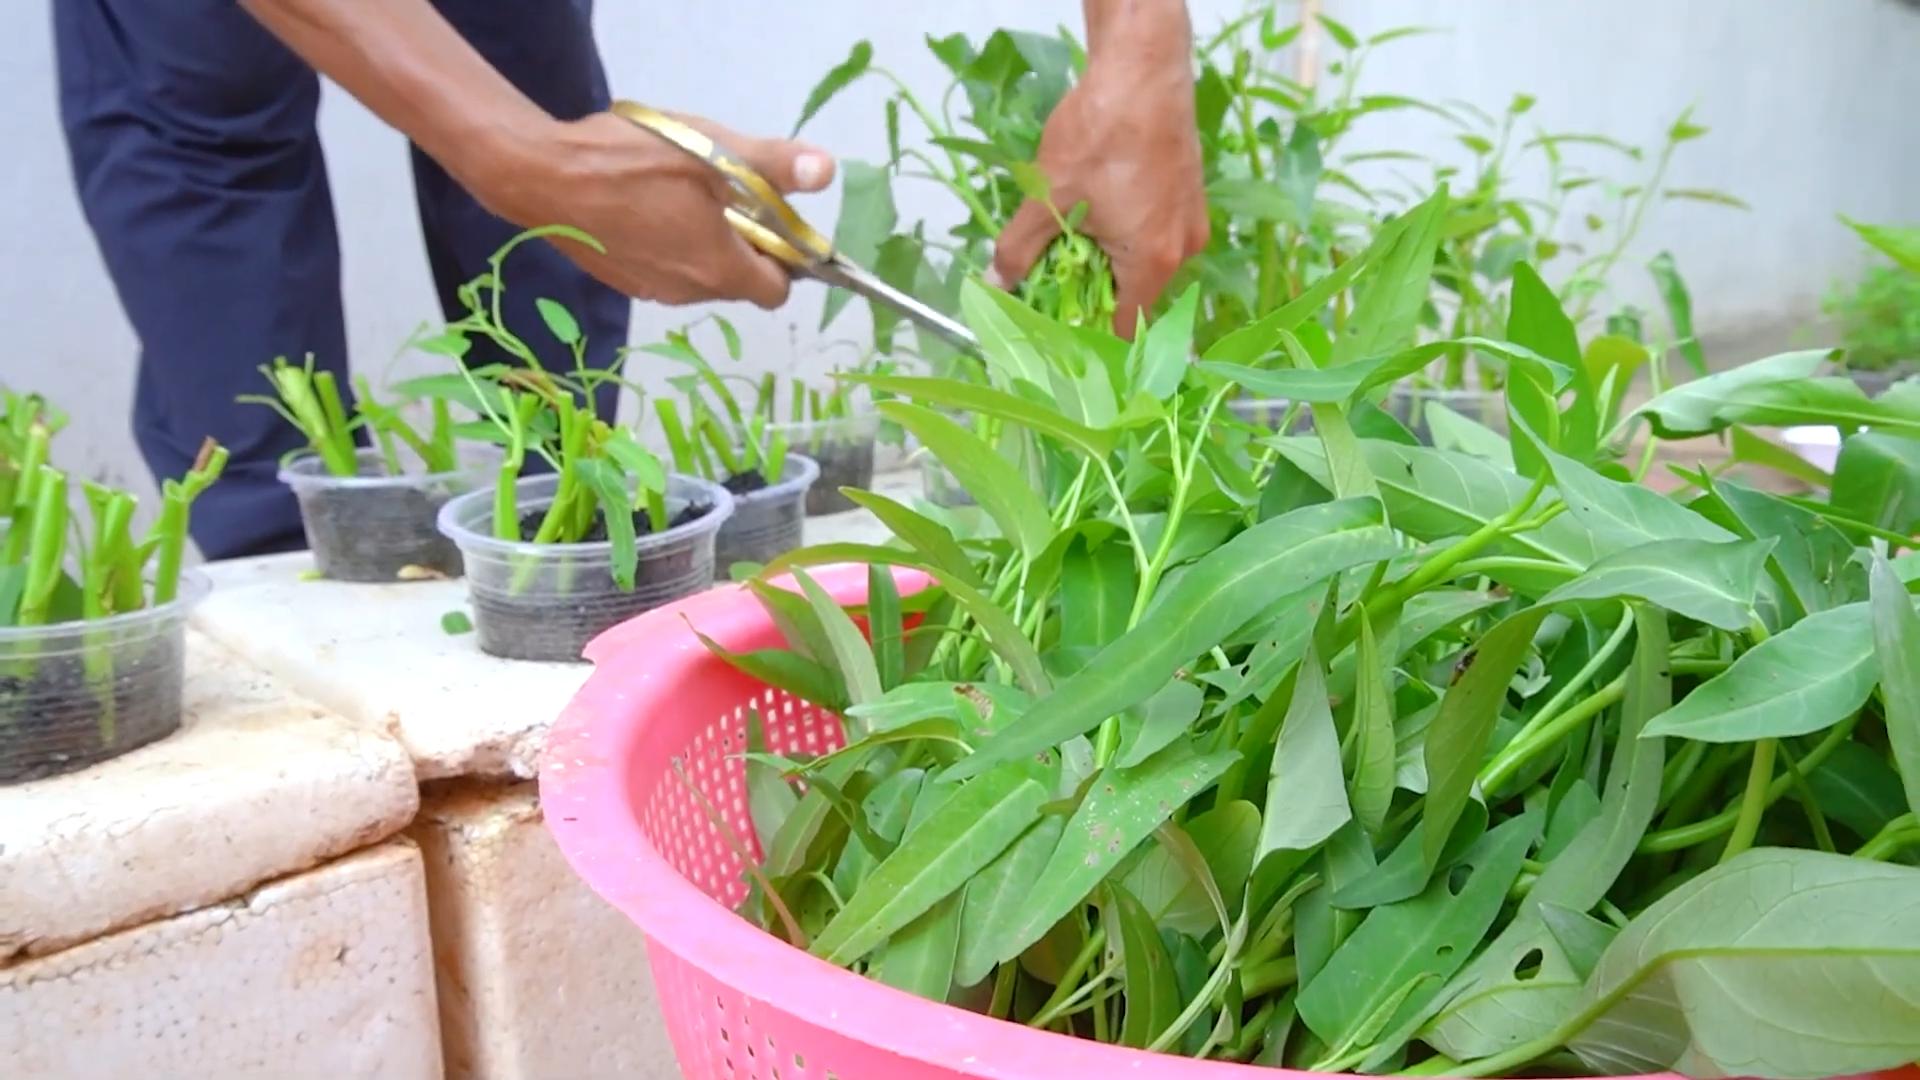
* **Harvest Regularly:** Harvest your water spinach regularly to encourage new growth. Simply cut the stems a few inches above the soil line. The plants will regrow quickly.
* **Pest Control:** Keep an eye out for pests such as aphids and spider mites. If you notice any pests, treat them with an appropriate insecticide or organic pest control method. I prefer using neem oil.
* **Clean the Reservoir Periodically:** Every few months, it’s a good idea to empty and clean the water reservoir to prevent the buildup of algae and bacteria.
Troubleshooting Common Issues
Even with a self-watering container, you might encounter a few challenges. Here are some common issues and how to address them:
* **Soil is Too Wet:** If the soil is consistently waterlogged, it could be due to poor drainage or too much wicking material. Try reducing the amount of wicking material or adding more drainage holes to the inner container.
* **Soil is Too Dry:** If the soil is consistently dry, it could be due to insufficient wicking material or a clogged reservoir. Try adding more wicking material or cleaning the reservoir.
* **Plants are Wilting:** Wilting can be caused by a variety of factors, including lack of water, excessive heat, or pest infestation. Check the water level in the reservoir, ensure that the plants are getting adequate sunlight, and inspect them for pests.
* **Algae Growth in the Reservoir:** Algae growth is common in self-watering containers. It’
Conclusion
So, there you have it! Creating your own self-watering system for water spinach is not just a clever gardening hack; it’s a game-changer for anyone who loves fresh, homegrown greens but struggles with consistent watering. This simple DIY project offers a multitude of benefits, from reducing water waste and saving you precious time to ensuring your water spinach thrives even when you’re away.
Why is this a must-try? Because it addresses a fundamental challenge in gardening: maintaining optimal moisture levels. Water spinach, in particular, is a thirsty plant, and inconsistent watering can lead to stunted growth, yellowing leaves, and a less-than-satisfactory harvest. With a self-watering system, you eliminate the guesswork and provide your plants with a steady supply of water, allowing them to flourish.
Beyond the convenience and efficiency, this DIY project is also incredibly rewarding. There’s a unique satisfaction in building something yourself and seeing it work so effectively. Plus, you’re contributing to a more sustainable gardening practice by conserving water and reducing your reliance on external resources.
Looking for variations? Absolutely! You can adapt this basic principle to suit different container sizes and plant needs. For larger containers, consider using multiple wicks or a larger reservoir. You can also experiment with different types of wicking materials, such as nylon rope or strips of old t-shirts. Some gardeners even add a small amount of slow-release fertilizer to the water reservoir to provide their plants with a continuous supply of nutrients. Another variation is to use a repurposed plastic bottle as the water reservoir, making it an even more eco-friendly project. You can also explore different types of containers, such as terracotta pots, which are naturally porous and can help regulate moisture levels.
Don’t be afraid to get creative and personalize your self-watering system to fit your specific needs and preferences. The key is to ensure that the wicking material is in direct contact with both the soil and the water reservoir, allowing the water to be drawn up into the soil as needed.
We wholeheartedly encourage you to give this DIY self-watering system for water spinach a try. It’s a simple, effective, and rewarding project that will transform your gardening experience. Imagine consistently vibrant, healthy water spinach ready for your favorite stir-fries, soups, and salads.
Once you’ve built your self-watering system and harvested your first batch of delicious water spinach, we’d love to hear about your experience! Share your photos, tips, and variations in the comments below. Let’s build a community of self-watering enthusiasts and help each other grow the best water spinach possible! Your insights could inspire others to embrace this innovative gardening technique and enjoy the benefits of fresh, homegrown produce. So, grab your supplies, get your hands dirty, and start building your own self-watering oasis today!
Frequently Asked Questions (FAQ)
What exactly is water spinach, and why does it need so much water?
Water spinach (Ipomoea aquatica), also known as ong choy or kangkong, is a semi-aquatic leafy green vegetable popular in Asian cuisine. Its name gives a clue to its water needs! It thrives in moist environments and requires consistent watering to maintain its succulent leaves and rapid growth. Unlike some other vegetables that can tolerate periods of drought, water spinach prefers consistently damp soil. This is because its roots are adapted to absorb water readily, and a lack of moisture can quickly lead to wilting and reduced yields. The self-watering system addresses this need by providing a constant supply of water directly to the roots, ensuring optimal hydration and healthy growth.
What kind of container is best for a self-watering water spinach system?
The best container for your self-watering water spinach system depends on the space you have available and the amount of water spinach you want to grow. A plastic container is a good choice because it is durable, lightweight, and readily available. However, terracotta pots can also be used, as they are porous and help regulate moisture levels. The size of the container should be at least 12 inches in diameter and 12 inches deep to provide enough room for the roots to grow. Make sure the container has drainage holes, even with a self-watering system, to prevent waterlogging. You’ll need a second container or reservoir that is slightly smaller to fit inside the main container, or a separate container to act as the water reservoir.
What type of wicking material should I use?
The wicking material is crucial for drawing water from the reservoir to the soil. Good options include cotton rope, nylon rope, strips of felt, or even old t-shirts cut into strips. The key is to choose a material that is absorbent and durable. Avoid using materials that are treated with chemicals or dyes, as these could leach into the soil and harm your plants. Cotton rope is a popular choice because it is readily available, inexpensive, and highly absorbent. Nylon rope is also a good option because it is resistant to rot and mildew. Experiment with different materials to see what works best for you.
How often do I need to refill the water reservoir?
The frequency with which you need to refill the water reservoir will depend on several factors, including the size of the container, the weather conditions, and the size of your water spinach plants. In general, you should check the water level in the reservoir every few days and refill it when it is about half empty. During hot, dry weather, you may need to refill the reservoir more frequently. Conversely, during cooler, wetter weather, you may be able to go longer between refills. Observe your plants closely and adjust your watering schedule accordingly.
Can I add fertilizer to the water reservoir?
Yes, you can add a small amount of diluted liquid fertilizer to the water reservoir to provide your water spinach plants with a continuous supply of nutrients. However, it is important to use a balanced fertilizer and to dilute it according to the manufacturer’s instructions. Over-fertilizing can lead to nutrient burn and damage your plants. A good rule of thumb is to use half the recommended dose of fertilizer. You can also use a slow-release fertilizer, which will gradually release nutrients into the soil over time.
What if the soil is too wet or too dry?
If the soil is consistently too wet, it could indicate that the wicking material is too absorbent or that the reservoir is too large. Try using a less absorbent wicking material or reducing the size of the reservoir. You can also add some drainage material, such as perlite or gravel, to the bottom of the container to improve drainage. If the soil is consistently too dry, it could indicate that the wicking material is not absorbent enough or that the reservoir is too small. Try using a more absorbent wicking material or increasing the size of the reservoir. You can also try watering the soil directly from the top to help saturate it.
Is this self-watering system suitable for other plants besides water spinach?
Yes, the basic principle of this self-watering system can be adapted for other plants that require consistent moisture, such as herbs, lettuce, and tomatoes. However, you may need to adjust the size of the container, the type of wicking material, and the frequency of watering to suit the specific needs of each plant. Research the water requirements of the plants you want to grow and adjust your self-watering system accordingly.
How do I prevent algae growth in the water reservoir?
Algae growth in the water reservoir is a common problem, especially in sunny locations. To prevent algae growth, you can add a small amount of hydrogen peroxide to the water reservoir. Hydrogen peroxide is a natural disinfectant that will kill algae without harming your plants. You can also use an opaque container for the reservoir to block out sunlight, which is essential for algae growth. Regularly cleaning the reservoir can also help prevent algae buildup.
What are some common problems I might encounter, and how do I fix them?
Some common problems you might encounter include:
* **Soil drying out too quickly:** This could be due to insufficient wicking, a small reservoir, or hot weather. Increase wicking material, enlarge the reservoir, or provide shade.
* **Soil staying too wet:** This could be due to excessive wicking or poor drainage. Reduce wicking material or add drainage material to the soil.
* **Algae growth in the reservoir:** Use an opaque reservoir, add hydrogen peroxide, or clean the reservoir regularly.
* **Nutrient deficiencies:** Supplement with diluted liquid fertilizer in the reservoir.
* **Pest infestations:** Monitor plants regularly and treat with appropriate organic pest control methods.
How do I harvest water spinach from my self-watering system?
You can harvest water spinach by cutting the stems about 6 inches above the soil line. This will encourage the plant to produce new shoots and leaves. Harvest regularly to keep the plant productive. Water spinach is best harvested in the morning, when the leaves are crisp and tender. You can store harvested water spinach in the refrigerator for up to a week.


Leave a Comment