
Shaving Foam Home Uses: Who knew that the foamy stuff you use to get a close shave could be your secret weapon for a sparkling home? I’m always on the lookout for clever DIY hacks that save time and money, and let me tell you, this one is a game-changer! For generations, resourceful homemakers have whispered about the hidden powers of everyday items, transforming mundane products into multi-purpose marvels. While the exact origins of using shaving foam outside the bathroom are a bit hazy, the spirit of resourcefulness and “making do” is deeply ingrained in our culture.
Let’s face it, cleaning can be a drag. We’re all juggling busy lives, and spending hours scrubbing isn’t exactly high on anyone’s list of fun activities. That’s where these amazing shaving foam home uses come in! Imagine effortlessly removing stubborn stains, polishing chrome to a dazzling shine, and even preventing foggy mirrors – all with a product you probably already have under your sink. This article is packed with simple, step-by-step instructions and insider tips to help you unlock the surprising potential of shaving foam and transform your cleaning routine. Get ready to be amazed by how this simple trick can make your life easier and your home cleaner!
Unlock the Cleaning Power of Shaving Foam: More Than Just a Smooth Shave!
Hey there, DIY enthusiasts! Did you know that humble can of shaving foam hiding in your bathroom cabinet is actually a secret weapon for tackling all sorts of cleaning challenges around your house? Yep, you heard right! This fluffy stuff isn’t just for prepping your face for a razor; it’s a surprisingly effective and affordable cleaning agent. I’ve been experimenting with shaving foam for cleaning for a while now, and I’m excited to share my favorite hacks with you. Get ready to be amazed!
Why Shaving Foam?
Before we dive into the how-to, let’s talk about why shaving foam works so well. The key lies in its ingredients. Most shaving foams contain:
* Soaps and Surfactants: These help to lift dirt and grime from surfaces.
* Emollients: These soften and condition, making it easier to wipe away messes.
* Humectants: These attract moisture, which can help loosen stubborn stains.
Plus, the foamy texture makes it easy to apply and spread evenly. It clings to surfaces, giving the cleaning agents time to work their magic.
Choosing the Right Shaving Foam
For most of these cleaning hacks, you’ll want to use a basic, non-gel shaving foam. The cheaper, the better, honestly! Avoid the fancy ones with added moisturizers, scents, or colors, as these can sometimes leave a residue or stain. A plain, white shaving foam is your best bet.
Hack #1: Sparkling Mirrors and Glass
Tired of streaks and smudges on your mirrors and windows? Shaving foam to the rescue! This is one of my absolute favorite uses.
What you’ll need:
* Shaving foam (plain, white)
* A clean, dry cloth (microfiber is ideal)
* Spray bottle with water (optional)
Step-by-Step Instructions:
1. Apply the Shaving Foam: Squirt a small amount of shaving foam directly onto the mirror or glass surface. You don’t need a ton – a little goes a long way.
2. Spread it Around: Use your fingers or a clean cloth to spread the foam evenly over the entire surface. Make sure to cover all the areas with smudges or streaks.
3. Let it Sit: Allow the shaving foam to sit for a minute or two. This gives it time to loosen the dirt and grime.
4. Wipe it Clean: Using a clean, dry microfiber cloth, wipe away the shaving foam. Use circular motions to buff the surface.
5. Final Polish (Optional): If you notice any streaks, lightly mist the surface with water and wipe again with a clean, dry cloth.
The Result: A streak-free, sparkling clean mirror or window! The shaving foam leaves behind a protective layer that helps to repel dust and fingerprints, keeping your surfaces cleaner for longer.
Hack #2: Stain Remover for Carpets and Upholstery
Spilled coffee? Muddy paw prints? Don’t panic! Shaving foam can often lift those pesky stains from carpets and upholstery.
What you’ll need:
* Shaving foam (plain, white)
* A clean, damp cloth
* A vacuum cleaner
Step-by-Step Instructions:
1. Act Fast: The sooner you treat the stain, the better your chances of removing it completely.
2. Apply the Shaving Foam: Apply a generous amount of shaving foam directly onto the stain. Make sure to cover the entire affected area.
3. Work it In: Gently rub the shaving foam into the stain using a clean, damp cloth. Use circular motions to loosen the stain.
4. Let it Sit: Allow the shaving foam to sit for 15-20 minutes. This gives it time to penetrate the stain and break it down.
5. Blot it Up: Using a clean, dry cloth, blot up the shaving foam and the dissolved stain. Avoid rubbing vigorously, as this can damage the fibers.
6. Rinse (Optional): If necessary, lightly rinse the area with clean water and blot dry.
7. Vacuum: Once the area is completely dry, vacuum it to restore the texture of the carpet or upholstery.
Important Note: Always test the shaving foam on an inconspicuous area of the carpet or upholstery first to ensure that it doesn’t cause any discoloration or damage.
Hack #3: Polishing Chrome Fixtures
Bring back the shine to your chrome faucets, showerheads, and other fixtures with shaving foam!
What you’ll need:
* Shaving foam (plain, white)
* A clean, dry cloth
Step-by-Step Instructions:
1. Apply the Shaving Foam: Apply a small amount of shaving foam to the chrome fixture.
2. Spread it Around: Spread the foam evenly over the entire surface.
3. Let it Sit: Allow the shaving foam to sit for a few minutes.
4. Wipe it Clean: Using a clean, dry cloth, wipe away the shaving foam. Buff the surface to a shine.
The Result: Sparkling clean and shiny chrome fixtures! The shaving foam helps to remove water spots, soap scum, and other buildup, leaving your fixtures looking like new.
Hack #4: Cleaning Stainless Steel Appliances
Fingerprints and smudges on your stainless steel appliances driving you crazy? Shaving foam can help with that too!
What you’ll need:
* Shaving foam (plain, white)
* A clean, dry cloth (microfiber is best)
Step-by-Step Instructions:
1. Apply the Shaving Foam: Apply a small amount of shaving foam to the stainless steel surface.
2. Spread it Around: Spread the foam evenly, following the grain of the stainless steel.
3. Let it Sit: Allow the shaving foam to sit for a minute or two.
4. Wipe it Clean: Using a clean, dry microfiber cloth, wipe away the shaving foam, again following the grain of the stainless steel. Buff the surface to a shine.
Important Note: Always test the shaving foam on an inconspicuous area of the appliance first to ensure that it doesn’t cause any damage or discoloration.
Hack #5: Preventing Foggy Bathroom Mirrors
This is a game-changer! Tired of your bathroom mirror fogging up after a hot shower? Shaving foam can prevent that!
What you’ll need:
* Shaving foam (plain, white)
* A clean, dry cloth
Step-by-Step Instructions:
1. Apply the Shaving Foam: Apply a thin layer of shaving foam to the entire surface of the mirror.
2. Spread it Around: Spread the foam evenly over the entire surface.
3. Wipe it Clean: Using a clean, dry cloth, wipe away the shaving foam completely. Make sure there are no streaks or residue left behind.
The Result: A fog-free mirror! The shaving foam creates a protective barrier that prevents condensation from forming on the surface of the mirror. This effect can last for several days or even weeks.
Hack #6: Cleaning the Toilet Bowl
Yes, you can even use shaving foam to clean your toilet bowl! It’s a quick and easy way to freshen up your bathroom.
What you’ll need:
* Shaving foam (plain, white)
* Toilet brush
Step-by-Step Instructions:
1. Apply the Shaving Foam: Squirt a generous amount of shaving foam into the toilet bowl.
2. Let it Sit: Allow the shaving foam to sit for 15-20 minutes.
3. Scrub: Use a toilet brush to scrub the bowl thoroughly.
4. Flush: Flush the toilet to rinse away the shaving foam and any dirt or grime.
The Result: A cleaner and fresher-smelling toilet bowl!
Hack #7: Cleaning Computer Screens and Keyboards
Be very careful with this one, but shaving foam can gently clean your computer screen and keyboard.
What you’ll need:
* Shaving foam (plain, white)
* A clean, slightly damp microfiber cloth
* A dry microfiber cloth
Step-by-Step Instructions:
1. Unplug: Make sure your device is unplugged before you start.
2. Apply to Cloth: Do NOT spray shaving foam directly onto the screen or keyboard. Instead, spray a small amount onto the slightly damp microfiber cloth.
3. Wipe Gently: Gently wipe the screen or keyboard with the damp cloth, being careful not to apply too much pressure.
4. Dry: Immediately wipe the surface with the dry microfiber cloth to remove any remaining moisture.
Important Note: Use extreme caution when
Conclusion
So, there you have it! Shaving foam, that humble bathroom staple, is so much more than just a pre-shave necessity. It’s a surprisingly versatile cleaning agent, stain remover, and even a crafting tool, ready to tackle a multitude of household challenges. From banishing stubborn grease stains to adding a playful touch to your kids’ art projects, the possibilities are truly endless.
Why is this DIY trick a must-try? Because it’s effective, affordable, and readily available. You likely already have a can of shaving foam sitting in your bathroom, making it a convenient solution for those unexpected messes and cleaning dilemmas. Plus, it’s generally gentler than harsh chemical cleaners, making it a safer option for your family and your home. Think about the money you’ll save on specialized cleaning products!
But don’t just take our word for it. We encourage you to experiment and discover the magic of shaving foam home uses for yourself. Try it on your stained carpets, your grimy oven door, or even your dull jewelry. You might be surprised by the results!
Looking for variations? Consider adding a few drops of essential oil to your shaving foam for a pleasant scent while you clean. Lavender, lemon, or tea tree oil can add a refreshing aroma and even provide additional cleaning benefits. For tougher stains, let the shaving foam sit for a longer period before wiping it away. You can also use different types of shaving foam, such as gel or cream, to see which works best for your specific needs. Remember to always test a small, inconspicuous area first to ensure the shaving foam doesn’t damage the surface.
We’re confident that once you experience the power of shaving foam beyond its intended purpose, you’ll be hooked. It’s a simple, yet effective way to simplify your cleaning routine and add a touch of creativity to your everyday life.
Now, it’s your turn! We’d love to hear about your experiences with these shaving foam hacks. Did you discover a new use we haven’t mentioned? Did you find a particular variation that worked wonders for you? Share your tips, tricks, and stories in the comments below. Let’s build a community of shaving foam enthusiasts and unlock even more of its hidden potential! Your insights could help others discover the amazing versatility of this everyday product. Don’t be shy – let us know how shaving foam home uses have worked for you!
Frequently Asked Questions (FAQ)
Is shaving foam safe to use on all surfaces?
While shaving foam is generally considered a gentle cleaning agent, it’s always best to test it on a small, inconspicuous area first, especially on delicate or sensitive surfaces like leather, silk, or certain types of wood. This will help you ensure that the shaving foam doesn’t cause any discoloration, damage, or unwanted reactions. If you’re unsure about a particular surface, consult the manufacturer’s instructions or a professional cleaner. Remember, prevention is always better than cure!
What type of shaving foam works best for cleaning?
Most types of shaving foam, including gel and cream varieties, can be used for cleaning purposes. However, some users find that thicker creams tend to cling to surfaces better, making them ideal for tackling stubborn stains or vertical surfaces like oven doors. Experiment with different types of shaving foam to see which works best for your specific needs and preferences. The key is to find a product that provides good coverage and allows you to easily wipe away dirt and grime.
Can I use shaving foam to clean my car?
Yes, shaving foam can be used to clean certain parts of your car, such as the interior upholstery, dashboard, and even the exterior chrome trim. However, avoid using it on painted surfaces, as it may potentially damage the paint over time. When cleaning your car’s interior, apply a small amount of shaving foam to a soft cloth and gently wipe the surface. For chrome trim, apply the shaving foam directly and let it sit for a few minutes before wiping it away with a clean cloth. Always test a small, hidden area first to ensure compatibility.
How long should I leave shaving foam on a stain before wiping it away?
The amount of time you should leave shaving foam on a stain depends on the severity of the stain and the type of surface. For light stains, a few minutes may be sufficient. For tougher stains, you may need to let the shaving foam sit for 15-30 minutes, or even longer. You can also try gently scrubbing the stain with a soft brush or cloth after applying the shaving foam. Remember to always blot the stain, rather than rubbing it, to prevent it from spreading.
Does shaving foam work on all types of stains?
Shaving foam is most effective on water-based stains, such as food spills, juice stains, and ink marks. It may also help to remove grease stains, but it may not be as effective on oil-based stains or heavily ingrained dirt. For stubborn stains, you may need to use a specialized stain remover or consult a professional cleaner. However, shaving foam is a great first line of defense for many common household stains.
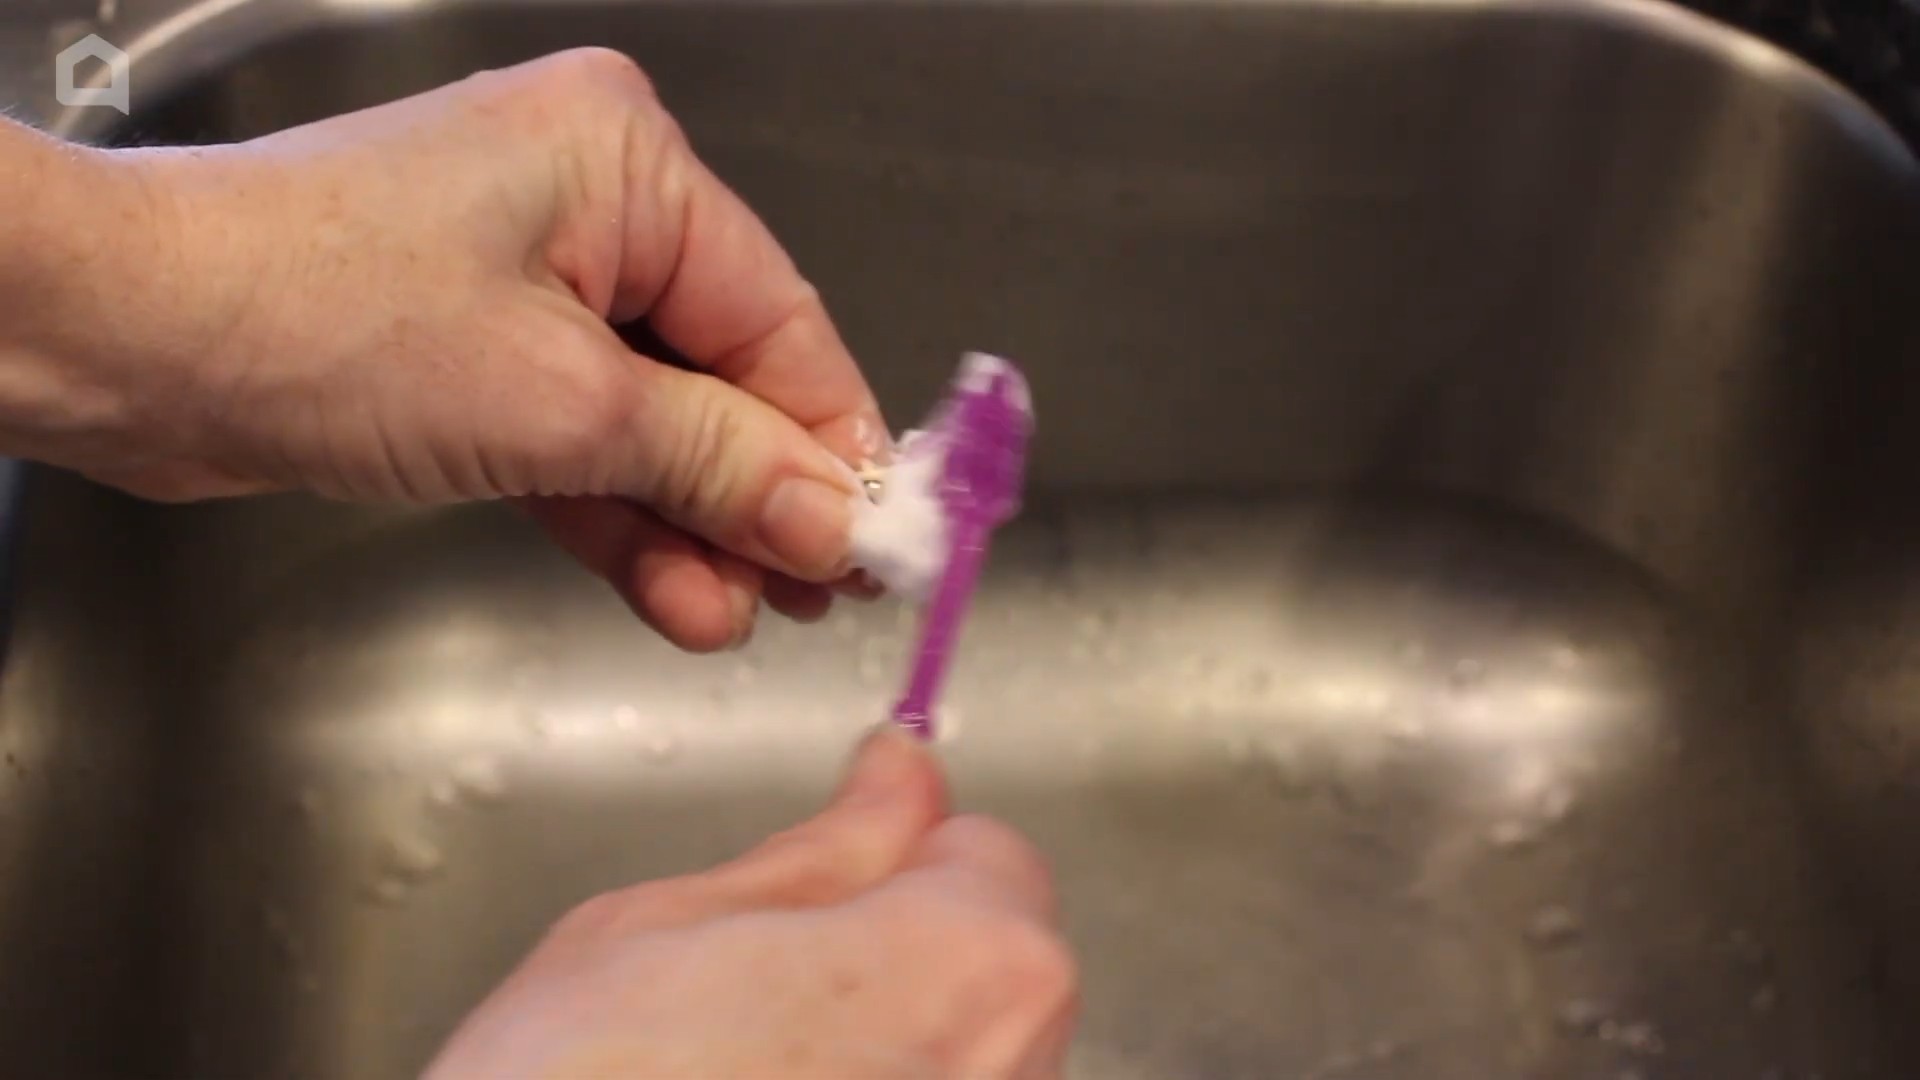
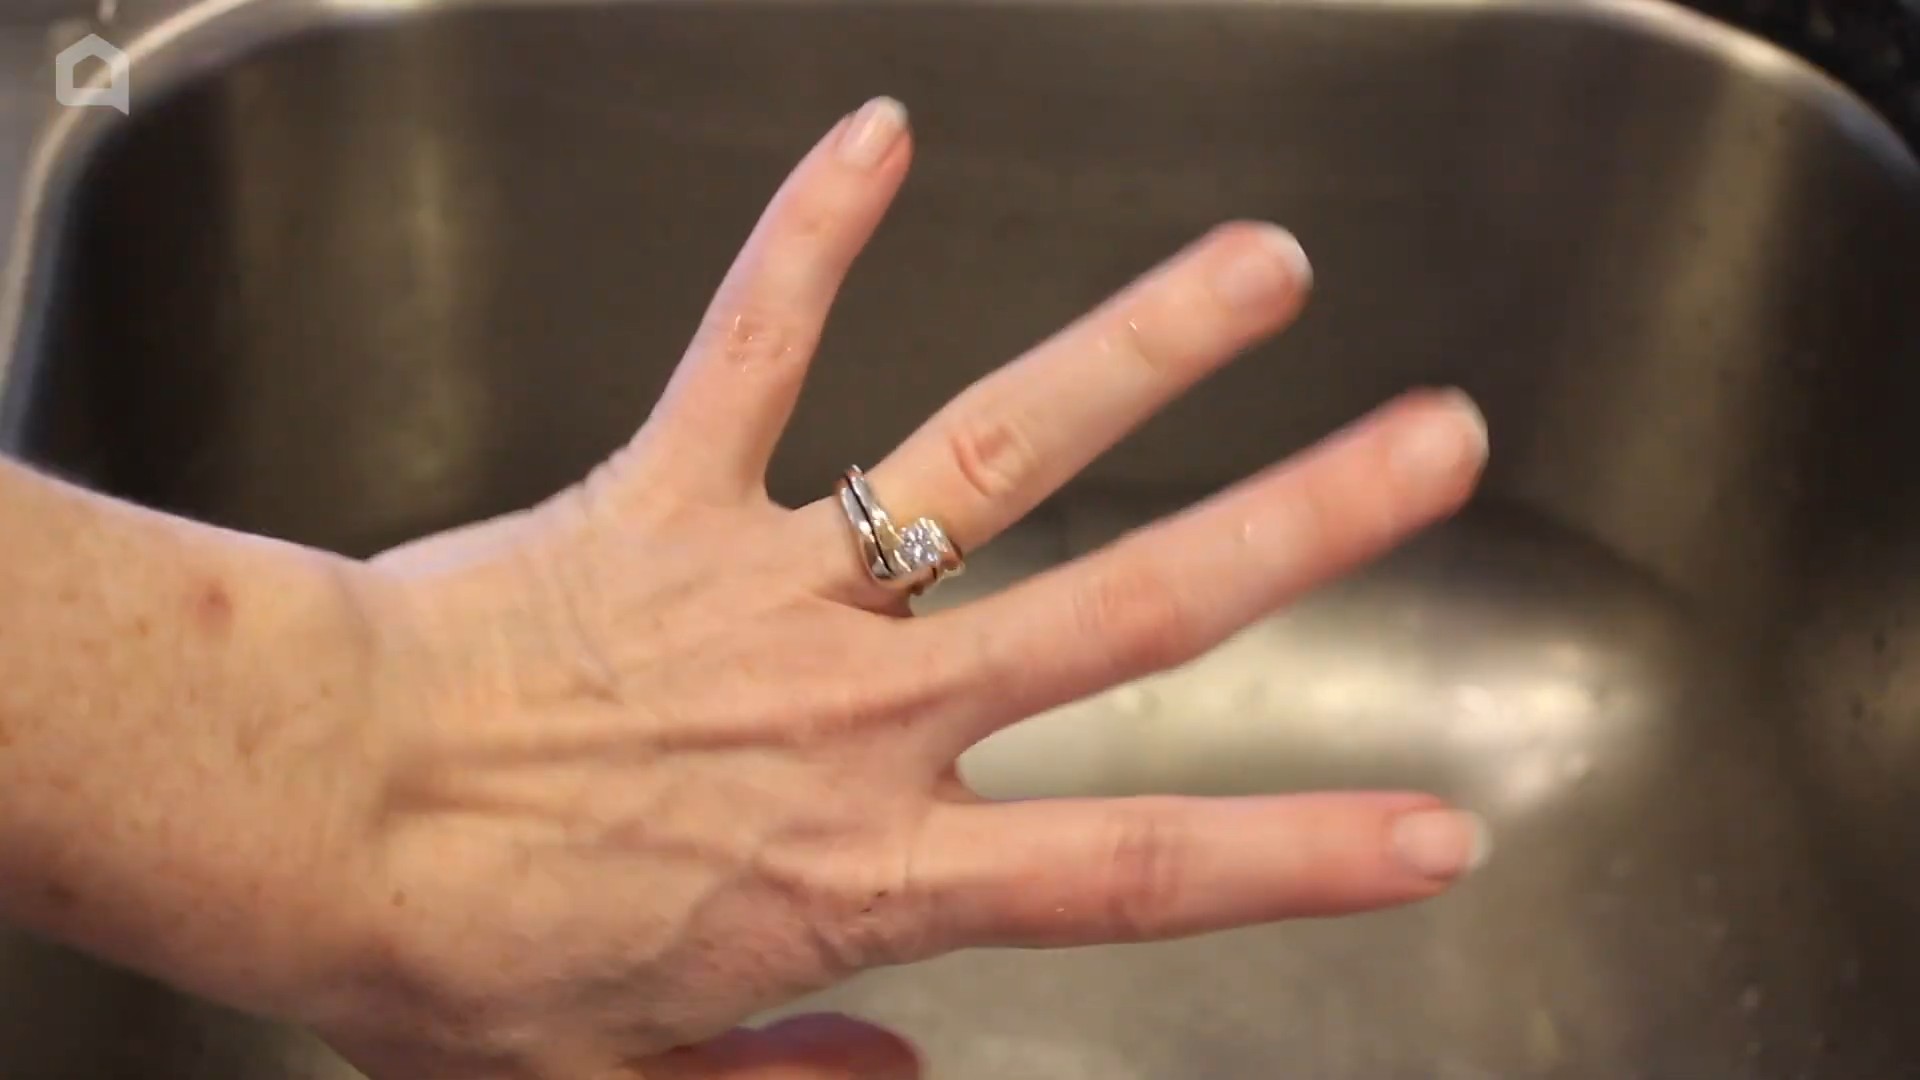
Can I use shaving foam to clean my jewelry?
Yes, shaving foam can be used to clean certain types of jewelry, such as silver, gold, and platinum. However, avoid using it on delicate or porous gemstones, as it may damage them. To clean your jewelry with shaving foam, apply a small amount to a soft brush or cloth and gently scrub the surface. Rinse the jewelry thoroughly with water and dry it with a clean cloth. This can help restore shine and remove tarnish.
Is shaving foam safe for children to use in art projects?
Yes, shaving foam is generally considered safe for children to use in art projects, as it is non-toxic and relatively gentle on the skin. However, it’s always a good idea to supervise children while they are using shaving foam and to ensure that they don’t ingest it. You can also use hypoallergenic shaving foam to minimize the risk of allergic reactions. Shaving foam can be used to create a variety of fun and creative art projects, such as marbled paper, puffy paint, and sensory play activities.
Can shaving foam remove pet odors?
Shaving foam can help to absorb and neutralize pet odors in carpets and upholstery. Apply a generous amount of shaving foam to the affected area and let it sit for several hours, or even overnight. Then, vacuum the area thoroughly to remove the shaving foam and any lingering odors. You may need to repeat this process several times for stubborn odors. For best results, use an unscented shaving foam to avoid adding additional fragrances to the area.
What are the environmental considerations of using shaving foam for cleaning?
While shaving foam is generally considered a safer alternative to harsh chemical cleaners, it’s important to be mindful of its environmental impact. Many shaving foams contain propellants and other chemicals that can contribute to air pollution. Consider choosing shaving foams that are labeled as environmentally friendly or that use alternative propellants. You can also reduce your environmental footprint by using shaving foam sparingly and by properly disposing of empty cans.

Leave a Comment