
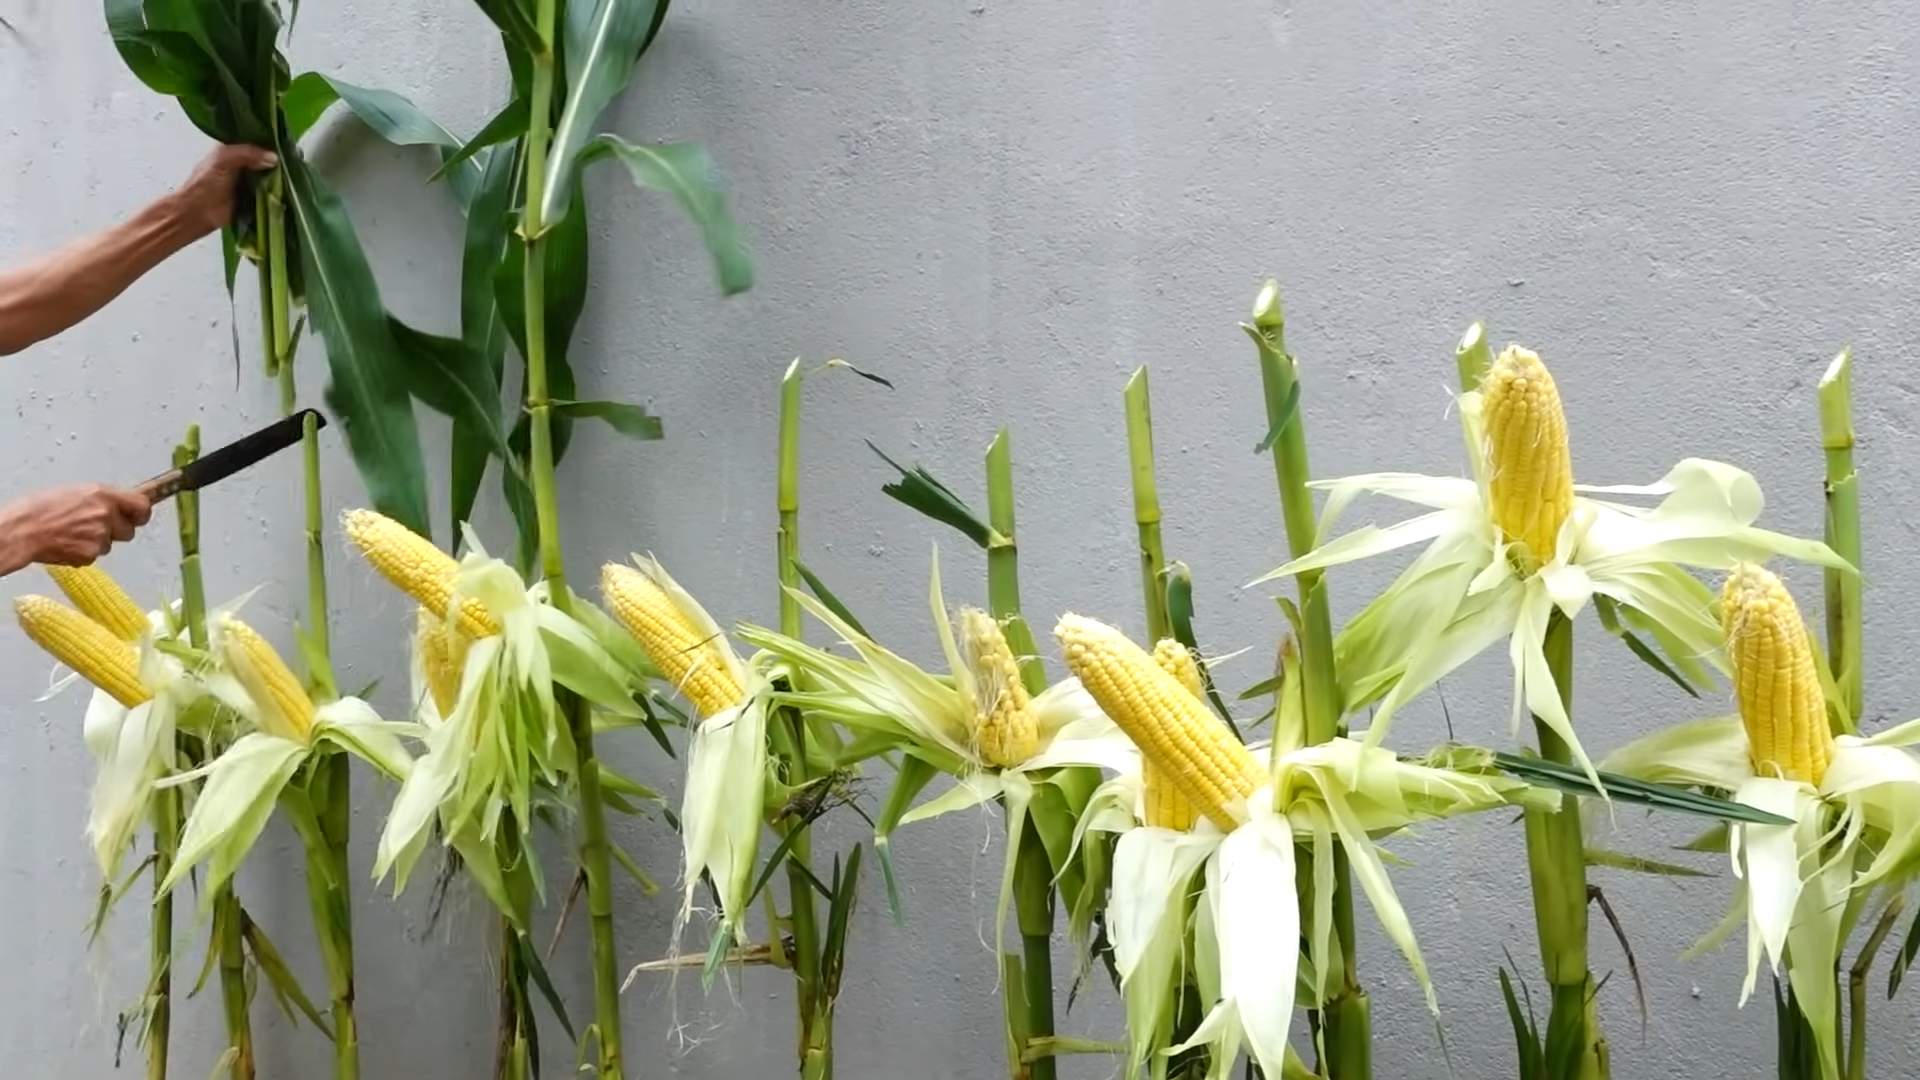
Soil-free corn growing might sound like something out of a science fiction movie, but trust me, it’s a totally achievable and incredibly rewarding project you can tackle right in your own backyard (or even indoors!). Have you ever dreamed of harvesting your own sweet, juicy corn without the hassle of tilling, weeding, and battling unpredictable soil conditions? Well, get ready to ditch the dirt and embrace a revolutionary approach to gardening!
Hydroponics, the art of growing plants without soil, has ancient roots, dating back to the Hanging Gardens of Babylon and the floating gardens of the Aztecs. While those civilizations used rudimentary forms of hydroponics, modern techniques have made it easier than ever for home gardeners like us to experiment and enjoy the benefits.
Why should you consider soil-free corn growing? For starters, it’s a fantastic way to conserve water, as hydroponic systems recycle water efficiently. Plus, you’ll have greater control over nutrient delivery, leading to healthier, faster-growing plants. And let’s be honest, who wouldn’t want to impress their friends and family with a bountiful corn harvest grown entirely without soil? This DIY guide will walk you through every step, from setting up your hydroponic system to harvesting your delicious, homegrown corn. Let’s get started!
Growing Corn Without Soil: A DIY Hydroponic Adventure!
Hey there, fellow gardening enthusiasts! Ever thought about growing corn without getting your hands dirty? I know, it sounds a little crazy, right? But trust me, it’s totally doable and a super fun experiment. We’re going to dive into the world of hydroponics and learn how to grow corn without soil. Get ready to be amazed!
What You’ll Need
Before we get started, let’s gather our supplies. This is crucial for a smooth and successful hydroponic corn-growing experience.
* Corn Seeds: Choose a variety that’s known for its shorter stature, like sweet corn. This will make managing the plant indoors much easier.
* Hydroponic System: You can buy a pre-made system, but we’re going DIY! We’ll be building a simple Deep Water Culture (DWC) system.
* Container: A large, opaque plastic tub (around 10-20 gallons) will work perfectly. The opacity is important to prevent algae growth.
* Net Pots: These will hold your corn seedlings. Choose a size that fits comfortably in your container lid.
* Hydroponic Grow Medium: Rockwool cubes or coco coir are excellent choices for starting your seeds. Clay pebbles (hydroton) are great for supporting the roots in the DWC system.
* Air Pump and Air Stone: This is essential for oxygenating the nutrient solution.
* Hydroponic Nutrients: Specifically formulated for leafy greens or general hydroponics. Make sure they contain all the essential macronutrients and micronutrients.
* pH Meter and pH Up/Down Solutions: Maintaining the correct pH is vital for nutrient absorption.
* Grow Lights: Corn needs a lot of light, so invest in some good quality LED grow lights.
* Timer: To automate the grow lights.
* Drill and Hole Saw: For creating holes in the container lid for the net pots.
* Measuring Cups and Spoons: For accurately mixing the nutrient solution.
* Safety Glasses and Gloves: Always protect yourself when working with tools and chemicals.
Building Your DIY DWC System
Okay, let’s get our hands a little dirty (or not, since we’re avoiding soil!). Building the DWC system is the first major step.
1. Prepare the Container: Clean the plastic tub thoroughly with soap and water. Rinse it well to remove any residue.
2. Drill Holes for Net Pots: Using the hole saw attachment on your drill, create holes in the container lid that are slightly smaller than the diameter of your net pots. You’ll want to space them out evenly to allow for adequate growth. I usually aim for about 6-8 inches between each hole.
3. Set Up the Air Pump and Air Stone: Place the air stone at the bottom of the container. Connect it to the air pump with the tubing. Make sure the air pump is placed outside the container to prevent it from getting wet.
4. Test the System: Fill the container with water and turn on the air pump. You should see bubbles rising from the air stone. This ensures that the water is being properly oxygenated.
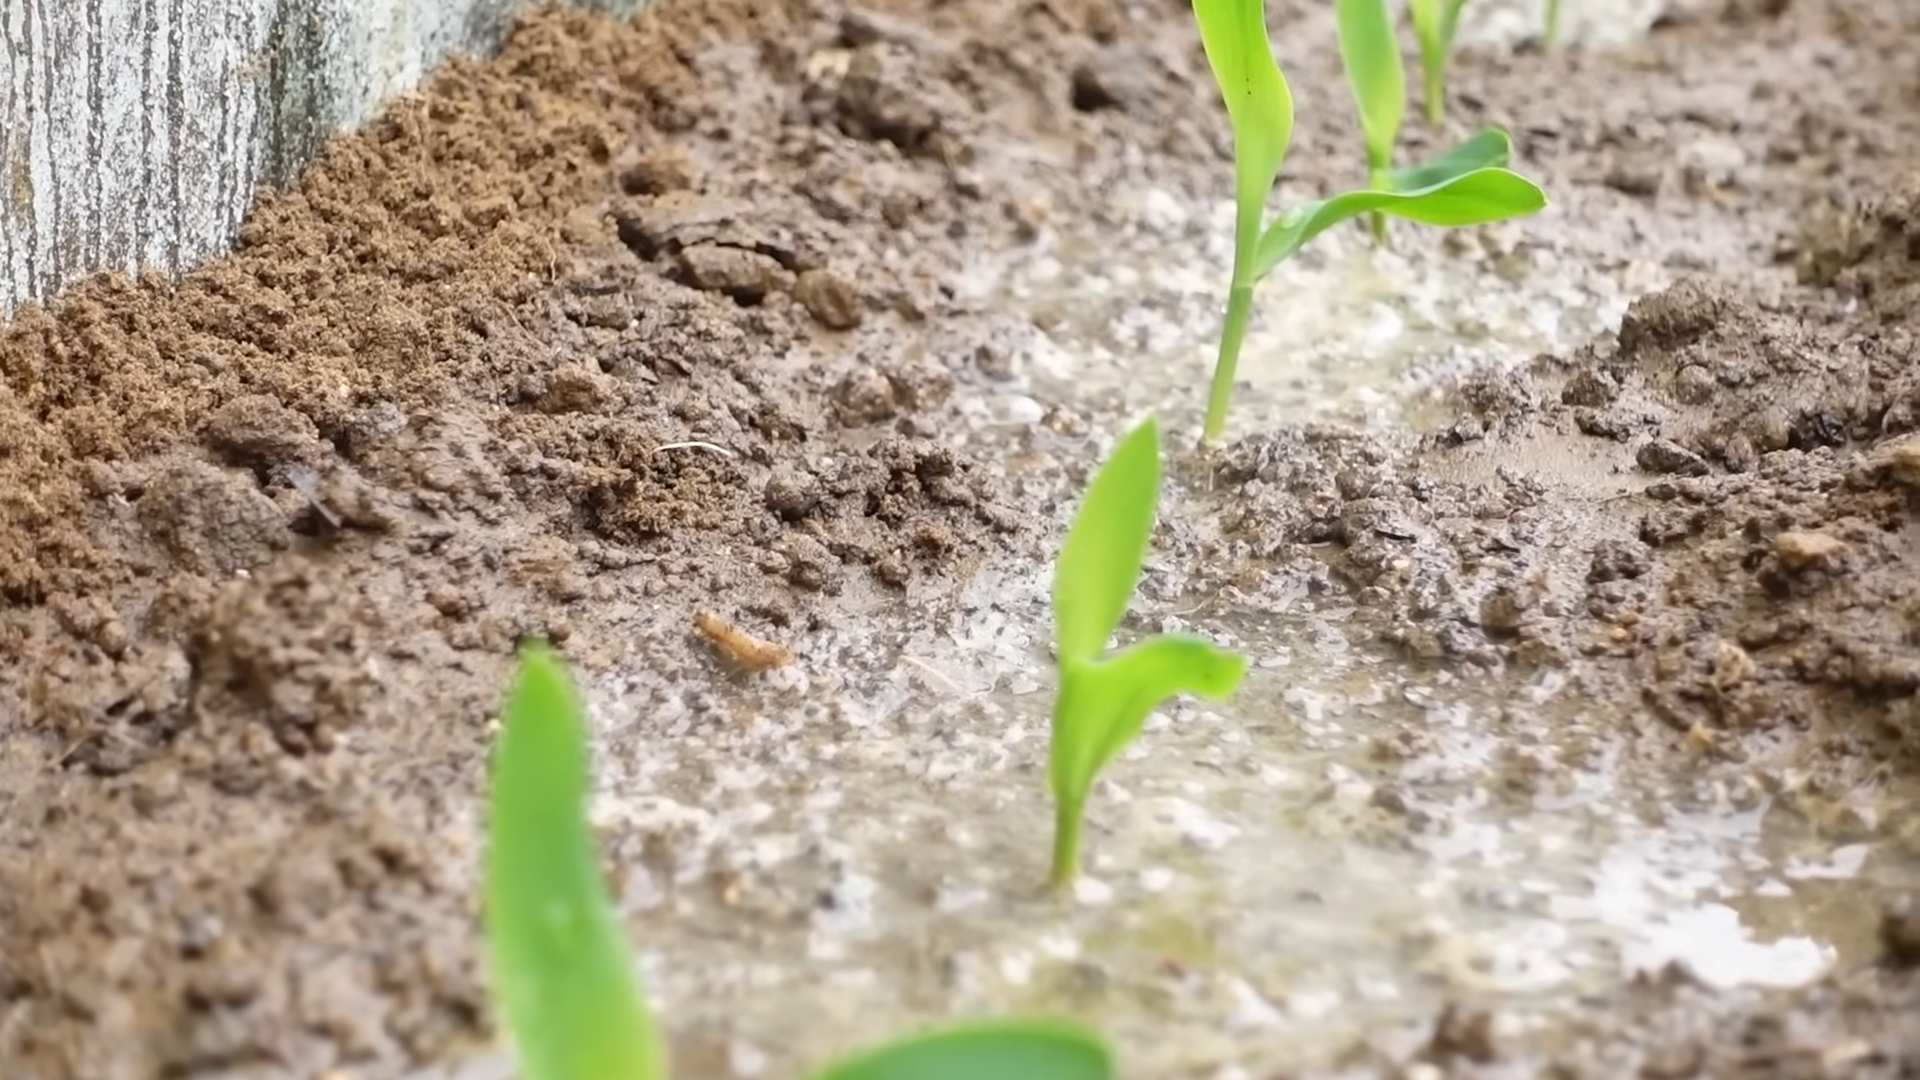
Starting Your Corn Seeds
Now for the fun part – getting those corn seeds to sprout!
1. Soak the Seeds: Place your corn seeds in a glass of water for 24 hours. This will help to soften the seed coat and encourage germination.
2. Prepare the Grow Medium: If you’re using rockwool cubes, soak them in water that has been pH-adjusted to around 5.5-6.0. This will help to prevent nutrient lockout. If you’re using coco coir, rinse it thoroughly to remove any excess salts.
3. Plant the Seeds: Place one or two corn seeds in each rockwool cube or coco coir plug. Gently press them into the medium.
4. Provide Humidity: Place the seeded cubes or plugs in a humidity dome or a plastic container with a lid. This will help to keep the medium moist and encourage germination.
5. Provide Light: Place the humidity dome or container under your grow lights. Keep the lights on for 16-18 hours per day.
6. Monitor Germination: Check the seeds daily for germination. Corn seeds typically germinate within 3-7 days.
7. Transplant Seedlings: Once the seedlings have developed a few sets of true leaves and their roots are starting to emerge from the rockwool cubes or coco coir plugs, it’s time to transplant them into the DWC system.
Transplanting and Growing in the DWC System
This is where the magic happens! We’re moving our little seedlings into their hydroponic home.
1. Prepare the Nutrient Solution: Fill the container with water and add the hydroponic nutrients according to the manufacturer’s instructions. Start with a half-strength solution to avoid shocking the seedlings.
2. Adjust the pH: Use the pH meter to check the pH of the nutrient solution. The ideal pH for corn is between 6.0 and 6.5. Use the pH up or pH down solutions to adjust the pH as needed.
3. Place Seedlings in Net Pots: Gently place each seedling (still in its rockwool cube or coco coir plug) into a net pot. Fill the remaining space in the net pot with clay pebbles (hydroton) to support the roots.
4. Position Net Pots in the Lid: Place the net pots into the holes in the container lid. Make sure the bottom of the net pots are submerged in the nutrient solution.
5. Turn on the Air Pump: Ensure the air pump is running continuously to provide oxygen to the roots.
6. Adjust Grow Lights: Position the grow lights about 12-18 inches above the plants. Adjust the height as the plants grow.
7. Set the Timer: Set the timer to provide 16-18 hours of light per day.
Maintaining Your Hydroponic Corn
Growing hydroponic corn requires consistent care and attention. Here’s what you need to do to keep your plants healthy and thriving.
1. Monitor Nutrient Solution: Check the nutrient solution every 2-3 days. Replenish the water as needed and add nutrients to maintain the correct concentration. I usually change the entire nutrient solution every 1-2 weeks to prevent nutrient imbalances.
2. Adjust pH: Regularly check and adjust the pH of the nutrient solution.
3. Monitor Water Temperature: The ideal water temperature for hydroponic corn is between 65°F and 75°F (18°C and 24°C). Use a water chiller or heater if necessary to maintain the correct temperature.
4. Provide Support: As the corn plants grow taller, they may need additional support. You can use stakes or trellises to prevent them from falling over.
5. Pollination: Corn is wind-pollinated, so you’ll need to manually pollinate the plants. You can do this by gently shaking the plants or using a small brush to transfer pollen from the tassels (male flowers) to the silks (female flowers). I usually do this daily when the tassels and silks are mature.
6. Pest and Disease Control: Regularly inspect the plants for pests and diseases. Use organic pest control methods, such as neem oil or insecticidal soap, to control any infestations. Ensure good air circulation to prevent fungal diseases.
7. Increase Nutrient Strength: As the plants mature and begin to produce ears of corn, you may need to increase the strength of the nutrient solution to provide them with the extra nutrients they need.
Troubleshooting Common Issues
Even with the best care, you might encounter some challenges. Here are a few common issues and how to address them:
* Yellowing Leaves: This could be a sign of nutrient deficiency. Check the pH of the nutrient solution and adjust it as needed. Also, make sure you’re using a balanced hydroponic nutrient solution.
* Slow Growth: This could be due to insufficient light. Make sure your grow lights are providing adequate light intensity and duration.
* Algae Growth: Algae can grow in the nutrient solution if it’s exposed to light. Make sure the container is opaque and that the lid is tightly sealed. You can also add hydrogen peroxide to the nutrient solution to kill algae.
* Root Rot: This is a fungal disease that can affect the roots. It’s usually caused by poor aeration or overwatering. Make sure the air pump is providing adequate oxygen to the roots and that the water temperature is not too high.
Harvesting Your Hydroponic Corn
After all your hard work, it’s time to reap the rewards!
1. Check for Maturity: The corn is ready to harvest when the silks turn brown and dry, and the kernels are plump and milky.
2. Harvest the Ears: Gently pull the
Conclusion
So, there you have it – a revolutionary way to grow corn without soil! This method, often referred to as hydroponic corn cultivation, is more than just a gardening experiment; it’s a game-changer for urban gardeners, those with limited space, and anyone looking to explore sustainable and efficient food production. We’ve walked you through the process, highlighting the key steps and considerations for successfully cultivating corn without the need for traditional soil.
Why is this DIY trick a must-try? Because it offers a multitude of benefits. Firstly, it significantly reduces the risk of soilborne diseases and pests that can plague conventional corn crops. Secondly, it allows for greater control over the growing environment, optimizing nutrient delivery and water usage. This translates to faster growth, higher yields, and ultimately, more delicious corn on your table. Thirdly, it’s incredibly space-efficient. You can grow corn in containers on your balcony, patio, or even indoors with the right lighting.
But the advantages don’t stop there. Soil-free corn growing is also a fantastic educational opportunity. It’s a hands-on way to learn about plant physiology, nutrient requirements, and the principles of sustainable agriculture. It’s a perfect project for families, schools, and community gardens.
Now, let’s talk about variations. While we’ve focused on a basic hydroponic setup, there are countless ways to customize your soil-free corn growing system. You could experiment with different nutrient solutions, adjusting the ratios of nitrogen, phosphorus, and potassium to see how they affect growth and yield. You could also explore different hydroponic techniques, such as deep water culture (DWC) or nutrient film technique (NFT), to find the method that works best for you.
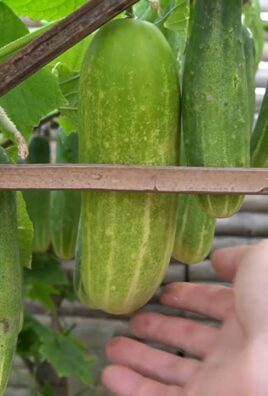
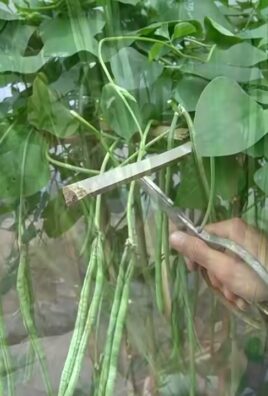
Consider adding companion plants to your hydroponic system. Basil, for example, can help repel pests and improve the flavor of your corn. Marigolds are another excellent choice, known for their pest-deterrent properties.
For those looking for a more automated approach, consider incorporating a timer to control the nutrient solution pump and a pH meter to monitor the acidity of the water. These additions can help streamline the growing process and ensure optimal conditions for your corn plants.
Don’t be afraid to experiment! The beauty of soil-free corn growing is that it’s a constantly evolving process. There’s always something new to learn and discover.
We wholeheartedly encourage you to try this DIY trick and experience the joy of growing your own corn without soil. It’s a rewarding and educational experience that will transform the way you think about food production.
Once you’ve embarked on your soil-free corn growing journey, we’d love to hear about your experiences. Share your successes, challenges, and tips in the comments section below. Let’s build a community of soil-free corn enthusiasts and learn from each other. Together, we can unlock the full potential of this innovative growing method and bring fresh, delicious corn to tables everywhere. So, grab your seeds, gather your supplies, and get ready to grow some amazing corn!
Frequently Asked Questions (FAQ)
What exactly is soil-free corn growing, and how does it work?
Soil-free corn growing, also known as hydroponic corn cultivation, is a method of growing corn without using traditional soil. Instead, the plants are grown in a nutrient-rich water solution that provides them with all the essential elements they need to thrive. The roots are typically suspended in the solution or supported by an inert medium like perlite or coco coir. This method allows for precise control over nutrient delivery, water usage, and environmental conditions, leading to faster growth and higher yields. The corn plant absorbs the nutrients directly from the water, eliminating the need for the plant to search for nutrients in the soil. This direct access to nutrients allows the plant to focus its energy on growth and development, resulting in a healthier and more productive crop.
What are the main advantages of growing corn without soil?
The advantages are numerous! Firstly, it minimizes the risk of soilborne diseases and pests. Secondly, it allows for greater control over the growing environment, optimizing nutrient delivery and water usage. Thirdly, it’s incredibly space-efficient, making it ideal for urban gardeners. Fourthly, it often results in faster growth and higher yields compared to traditional soil-based methods. Finally, it’s a sustainable and environmentally friendly approach to food production, reducing the need for pesticides and herbicides. The reduced water usage is also a significant benefit, especially in areas with limited water resources.
What kind of corn varieties are best suited for soil-free growing?
While most corn varieties can be grown hydroponically, some are better suited than others. Shorter, more compact varieties tend to perform better in container systems. Consider varieties like ‘Golden Bantam’ or ‘Trinity’, which are known for their smaller size and early maturity. Experimentation is key! Try different varieties and see which ones thrive in your specific setup. Also, consider the climate in your area and choose varieties that are well-suited to your local growing conditions.
What type of nutrient solution should I use for my hydroponic corn?
A balanced hydroponic nutrient solution specifically formulated for vegetables is recommended. Look for solutions that contain all the essential macronutrients (nitrogen, phosphorus, potassium) and micronutrients (iron, manganese, zinc, copper, boron, molybdenum). The nutrient solution should be regularly monitored and adjusted to maintain the optimal pH level, which is typically between 6.0 and 6.5. You can find pre-mixed nutrient solutions at most garden centers or online retailers. Alternatively, you can create your own nutrient solution using individual nutrient salts, but this requires more knowledge and precision.
How often should I change the nutrient solution?
The frequency of nutrient solution changes depends on several factors, including the size of your reservoir, the number of plants, and the rate of nutrient uptake. As a general rule, you should change the nutrient solution every 1-2 weeks. However, it’s important to monitor the nutrient levels and pH of the solution regularly and adjust the frequency of changes accordingly. If the nutrient levels drop significantly or the pH drifts outside the optimal range, it’s time for a change.
What kind of lighting is required for indoor soil-free corn growing?
Corn requires a significant amount of light to grow and produce ears. If you’re growing corn indoors, you’ll need to provide supplemental lighting. High-intensity grow lights, such as LED or high-pressure sodium (HPS) lights, are recommended. Aim for at least 14-16 hours of light per day. The distance between the lights and the plants will depend on the intensity of the lights. Monitor the plants closely and adjust the distance as needed to prevent burning or stretching.
How do I pollinate corn plants grown indoors?
Corn is wind-pollinated, so you’ll need to manually pollinate the plants if you’re growing them indoors. This can be done by gently shaking the plants to release pollen from the tassels (male flowers) onto the silks (female flowers). You can also use a small paintbrush to collect pollen from the tassels and apply it to the silks. Repeat this process every day for several days to ensure successful pollination.
How long does it take to grow corn without soil?
The time it takes to grow corn without soil depends on the variety, the growing conditions, and the nutrient solution used. Generally, it takes about 60-90 days from planting to harvest. However, some varieties may mature faster or slower. Monitor the plants closely and harvest the ears when the silks have turned brown and the kernels are plump and milky.
What are some common problems I might encounter when growing corn without soil, and how can I fix them?
Some common problems include nutrient deficiencies, pH imbalances, pest infestations, and fungal diseases. Nutrient deficiencies can be identified by observing the leaves for discoloration or stunted growth. pH imbalances can be corrected by adjusting the nutrient solution. Pest infestations can be controlled with organic pesticides or by introducing beneficial insects. Fungal diseases can be prevented by ensuring good air circulation and avoiding overwatering. Regular monitoring and prompt action are key to preventing and addressing these problems.
Can I grow organic corn using soil-free methods?
Yes, it is possible to grow organic corn using soil-free methods. To do so, you’ll need to use organic nutrient solutions and pest control methods. Look for nutrient solutions that are certified organic by a reputable organization. You can also use compost tea or other organic amendments to provide nutrients to the plants. For pest control, consider using organic pesticides like neem oil or introducing beneficial insects like ladybugs.

Leave a Comment