
Stainless Steel Cleaning ZEP products can be a lifesaver, but let’s be honest, sometimes they just don’t quite cut through the grime, do they? I’ve been there, staring at a stubbornly smudged refrigerator, wondering if I’d ever see its original shine again. That’s why I’m so excited to share some incredible DIY tricks and hacks that will take your stainless steel cleaning game to the next level!
For generations, keeping metal surfaces gleaming has been a point of pride. Think of the meticulously polished silverware of Victorian England or the gleaming copper pots hanging in a rustic Italian kitchen. While we might not be polishing for royalty these days, the desire for a clean and inviting home remains strong. And let’s face it, stainless steel is everywhere! From our appliances to our cookware, it’s a modern staple. But its beauty can quickly fade under a layer of fingerprints, water spots, and grease.
That’s where these DIY solutions come in. Why spend a fortune on expensive cleaners when you can achieve professional-level results with ingredients you probably already have in your pantry? I’m going to show you how to tackle even the toughest stains and restore that showroom shine to your stainless steel. These aren’t just cleaning tips; they’re time-saving, money-saving, and eco-friendly ways to keep your home looking its best. Get ready to say goodbye to stubborn smudges and hello to sparkling stainless steel!
DIY Stainless Steel Cleaner: Revive Your Appliances with Simple Ingredients
Okay, let’s face it, stainless steel appliances are gorgeous… until they’re covered in fingerprints, smudges, and water spots. Store-bought stainless steel cleaners can be expensive, and sometimes they just don’t quite cut it. That’s why I’m going to share my favorite DIY stainless steel cleaner recipe and method. It’s super easy, uses ingredients you probably already have, and leaves your stainless steel sparkling!
What You’ll Need
Before we dive in, let’s gather our supplies. This is a pretty straightforward process, so the list is short and sweet:
* White Vinegar: This is our main cleaning agent. Its acidity helps cut through grease and grime.
* Olive Oil: This will add a protective layer and give your stainless steel that beautiful shine.
* Spray Bottle: For easy application of the vinegar.
* Two Microfiber Cloths: One for cleaning and one for polishing. Microfiber is key because it won’t scratch your stainless steel.
* Optional: Dish Soap: For extra greasy areas.
Step-by-Step Cleaning Guide
Alright, let’s get down to business! Here’s how I clean my stainless steel appliances using this DIY method:
1. Prepare Your Vinegar Solution: Pour white vinegar into your spray bottle. You can use it straight, or if you find the smell too strong, you can dilute it with a little water (about a 1:1 ratio). I usually go straight vinegar for maximum cleaning power.
2. Pre-Clean (If Needed): If your stainless steel is particularly dirty or greasy, you might want to do a quick pre-clean. Mix a small amount of dish soap with warm water. Dip a microfiber cloth into the soapy water, wring it out well, and wipe down the surface. Rinse with a clean, damp cloth and dry thoroughly. This step is optional, but it can make a big difference on heavily soiled surfaces.
3. Spray the Vinegar: Lightly spray the stainless steel surface with the vinegar solution. Don’t overdo it; a light mist is all you need. You want the surface to be damp, not soaking wet.
4. Wipe with the Grain: This is crucial! Stainless steel has a grain, which is the direction the metal was brushed during manufacturing. Look closely, and you’ll see faint lines running in one direction. Always wipe *with* the grain to avoid streaks. Use your first microfiber cloth to wipe the vinegar solution across the surface, following the grain. Apply gentle pressure to remove any dirt or grime.
5. Dry Thoroughly: Use a clean, dry microfiber cloth to dry the surface immediately after wiping with the vinegar. Again, wipe with the grain. This step is important to prevent water spots.
6. Apply Olive Oil: Now for the magic touch! Pour a *very* small amount of olive oil onto your second, clean microfiber cloth. I’m talking a teaspoon or less. You don’t want to saturate the cloth; just a light coating is enough.
7. Polish with Olive Oil: Fold the cloth with the olive oil and gently buff the stainless steel surface, again following the grain. The olive oil will create a protective layer and give your appliances a beautiful, streak-free shine.
8. Buff Away Excess Oil: If you notice any excess oil, use a clean section of your microfiber cloth to buff it away. You want a subtle shine, not a greasy film.
Dealing with Stubborn Stains
Sometimes, you’ll encounter stains that are a little more stubborn than your average fingerprint. Here are a few tips for tackling those:
* Baking Soda Paste: For dried-on food or water spots, make a paste of baking soda and water. Apply the paste to the stain, let it sit for a few minutes, and then gently scrub with a soft cloth or sponge. Rinse thoroughly and dry.
* Lemon Juice: Lemon juice is another natural cleaner that can help remove stains. Apply lemon juice to the stain, let it sit for a few minutes, and then wipe clean. Rinse and dry.
* For Burnt-On Food: If you have burnt-on food on your stainless steel cookware, try boiling water in the pot or pan. This can help loosen the food and make it easier to scrub away. You can also add a little baking soda to the boiling water for extra cleaning power.
Maintaining Your Sparkling Stainless Steel
Once you’ve got your stainless steel looking its best, you’ll want to keep it that way! Here are a few tips for maintaining your appliances:
* Wipe Up Spills Immediately: The sooner you wipe up spills, the less likely they are to stain.
* Avoid Abrasive Cleaners: Abrasive cleaners can scratch stainless steel, so stick to gentle cleaners like vinegar and baking soda.
* Regular Cleaning: Clean your stainless steel appliances regularly to prevent buildup of dirt and grime. A quick wipe-down once a week can make a big difference.
* Use a Stainless Steel Polish (Occasionally): While my DIY method works great, you can also use a commercial stainless steel polish occasionally for extra shine and protection. Just be sure to follow the manufacturer’s instructions.
Why This Method Works
You might be wondering why this simple combination of vinegar and olive oil works so well. Here’s the breakdown:
* Vinegar’s Acidity: The acetic acid in vinegar is a natural degreaser and disinfectant. It helps to break down grease, grime, and hard water stains.
* Olive Oil’s Protective Layer: Olive oil creates a thin, protective layer on the stainless steel surface. This layer helps to repel fingerprints and smudges, making it easier to keep your appliances clean. It also adds a beautiful shine.
* Microfiber Cloths: Microfiber cloths are essential because they are non-abrasive and won’t scratch stainless steel. They also effectively pick up dirt and grime.
Important Considerations
* Always Test in an Inconspicuous Area: Before cleaning your entire appliance, test the vinegar solution in a small, inconspicuous area to make sure it doesn’t damage the finish. While vinegar is generally safe for stainless steel, it’s always better to be safe than sorry.
* Avoid Using Steel Wool or Abrasive Scrubbers: These can scratch stainless steel and ruin the finish.
* Be Careful Around Electrical Components: When cleaning appliances, be careful not to get water or cleaning solution inside electrical components.
Troubleshooting
* Streaks: If you’re getting streaks, make sure you’re wiping with the grain and using a clean, dry microfiber cloth. You might also be using too much olive oil.
* Dull Finish: If your stainless steel looks dull after cleaning, you might need to use a stainless steel polish to restore the shine.
* Lingering Vinegar Smell: The vinegar smell should dissipate quickly. If it lingers, try wiping the surface with a damp cloth and then drying it thoroughly.
Alternative Ingredients
While I swear by vinegar and olive oil, here are a few alternative ingredients you can try:
* Lemon Oil: Instead of olive oil, you can use lemon oil for polishing. It has a similar effect and leaves a fresh, citrusy scent.
* Club Soda: Club soda can be used to clean stainless steel and remove water spots. Simply spray it on the surface and wipe clean.
* Baby Oil: Some people swear by baby oil for polishing stainless steel. It works similarly to olive oil, creating a protective layer and adding shine.
My Personal Experience
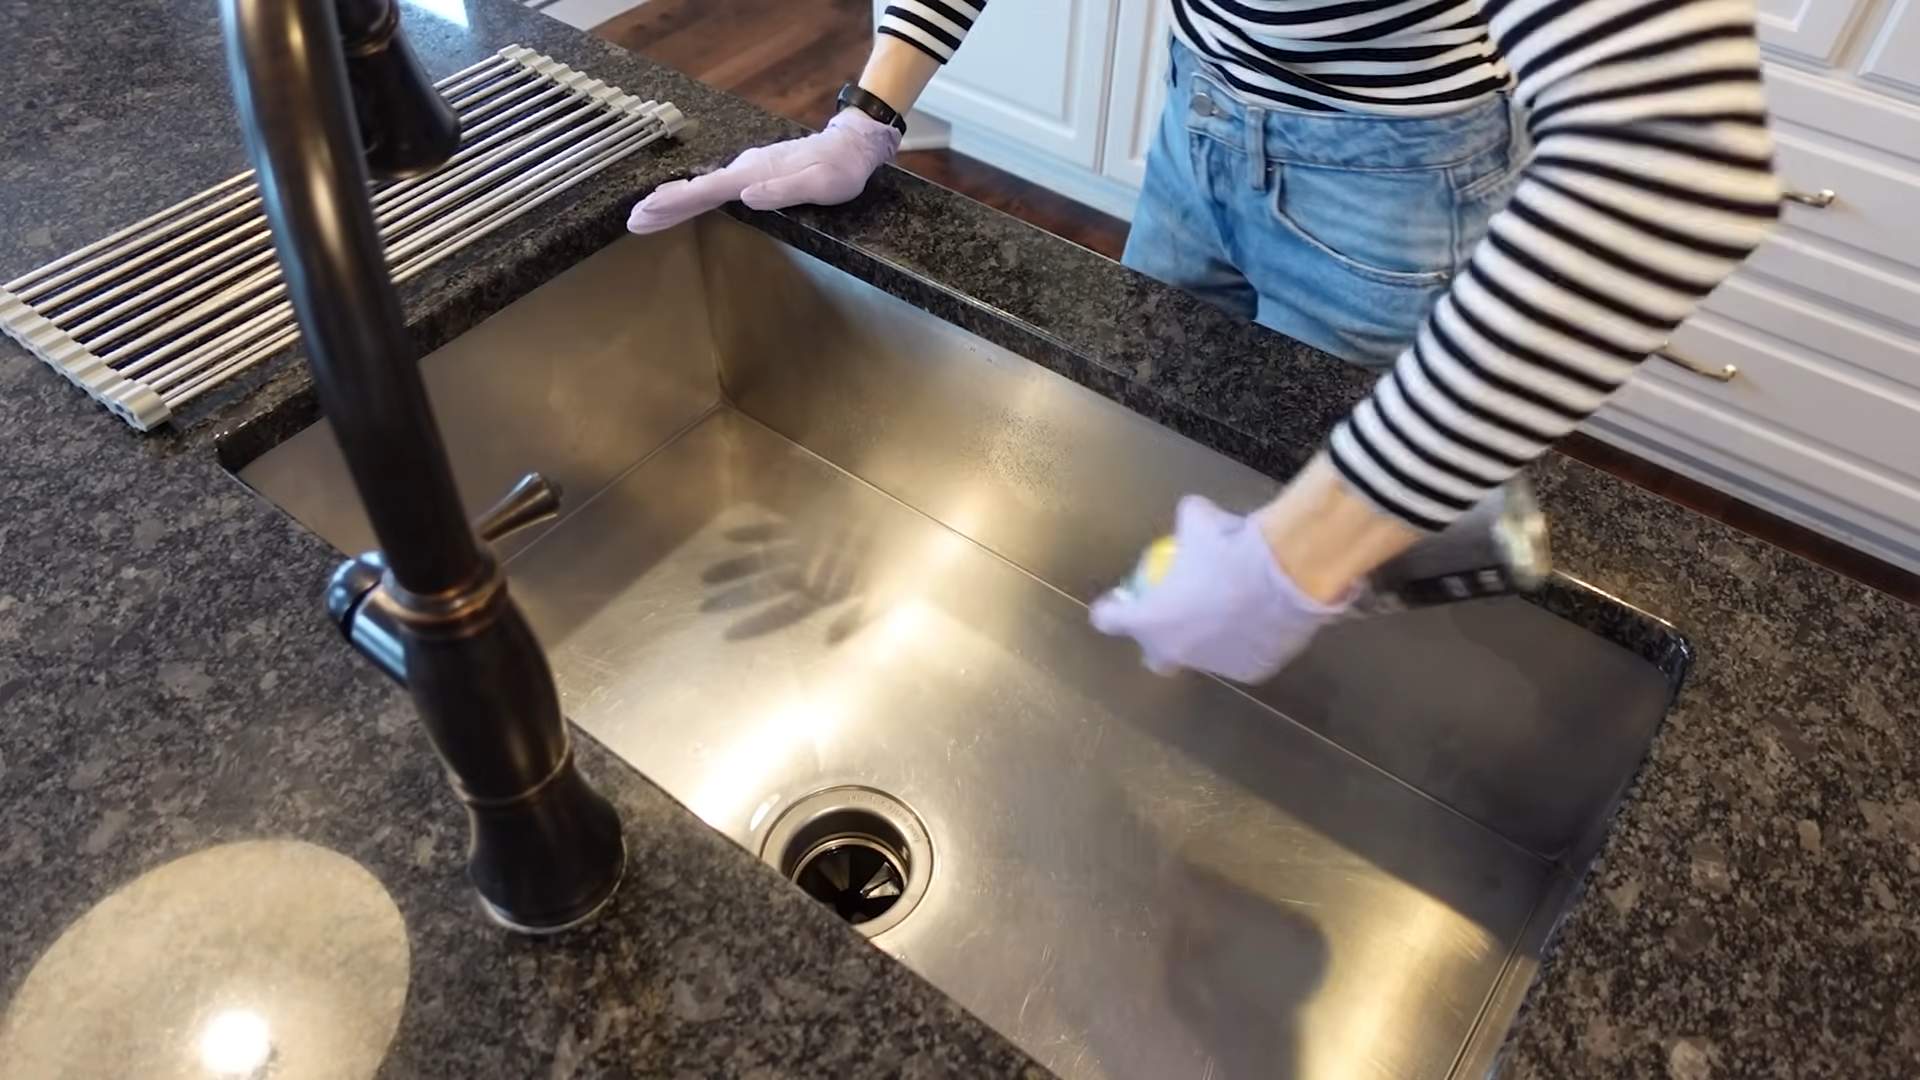
I’ve been using this DIY stainless steel cleaner for years, and it’s never let me down. I love that it’s so simple and uses ingredients I always have on hand. Plus, it’s much more affordable than buying commercial stainless steel cleaners. I’ve used it on my refrigerator, dishwasher, oven, and even my stainless steel sink, and it always leaves them looking sparkling clean. I especially appreciate how the olive oil helps to repel fingerprints, which is a lifesaver with kids in the house!
So, there you have it! My go-to DIY stainless steel cleaner recipe and method. Give it a try, and I’m confident you’ll be amazed at the results. Happy cleaning!
Conclusion
So, there you have it! This simple yet incredibly effective DIY stainless steel cleaner, leveraging the power of ZEP, is a game-changer for anyone battling stubborn smudges, fingerprints, and water spots on their appliances and surfaces. Forget spending a fortune on specialized cleaners that often fall short of their promises. This method is not only budget-friendly but also delivers professional-grade results, leaving your stainless steel gleaming and looking brand new.
Why is this DIY trick a must-try? Because it’s efficient, economical, and environmentally conscious. You’re likely already familiar with ZEP products and their cleaning prowess. By using it in this specific way, diluted and applied with the right technique, you unlock its full potential for stainless steel cleaning. The results speak for themselves: a streak-free shine that lasts, resisting future smudges and keeping your kitchen looking its best.
But don’t just take our word for it! We encourage you to experiment and find what works best for your specific needs. For instance, if you have particularly stubborn stains, you might consider letting the ZEP solution sit on the surface for a slightly longer period before wiping it away. Alternatively, for a lighter clean, you can further dilute the solution with water.
Variations and Suggestions:
* Lemon Scent Boost: Add a few drops of lemon essential oil to your cleaning solution for a fresh, invigorating scent.
* Vinegar Power: For extra degreasing power, add a tablespoon of white vinegar to the mixture. Be sure to test this in an inconspicuous area first, as vinegar can be acidic.
* Microfiber Magic: Always use a clean, dry microfiber cloth for the final buffing. This will ensure a streak-free finish and prevent lint from clinging to the surface.
* Protective Polish: After cleaning, consider applying a thin layer of stainless steel polish for added protection and shine. This will help repel future smudges and water spots.
We are confident that this DIY stainless steel cleaner using ZEP will become your go-to solution for maintaining the beauty and longevity of your stainless steel appliances. It’s a simple, effective, and affordable way to keep your kitchen looking its best.
Now, it’s your turn! Give this DIY trick a try and share your experience with us in the comments below. We’d love to hear your tips, variations, and success stories. Let’s build a community of sparkling stainless steel enthusiasts! Don’t forget to share this article with your friends and family who are also looking for an effective and affordable way to clean their stainless steel. Your feedback is invaluable and helps us continue to provide helpful and practical cleaning solutions. We are excited to see the amazing results you achieve with this simple yet powerful DIY stainless steel cleaning method.
Frequently Asked Questions (FAQ)
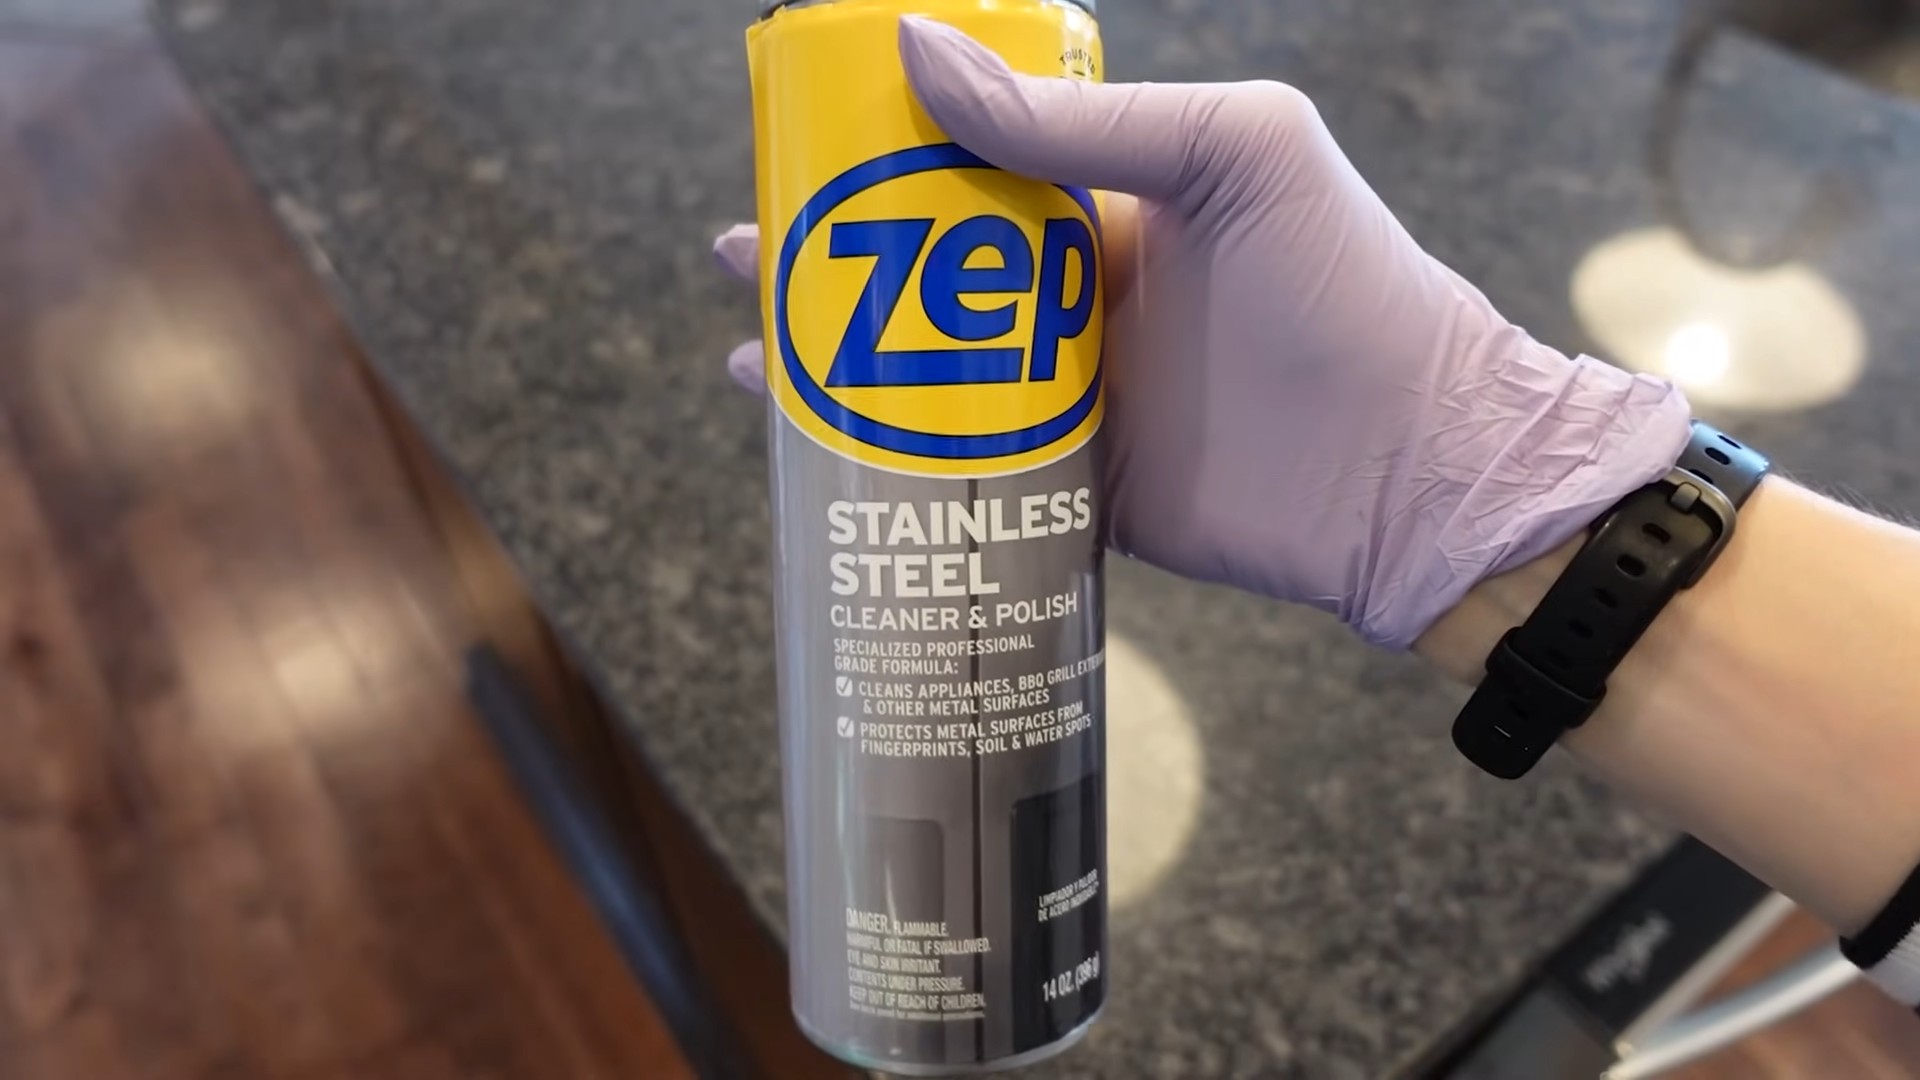
What exactly is ZEP and why is it effective for cleaning stainless steel?
ZEP is a brand known for its powerful cleaning solutions, often used in industrial and commercial settings. Its effectiveness stems from its ability to cut through grease, grime, and other stubborn residues. When diluted properly, ZEP can safely and effectively clean stainless steel without causing damage. The key is to use the correct dilution ratio and to always test in an inconspicuous area first. Different ZEP products have different formulations, so it’s important to choose one that is suitable for general cleaning and safe for use on surfaces like stainless steel. Always read the product label carefully before use.
What is the recommended dilution ratio for ZEP when cleaning stainless steel?
The recommended dilution ratio can vary depending on the specific ZEP product you are using. However, a general guideline is to start with a very diluted solution, such as 1 part ZEP to 10 parts water. For heavier cleaning, you can increase the concentration slightly, but always err on the side of caution. It’s crucial to test the solution in an inconspicuous area first to ensure it doesn’t damage or discolor the stainless steel. Always refer to the product label for the manufacturer’s recommended dilution ratio.
Can I use any type of ZEP product for this DIY stainless steel cleaner?
No, not all ZEP products are suitable for cleaning stainless steel. Avoid using ZEP products that are highly abrasive or contain harsh chemicals that could damage the surface. Look for ZEP products that are specifically designed for general cleaning or all-purpose use. Always read the product label carefully to ensure it is safe for use on stainless steel. If you are unsure, it’s best to test the product in an inconspicuous area first.
What type of cloth should I use to apply and wipe off the ZEP solution?
A clean, soft microfiber cloth is highly recommended for both applying the ZEP solution and wiping it off. Microfiber cloths are gentle on stainless steel and won’t leave behind scratches or lint. Avoid using abrasive cloths or sponges, as these can damage the surface. For the final buffing, use a dry, clean microfiber cloth to achieve a streak-free shine.
How often should I clean my stainless steel appliances with this DIY solution?
The frequency of cleaning depends on how often your appliances are used and how much they are exposed to dirt and grime. In general, cleaning your stainless steel appliances once a week is a good starting point. However, if you notice fingerprints, smudges, or water spots more frequently, you may need to clean them more often. Regular cleaning will help prevent buildup and keep your appliances looking their best.
Is this DIY cleaner safe to use on all types of stainless steel finishes?
While this DIY cleaner is generally safe for most stainless steel finishes, it’s always best to test it in an inconspicuous area first, especially if you have a brushed or specialty finish. Some finishes may be more sensitive to certain cleaning solutions. If you notice any discoloration or damage after testing, discontinue use immediately.
What should I do if I accidentally use too much ZEP in the solution?
If you accidentally use too much ZEP in the solution, immediately dilute it further with water. Then, test the diluted solution in an inconspicuous area before applying it to the entire surface. Using too much ZEP can potentially damage the stainless steel, so it’s important to correct the concentration as quickly as possible.
Can I use this DIY cleaner on other surfaces besides stainless steel?
While this DIY cleaner is primarily designed for stainless steel, it may be safe to use on other surfaces as well. However, it’s crucial to test it in an inconspicuous area first to ensure it doesn’t cause any damage or discoloration. Avoid using this cleaner on delicate surfaces such as wood, painted surfaces, or natural stone.
How do I prevent streaks when cleaning stainless steel?
To prevent streaks when cleaning stainless steel, always use a clean, dry microfiber cloth for the final buffing. Wipe in the direction of the grain of the stainless steel. Avoid using too much cleaning solution, as this can leave behind residue that causes streaks. If you notice streaks, try buffing the surface with a clean, dry microfiber cloth until they disappear.
Where can I buy ZEP products?
ZEP products are widely available at most home improvement stores, hardware stores, and online retailers. You can also check the ZEP website for a list of authorized retailers in your area.


Leave a Comment