
Grow Tasty Melons: Your Guide to a Bountiful Harvest
Growing your own melons? It’s more rewarding than you might think! I’ve always loved the juicy sweetness of a perfectly ripe melon, and nothing beats the taste of one you’ve nurtured from seed. This article is your passport to that delicious experience, packed with Grow Tasty Melons tips and tricks I’ve learned over years of home gardening. From selecting the right seeds to harvesting those plump, sun-kissed fruits, we’ll cover it all.
The history of melon cultivation is fascinating! These fruits have been enjoyed for millennia, with evidence suggesting their cultivation dating back to ancient Egypt. Different cultures have developed unique varieties, each with its own distinct flavor and characteristics. But you don’t need to be an expert to enjoy the fruits of your labor; this guide is designed for everyone, from seasoned gardeners to complete beginners.
Why Grow Your Own Melons?
There’s something truly special about biting into a melon you’ve grown yourself. It’s not just the superior taste – often sweeter and more flavorful than store-bought options – but also the satisfaction of knowing exactly where your food comes from and how it was grown. Plus, growing your own melons can be a surprisingly cost-effective way to enjoy this summer treat. You’ll save money on grocery bills and have the added bonus of fresh, organic produce.
This Grow Tasty Melons guide is your key to unlocking the secrets of successful melon cultivation. Get ready to transform your garden into a sweet oasis, bursting with juicy, delicious melons! Let’s get started!
Transforming Cupcake Liners: A World of DIY Crafts
Cupcake liners! Those little paper cups are so much more than just baking accessories. I’ve discovered a treasure trove of creative possibilities, and I’m excited to share some of my favorite cupcake liner crafts with you. Get ready to unleash your inner artist and transform these humble items into beautiful and functional creations!
Phase 1: Gathering Your Supplies
- Cupcake liners: The more colors and patterns you have, the more versatile your projects will be! I recommend grabbing a variety pack to experiment.
- Scissors: A good pair of sharp scissors is essential for clean cuts.
- Glue: I prefer a strong craft glue, but hot glue can be useful for certain projects (always be careful when using hot glue!).
- Other materials (depending on the project): This could include things like wire, beads, ribbon, felt, paint, glitter, etc. We’ll cover specific materials as we go through each craft.
Phase 2: DIY Cupcake Liner Flowers
These are incredibly easy and look stunning! Perfect for adding a touch of whimsy to cards, gift wrapping, or even hair accessories.
- Prepare your liners: Stack several cupcake liners together (3-5 works well). The more you stack, the fuller your flower will be.
- Cut a circle: Using your scissors, cut a circle from the stacked liners. The size of the circle determines the size of your flower. Experiment with different sizes!
- Cut petals: Make small cuts around the edge of the circle, creating petal shapes. Don’t cut all the way to the center – leave about a half-inch or so uncut.
- Shape the petals: Gently separate the layers and curl the edges of each petal inwards to give them a more realistic look. You can use your fingers or a pencil to help curl the petals.
- Assemble the flower: Once all the petals are curled, gently separate the layers and arrange them to create a flower shape. You can add a small bead or button to the center for extra detail.
- Add embellishments (optional): Get creative! Add glitter, paint, or small gems to your flowers for extra sparkle and personality.
Phase 3: Adorable Cupcake Liner Bees
These little bees are so cute and surprisingly simple to make! They’re perfect for decorating cards, creating a garland, or even as small ornaments.
- Prepare the body: Take a single cupcake liner and fold it in half, then in half again. This creates a smaller, more compact shape.
- Cut the wings: Cut two small, wing-shaped pieces from another cupcake liner. You can freehand this or use a template if you prefer.
- Assemble the bee: Glue the wings onto the back of the folded liner body. Let the glue dry completely.
- Add details: Use a black marker to draw stripes on the bee’s body and antennae on its head. You can also add small googly eyes for extra cuteness.
Phase 4: Creating a Cupcake Liner Garland
This is a fantastic project for parties or to add a festive touch to your home. You can customize the colors and shapes to match any occasion.
- Choose your liners: Select a variety of colors and patterns to create a vibrant garland.
- Cut and shape: You can either leave the liners as they are or cut them into different shapes (flags, hearts, etc.).
- String the garland: Use a needle and thread or string to thread the liners together. Leave some space between each liner for a more relaxed look.
- Hang your garland: Once you’ve strung all the liners, hang your beautiful garland wherever you like!
Phase 5: Intricate Cupcake Liner Snowflakes
These delicate snowflakes are perfect for winter decorations or adding a touch of elegance to gift wrapping.
- Choose your liners: White or pastel-colored liners work best for snowflakes.
- Fold the liner: Fold a single liner in half, then in half again, and then in half one more time. This creates a small triangle.
- Cut the snowflake: Carefully cut various shapes and patterns into the folded liner. Remember, the cuts will be mirrored when unfolded, so plan your design accordingly.
- Unfold and admire: Gently unfold your liner to reveal your unique snowflake design. You can create many different snowflakes by varying your cuts.
Phase 6: Beyond the Basics: Advanced Cupcake Liner Projects
Once you’ve mastered the basics, you can explore more advanced projects. Consider these ideas:
- Cupcake liner wreaths: Create a beautiful wreath by gluing liners together in a circular pattern.
- Cupcake liner bowls: With careful shaping and gluing, you can create small bowls or containers.
- Cupcake liner mosaics: Cut liners into small pieces and use them to create colorful mosaics on canvases or other surfaces.
- Cupcake liner animals: Let your imagination run wild and create various animals using different liner colors and shapes.
Remember, the possibilities are endless! Don’t be afraid to experiment and try new things. Have fun and enjoy the creative process!
Conclusion
So there you have it! A comprehensive guide to growing your own juicy, delicious melons right in your backyard. This DIY approach to melon cultivation offers a rewarding experience that goes beyond simply enjoying the sweet fruit; it’s about connecting with nature, understanding the growth cycle, and savoring the fruits (or should we say, melons!) of your labor. This method, focusing on soil preparation, proper watering techniques, and diligent pest control, ensures a bountiful harvest of superior quality melons. Growing tasty melons at home is not only achievable but incredibly satisfying. The taste difference between a homegrown melon and a store-bought one is truly remarkable – a testament to the freshness and natural sweetness achieved through this process. It’s a project that the whole family can participate in, making it a fun and educational experience for all ages.
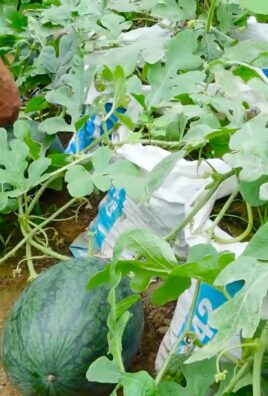
Beyond the basic techniques outlined, there’s a world of possibilities for experimentation and customization. Consider trying different melon varieties – from classic cantaloupes and honeydews to more exotic options like watermelon or even smaller, unique varieties. Experiment with different soil amendments to optimize nutrient levels. For those with limited space, consider vertical gardening techniques or growing melons in large containers. You can even explore companion planting, utilizing beneficial plants to deter pests and improve overall growth. The possibilities are truly endless, allowing you to tailor your melon-growing adventure to your specific needs and preferences. Remember to always monitor your plants closely, adjusting your approach as needed based on weather conditions and plant health.
We strongly encourage you to embark on this rewarding journey of growing your own tasty melons. The initial investment of time and effort is far outweighed by the immense satisfaction of harvesting your own homegrown fruit. The taste, the texture, the sheer pride of accomplishment – it’s an experience unlike any other. Share your experiences with us! We’d love to hear about your successes, challenges, and the unique twists you add to your melon-growing journey. Post pictures of your bountiful harvest on social media using #GrowTastyMelons and tag us – we can’t wait to see what you create!
Don’t be intimidated by the prospect of growing your own melons. With a little patience, dedication, and the guidance provided in this article, you’ll be enjoying the sweet rewards of your labor in no time. So grab your gardening gloves, prepare your soil, and get ready to experience the joy of growing your own delicious, homegrown melons. It’s an adventure you won’t regret!
Frequently Asked Questions
What type of soil is best for growing melons?
Melons thrive in well-drained, fertile soil with a slightly acidic to neutral pH (6.0-7.0). Amend heavy clay soils with compost or other organic matter to improve drainage and aeration. Sandy soils may benefit from the addition of organic matter to retain moisture.
How much sunlight do melons need?
Melons are sun-worshippers! They require at least 6-8 hours of direct sunlight per day to produce a good harvest. Choose a sunny location in your garden or ensure adequate sunlight if growing in containers.
How often should I water my melon plants?
Consistent watering is crucial, especially during the fruiting stage. Aim for deep, infrequent watering rather than shallow, frequent watering. Water deeply at the base of the plant, avoiding wetting the foliage to prevent fungal diseases. The frequency will depend on your climate and soil type, but generally, watering every 2-3 days during dry periods is a good starting point.
What are some common melon pests and diseases, and how can I prevent them?
Common pests include aphids, squash bugs, and vine borers. Regularly inspect your plants for signs of infestation. Use insecticidal soap or neem oil for organic pest control. Diseases like powdery mildew and downy mildew can be prevented by ensuring good air circulation and avoiding overhead watering. Rotating crops annually can also help prevent disease buildup.
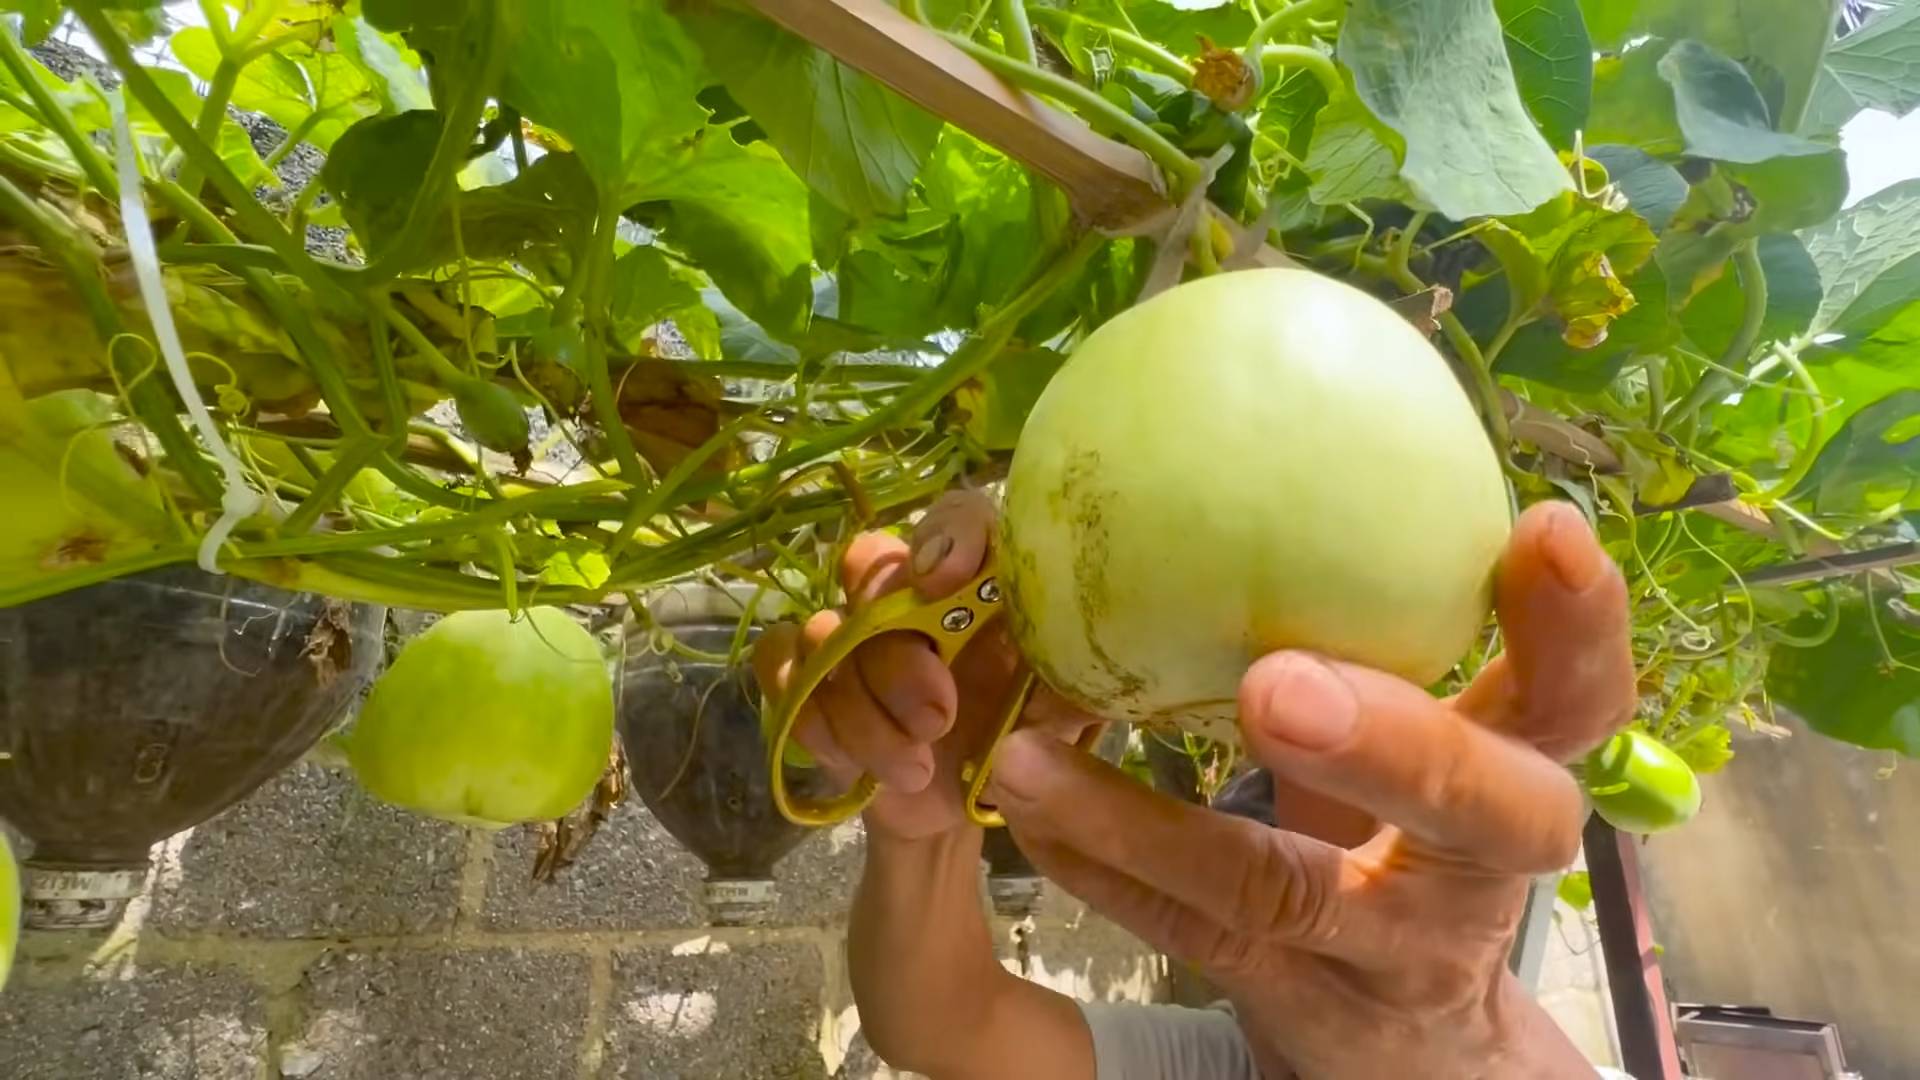
When are melons ready to harvest?
The optimal harvest time varies depending on the melon variety. Generally, melons are ready when they are heavy for their size, the skin has a characteristic color and texture (often slightly dull), and the stem near the fruit separates easily. A gentle thump on the melon should produce a deep, hollow sound.
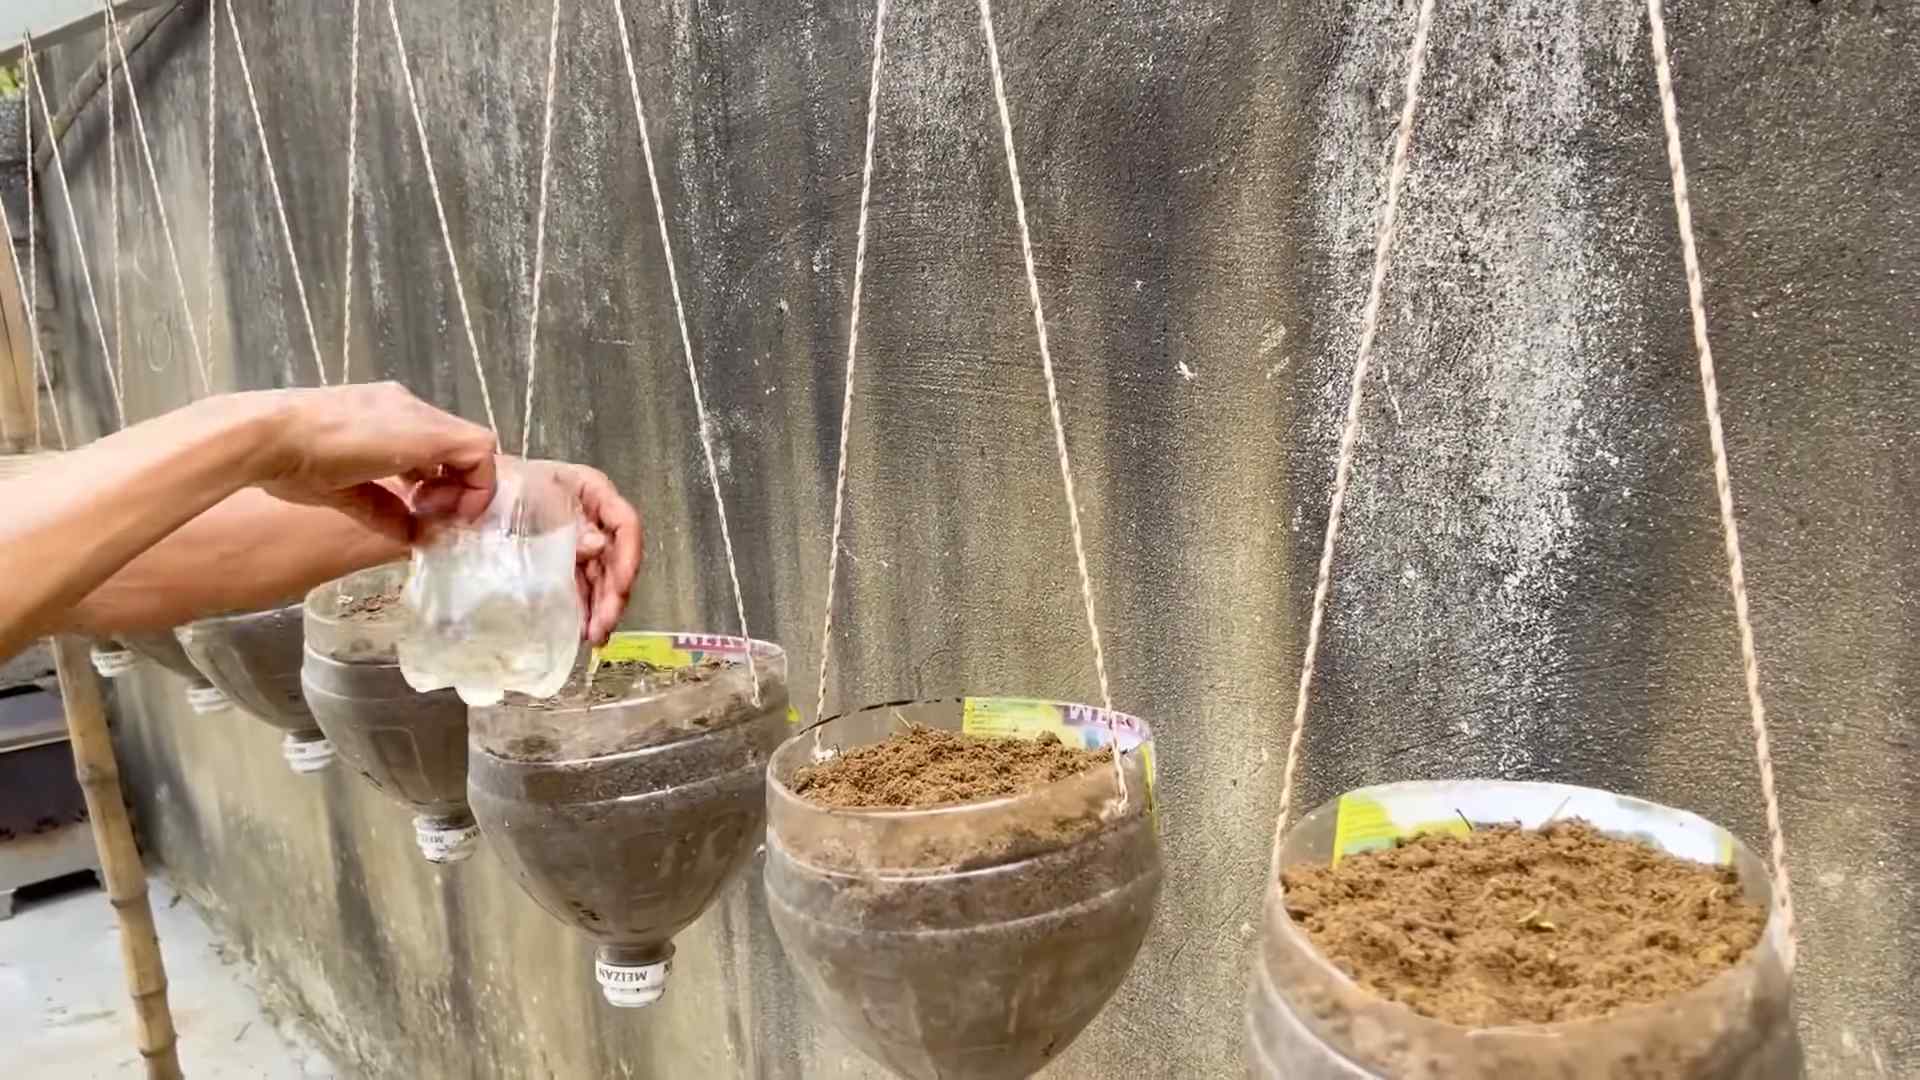
Can I grow melons in containers?
Yes, you can! Choose large containers (at least 15-20 gallons) with ample drainage holes. Use a high-quality potting mix and ensure the containers receive adequate sunlight. Regular watering is essential, as containers dry out more quickly than garden beds.
What should I do if my melon plants aren’t producing fruit?
Several factors can affect fruit production, including insufficient sunlight, inadequate pollination, nutrient deficiencies, or pest infestations. Ensure your plants are receiving enough sunlight and consider hand-pollination if necessary. Test your soil to check for nutrient deficiencies and address any pest problems promptly.
What are some tips for successful melon growing?
Successful melon growing involves a combination of factors: selecting the right variety for your climate, preparing well-drained soil rich in organic matter, providing adequate sunlight and water, protecting plants from pests and diseases, and harvesting at the optimal time. Careful observation and timely intervention are key to a bountiful harvest.

Leave a Comment