
Time-saving cleaning hacks – who doesn’t want more of those in their life? Let’s be honest, cleaning isn’t usually anyone’s favorite pastime. We’d all rather be spending our precious free time doing things we actually enjoy, right? But what if I told you that you could reclaim some of that time, simply by incorporating a few clever tricks into your cleaning routine?
For centuries, people have been searching for easier and more efficient ways to keep their homes tidy. From ancient civilizations using natural ingredients like vinegar and lemon juice to clean, to the modern-day obsession with innovative cleaning gadgets, the quest for a sparkling home with minimal effort is a timeless pursuit. Think about it – our grandmothers probably had their own secret cleaning weapons, passed down through generations!
That’s where these time-saving cleaning hacks come in. In today’s fast-paced world, we’re all juggling work, family, and social commitments. Spending hours scrubbing and dusting just isn’t feasible for most of us. These DIY tricks are designed to streamline your cleaning process, helping you achieve a spotless home in a fraction of the time. Imagine having more time to relax, pursue your hobbies, or simply spend quality time with loved ones. Sounds good, doesn’t it? So, let’s dive into some game-changing cleaning hacks that will revolutionize your routine and give you back your weekends!
Time-Saving Cleaning Hacks: Reclaim Your Weekend!
Okay, let’s be honest, nobody *really* enjoys cleaning. But it’s a necessary evil, right? Well, what if I told you that you could cut down on your cleaning time and actually enjoy your weekends a little more? I’ve compiled some of my favorite time-saving cleaning hacks that have seriously changed my cleaning game. Get ready to say goodbye to endless scrubbing and hello to more free time!
Hack 1: The Microwave Steam Clean
This is my go-to for a sparkling clean microwave with minimal effort. Forget scrubbing away baked-on food splatters!
* The Problem: A grimy, food-splattered microwave.
* The Solution: Steam cleaning with vinegar and lemon.
* Time Saved: At least 15 minutes of scrubbing.
Step-by-Step Instructions:
1. Gather Your Supplies: You’ll need a microwave-safe bowl, white vinegar, a lemon (optional, but adds a nice scent!), and a clean sponge or cloth.
2. Prepare the Solution: Fill the microwave-safe bowl with 1 cup of water and 2 tablespoons of white vinegar. If you’re using a lemon, cut it in half and squeeze the juice into the water. Then, drop the lemon halves into the bowl.
3. Microwave It: Place the bowl in the microwave and heat it on high for 5-7 minutes. The water should boil and create steam.
4. Let it Sit: Once the timer goes off, don’t open the microwave immediately! Let the steam work its magic for another 5-10 minutes. This will loosen all the grime.
5. Wipe It Down: Carefully remove the bowl (it will be hot!). Use a clean sponge or cloth to wipe down the inside of the microwave. The loosened food particles should come off easily. For stubborn spots, you might need a little extra elbow grease, but it will be significantly easier than scrubbing from the start.
6. Enjoy Your Clean Microwave: That’s it! Your microwave should be sparkling clean and smell fresh.
Hack 2: The Shower Head Vinegar Soak
Hard water buildup can wreak havoc on your shower head, reducing water pressure and making it look dingy. This hack is a simple and effective way to restore your shower head to its former glory.
* The Problem: Clogged and dirty shower head.
* The Solution: Soaking the shower head in vinegar.
* Time Saved: Avoids the need for harsh chemicals and extensive scrubbing.
Step-by-Step Instructions:
1. Gather Your Supplies: You’ll need a plastic bag (a sandwich bag works for smaller shower heads, a gallon-sized bag for larger ones), white vinegar, a rubber band or twist tie, and an old toothbrush (optional).
2. Fill the Bag with Vinegar: Pour enough white vinegar into the plastic bag to completely submerge the shower head.
3. Secure the Bag: Carefully position the bag over the shower head, ensuring the shower head is fully immersed in the vinegar. Use a rubber band or twist tie to secure the bag tightly around the shower head’s neck.
4. Let it Soak: Let the shower head soak in the vinegar for at least 30 minutes, but preferably overnight for best results. The vinegar will dissolve the mineral deposits.
5. Remove and Rinse: Remove the bag and discard the vinegar. Rinse the shower head thoroughly with water.
6. Scrub (Optional): If there are any stubborn mineral deposits remaining, use an old toothbrush to gently scrub them away.
7. Enjoy Improved Water Pressure: Turn on the shower and enjoy the improved water pressure and sparkling clean shower head!
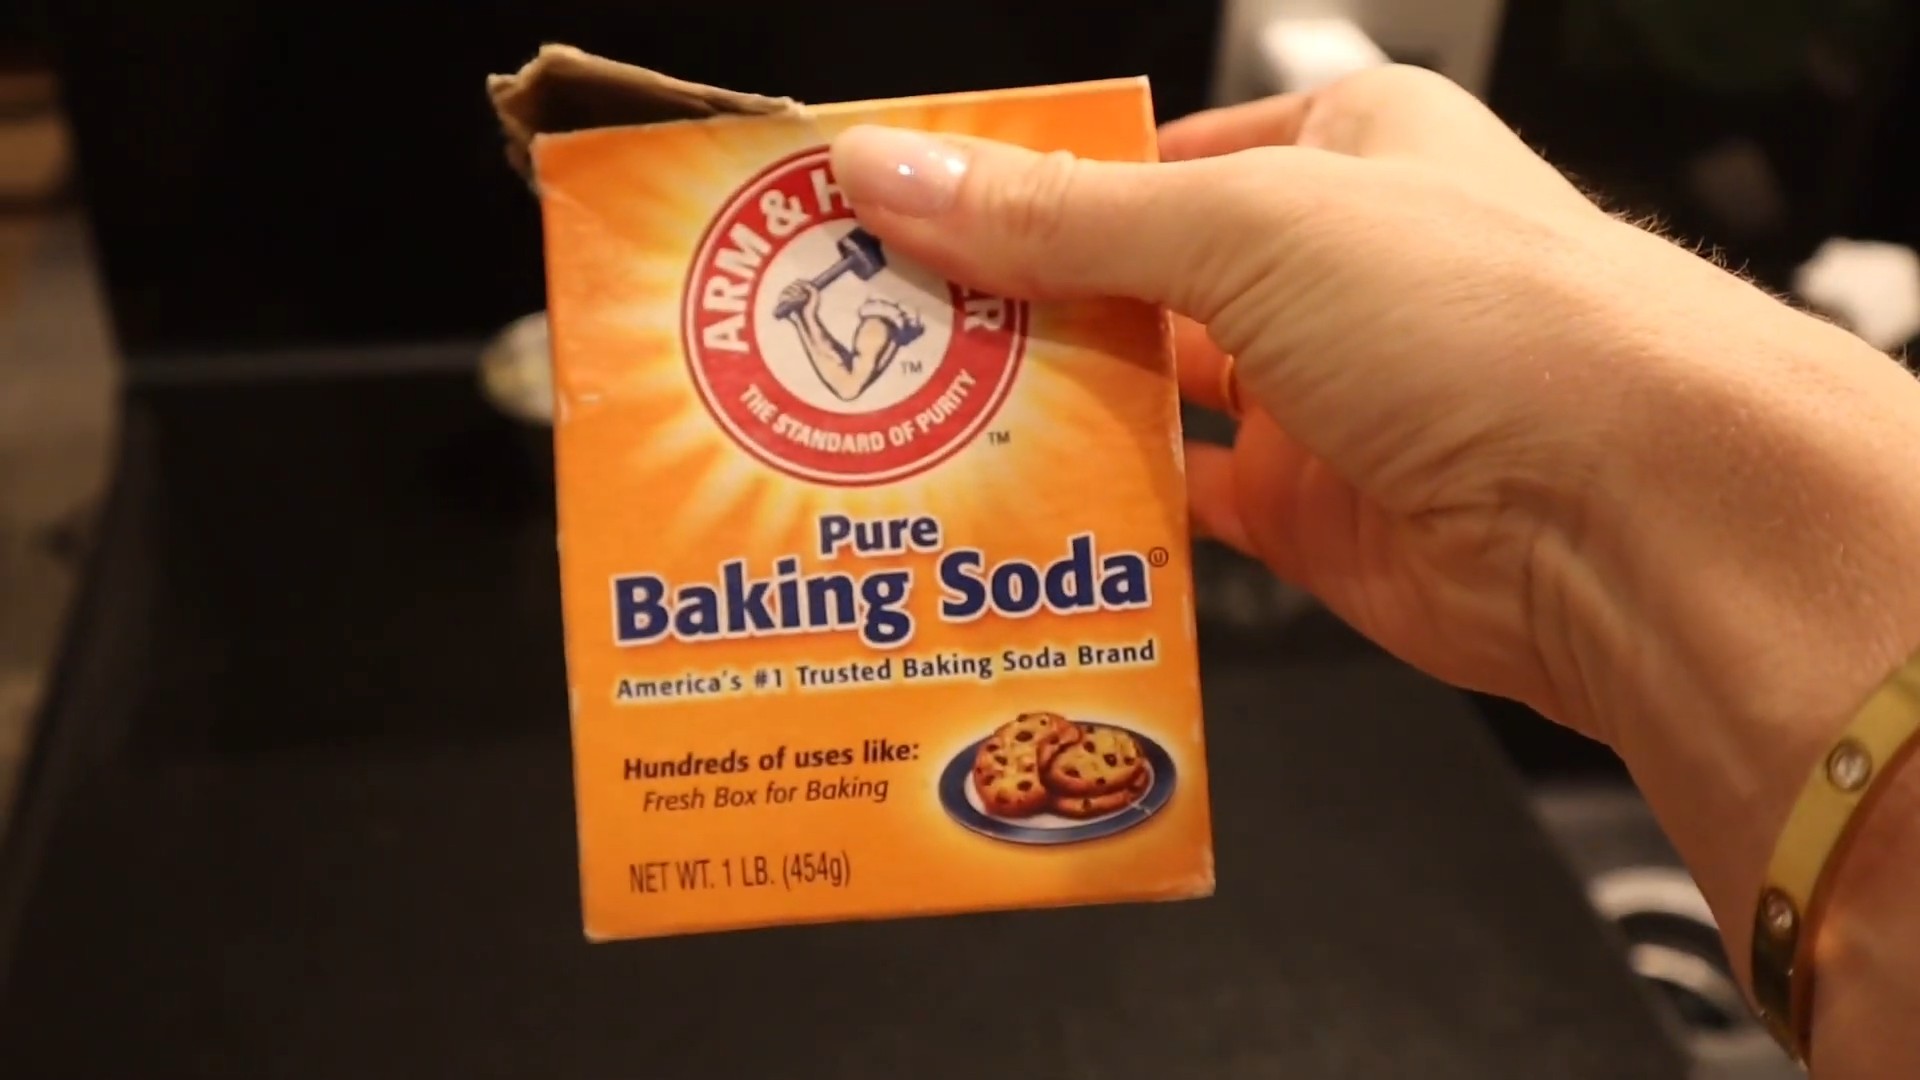
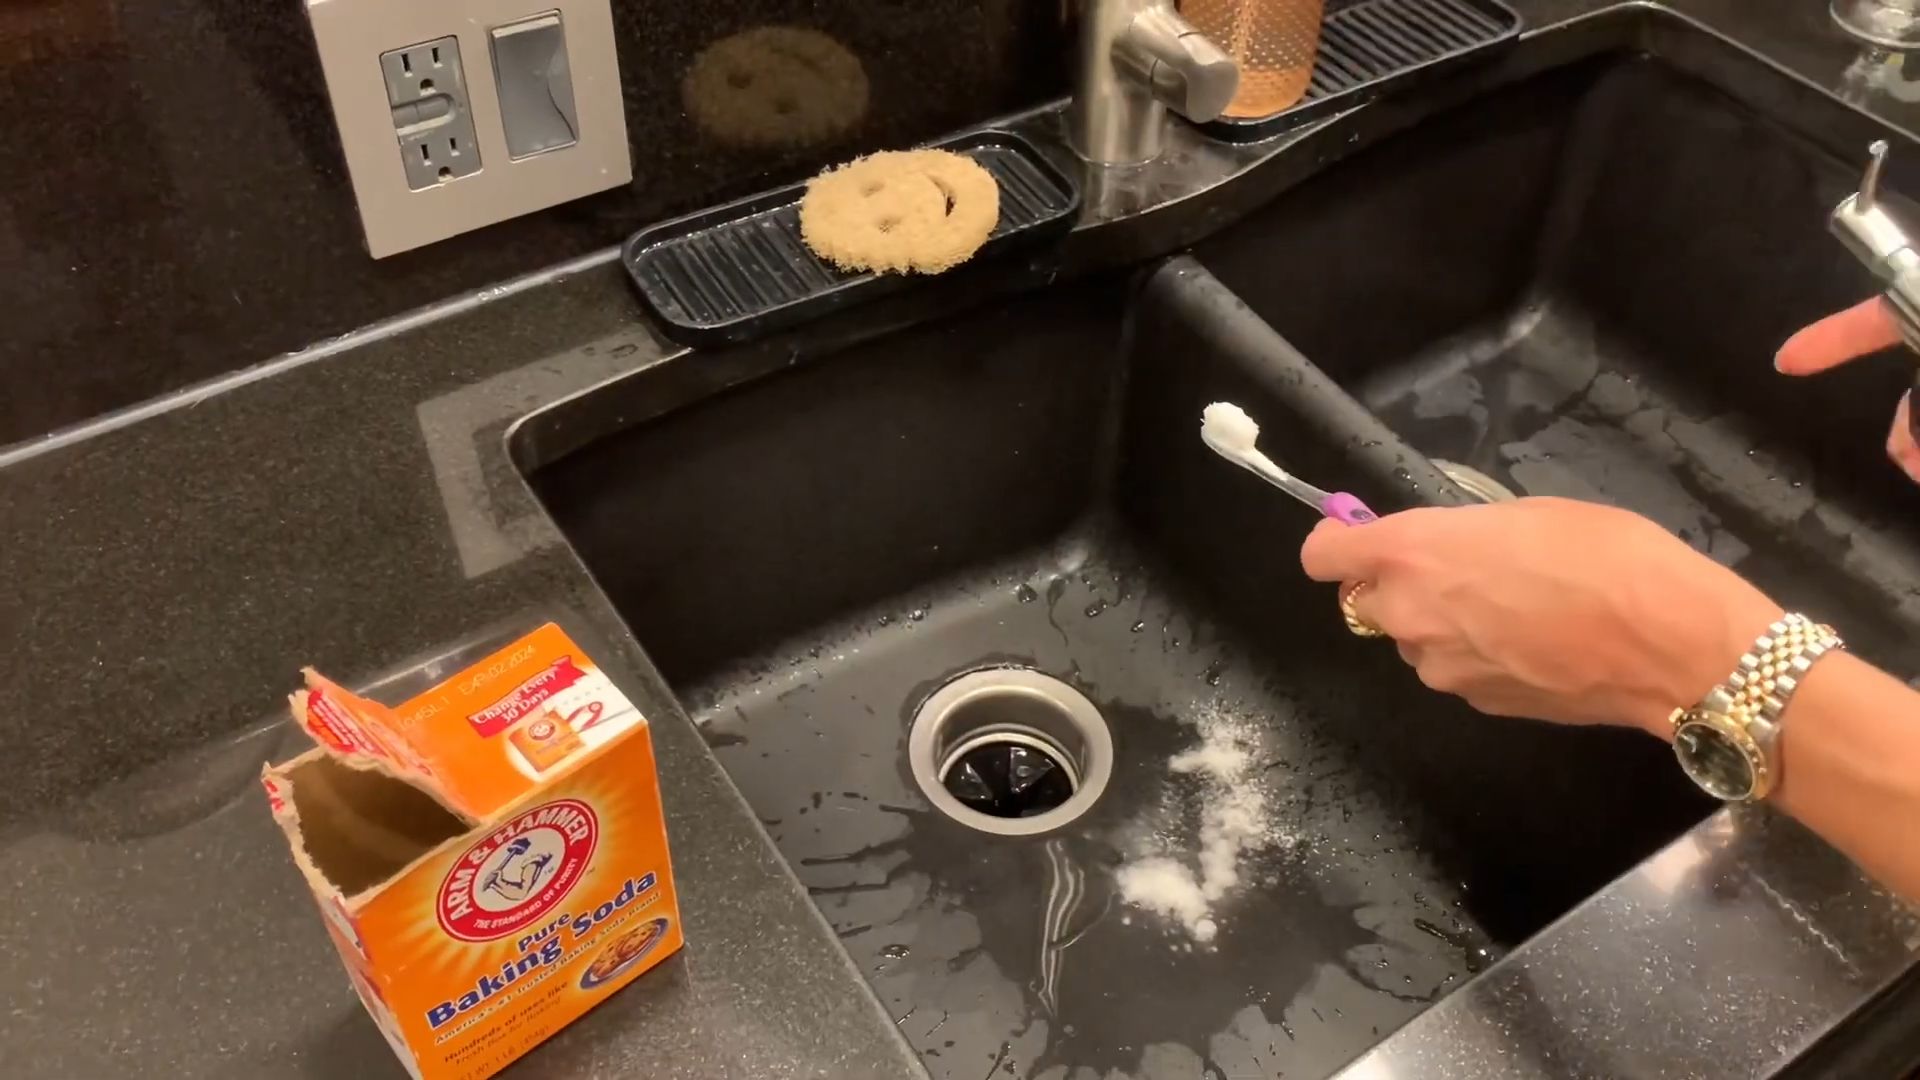
Hack 3: The Baking Soda and Vinegar Drain Cleaner
Forget expensive and harsh chemical drain cleaners! This natural alternative is just as effective and much safer for your pipes and the environment.
* The Problem: Slow or clogged drains.
* The Solution: A baking soda and vinegar “volcano” to break down clogs.
* Time Saved: Avoids multiple applications of chemical drain cleaners and potential plumbing issues.
Step-by-Step Instructions:
1. Gather Your Supplies: You’ll need baking soda, white vinegar, and hot water.
2. Pour in the Baking Soda: Pour about 1 cup of baking soda down the drain. Try to get as much of it down the drain as possible.
3. Add the Vinegar: Immediately follow the baking soda with 1 cup of white vinegar.
4. Let it Fizz: The mixture will start to fizz and bubble. This is the chemical reaction that’s breaking down the clog. Let it fizz for about 30 minutes.
5. Flush with Hot Water: After 30 minutes, pour a pot of boiling water down the drain to flush away the loosened debris.
6. Repeat if Necessary: If the drain is still slow, repeat the process. For particularly stubborn clogs, you might need to repeat it a few times.
Hack 4: The Magic of Microfiber Cloths
Seriously, if you’re not already using microfiber cloths, you’re missing out! They’re incredibly absorbent, lint-free, and perfect for cleaning just about anything.
* The Problem: Streaky windows, dusty surfaces, and general cleaning inefficiencies.
* The Solution: Switching to microfiber cloths for most cleaning tasks.
* Time Saved: Reduces the need for multiple cleaning products and re-wiping surfaces.
How to Use Microfiber Cloths Effectively:
* Dampen, Don’t Soak: For most surfaces, a slightly damp microfiber cloth is all you need. Overly wet cloths can leave streaks.
* Fold and Rotate: Fold the cloth into quarters to create multiple clean surfaces. As one section gets dirty, rotate to a clean one.
* Use Different Cloths for Different Tasks: Designate specific cloths for specific tasks (e.g., one for dusting, one for cleaning bathrooms, one for windows). This prevents cross-contamination.
* Wash and Reuse: Microfiber cloths are machine washable. Avoid using fabric softener, as it can reduce their absorbency.
* Dusting Powerhouse: Microfiber cloths are amazing for dusting! The tiny fibers trap dust particles, preventing them from simply being pushed around.
* Window Cleaning Wonder: Use a damp microfiber cloth to clean windows and mirrors, followed by a dry microfiber cloth to buff them to a streak-free shine.
Hack 5: The Dryer Sheet Dusting Trick
This is a surprising one, but it works wonders! Used dryer sheets are great for dusting because they have anti-static properties that repel dust.
* The Problem: Dust that quickly reappears after cleaning.
* The Solution: Using used dryer sheets to dust surfaces.
* Time Saved: Reduces the frequency of dusting.
Step-by-Step Instructions:
1. Save Your Used Dryer Sheets: Don’t throw away those used dryer sheets! Keep them in a container for dusting.
2. Dust as Usual: Simply use the dryer sheet to dust your furniture, baseboards, and other surfaces.
3. Enjoy Dust-Free Surfaces: The anti-static properties of the dryer sheet will help repel dust, keeping your surfaces cleaner for longer.
4. Bonus: Dryer sheets also leave a light, fresh scent!
Hack 6: The Toilet Bowl Cleaner Overnight Soak
This is a simple way to tackle tough toilet bowl stains without a lot of scrubbing.
* The Problem: Stubborn toilet bowl stains.
* The Solution: Letting toilet bowl cleaner soak overnight.
* Time Saved: Reduces the need for vigorous scrubbing.
Step-by-Step Instructions:
1. Apply Toilet Bowl Cleaner: Squirt your favorite toilet bowl cleaner around the rim of the toilet bowl, allowing it to coat the entire bowl.
2. Let it Soak Overnight: Close the lid and let the cleaner soak overnight. This gives the cleaner ample time to break down stains and grime.
3. Flush and Scrub (If Needed): In the morning, flush the toilet. If there are any remaining stains, give them a quick scrub with a toilet brush. They should come off easily.
Hack 7: The Dish Soap and Warm Water Floor Cleaner
For many types of flooring, you don’t need fancy, expensive floor cleaners. A simple solution of dish soap and warm water can work wonders.
* The Problem: Dirty floors.
* The Solution: Cleaning with a solution of dish soap and warm water.
* Time Saved: Avoids the need to purchase and use specialized floor cleaners.
Step-by-Step Instructions:
1. Gather Your Supplies: You’
Conclusion
So, there you have it! These time-saving cleaning hacks aren’t just about making your life easier; they’re about reclaiming your precious time and energy. Imagine spending less time scrubbing and more time doing the things you truly enjoy. That’s the power of a few clever cleaning shortcuts.
We’ve covered some truly game-changing techniques, from the effortless oven cleaning method to the surprisingly effective shower head descaling trick. Each hack is designed to be simple, affordable, and, most importantly, effective. You don’t need fancy equipment or expensive cleaning products to achieve a sparkling clean home. Often, the solutions are already sitting in your pantry!
But why are these hacks a must-try? Because they address the core problem of cleaning: it’s time-consuming and often tedious. These hacks cut through the drudgery, making cleaning faster, easier, and even, dare we say, a little bit fun. Think of the satisfaction of seeing stubborn grime disappear with minimal effort. That’s the reward waiting for you.
Ready to take your cleaning routine to the next level?
Don’t be afraid to experiment and adapt these hacks to your specific needs and preferences. For example, if you’re sensitive to vinegar, you can try using lemon juice as a substitute in many of these cleaning solutions. Or, if you have particularly stubborn stains, you might need to let the cleaning solution sit for a bit longer. The key is to find what works best for you and your home.
Consider these variations:
* **Scent Boost:** Add a few drops of your favorite essential oil (like lavender, lemon, or eucalyptus) to your cleaning solutions for a fresh, natural scent.
* **Surface Specific:** Always test cleaning solutions on an inconspicuous area first, especially on delicate surfaces like wood or marble.
* **Deep Cleaning Power:** For heavily soiled areas, pre-treat with a baking soda paste before applying the cleaning solution.
We’re confident that these time-saving cleaning hacks will revolutionize your cleaning routine. But don’t just take our word for it. Try them out for yourself and see the difference they can make.
We encourage you to share your experiences with us! Let us know which hacks worked best for you, any variations you tried, and any other cleaning tips you’ve discovered along the way. Your feedback is invaluable and helps us continue to provide the best possible cleaning advice.
So, go ahead, give these time-saving cleaning hacks a try. You’ll be amazed at how much time and effort you can save. And remember, a clean home is a happy home! We are sure that you will find the best cleaning hacks for your home.
Frequently Asked Questions (FAQs)
Q: Are these cleaning hacks safe for all surfaces?
A: While most of these cleaning hacks utilize natural and gentle ingredients like vinegar, baking soda, and lemon juice, it’s always crucial to test any cleaning solution on an inconspicuous area first, especially when dealing with delicate surfaces like wood, marble, granite, or painted surfaces. Different materials react differently to various cleaning agents. For instance, vinegar, while a great all-purpose cleaner, can etch marble and damage certain types of wood finishes. Similarly, abrasive cleaners like baking soda can scratch delicate surfaces if used too vigorously. Always err on the side of caution and test before applying the solution to the entire surface. If you’re unsure about a particular surface, consult the manufacturer’s instructions or a professional cleaner.
Q: How often should I use these cleaning hacks?
A: The frequency of using these cleaning hacks depends on your cleaning habits and the level of dirt and grime in your home. For general cleaning tasks like wiping down countertops or cleaning mirrors, you can incorporate these hacks into your weekly cleaning routine. For more intensive cleaning tasks like oven cleaning or shower head descaling, you might only need to do them every few months or as needed. The key is to be proactive and address messes as they occur to prevent them from becoming more difficult to clean later. Regular maintenance will also help extend the life of your appliances and surfaces.
Q: Can I use these cleaning hacks if I have allergies or sensitivities?
A: If you have allergies or sensitivities to certain ingredients, such as vinegar, lemon juice, or essential oils, it’s essential to take precautions before using these cleaning hacks. Always wear gloves and a mask to protect your skin and respiratory system. You can also try substituting the offending ingredient with a hypoallergenic alternative. For example, if you’re allergic to vinegar, you can try using a diluted solution of citric acid or baking soda instead. It’s also a good idea to ventilate the area well while cleaning to minimize exposure to fumes. If you experience any adverse reactions, such as skin irritation, respiratory problems, or allergic reactions, discontinue use immediately and consult a doctor.
Q: Are these cleaning hacks environmentally friendly?
A: Yes, one of the significant advantages of these cleaning hacks is that they utilize natural and readily available ingredients, making them a more environmentally friendly alternative to harsh chemical cleaners. Ingredients like vinegar, baking soda, and lemon juice are biodegradable and non-toxic, reducing your environmental impact. By using these hacks, you can avoid the use of harmful chemicals that can pollute waterways and contribute to air pollution. Additionally, you can further reduce your environmental footprint by using reusable cleaning cloths and spray bottles instead of disposable ones.
Q: What if a cleaning hack doesn’t work for me?
A: Not every cleaning hack works perfectly for everyone, as the effectiveness can depend on various factors, such as the type of dirt or grime, the surface being cleaned, and the specific ingredients used. If a particular hack doesn’t work for you, don’t be discouraged. Try adjusting the recipe or technique slightly. For example, you might need to increase the concentration of the cleaning solution or let it sit for a longer period. You can also try a different cleaning hack altogether. There are many different cleaning methods available, so experiment until you find one that works best for you. Additionally, consider the possibility that the stain or grime may require professional cleaning.
Q: Can I mix different cleaning solutions together?
A: It’s generally not recommended to mix different cleaning solutions together, as this can create dangerous chemical reactions. For example, mixing bleach with ammonia can produce toxic fumes that can be harmful or even fatal. Always use cleaning solutions separately and follow the manufacturer’s instructions carefully. If you’re unsure about whether it’s safe to mix two cleaning solutions, err on the side of caution and avoid doing so.
Q: How do I store homemade cleaning solutions?
A: Store homemade cleaning solutions in clean, labeled spray bottles or containers. Be sure to label the containers clearly with the name of the solution and the date it was made. Store the solutions in a cool, dark place away from direct sunlight and heat. Keep them out of reach of children and pets. Some homemade cleaning solutions, such as those containing vinegar, may have a limited shelf life, so it’s best to use them within a few months.


Leave a Comment