
Vinegar and laundry cleaning – sounds like a recipe for disaster, right? Wrong! For generations, this humble kitchen staple has been a secret weapon in households around the world, offering a natural and effective alternative to harsh chemical detergents. From ancient civilizations using fermented fruit juices for cleaning to modern-day eco-conscious consumers, the power of vinegar has stood the test of time.
But why should you care about using vinegar in your laundry? Well, let me tell you, the benefits are endless! Are you tired of dingy whites? Do your towels smell a little…funky? Are you looking for ways to save money and reduce your environmental footprint? Then this DIY guide is for you! I’m going to share some amazing tricks and hacks that will transform your laundry routine and leave your clothes cleaner, fresher, and softer than ever before.
In this article, I’ll show you how to harness the power of vinegar and laundry cleaning to tackle everything from stubborn stains to lingering odors. Get ready to ditch those expensive detergents and embrace a natural, effective, and budget-friendly way to care for your clothes. Let’s get started!
Grow Your Own Pretty Pink Radishes in Pots: A Beginner’s Guide
Okay, so you want to grow radishes, but you’re short on space? Or maybe you just want to add a pop of pink to your balcony garden? Well, you’ve come to the right place! Growing radishes in pots is super easy, even if you’re a complete newbie like I was when I started. And the best part? You get to harvest fresh, crunchy, and oh-so-pretty pink radishes in just a few weeks! Let’s get started!
What You’ll Need: The Radish Grower’s Toolkit
Before we dive into the planting process, let’s gather all the necessary supplies. Trust me, having everything ready beforehand will make the whole experience much smoother and more enjoyable.
* Radish Seeds: Obviously! I recommend choosing a pink variety like ‘French Breakfast’ (which is actually red and white, but close enough!), ‘Pink Beauty’, or ‘Cherry Belle’. These are all quick-growing and perfect for containers. You can find these at most garden centers or online.
* A Pot: Radishes don’t need a super deep pot, but they do need some space to spread out. A pot that’s at least 6 inches deep and 8 inches in diameter should be perfect for a small batch. Make sure it has drainage holes! This is crucial for preventing root rot.
* Potting Mix: Don’t use garden soil! It’s too heavy and compacts easily, which radishes hate. Opt for a good quality potting mix that’s light, airy, and well-draining. I usually go for a mix that contains peat moss, perlite, and vermiculite.
* Watering Can or Hose: You’ll need a way to water your radishes gently. A watering can with a rose head is ideal, but a hose with a gentle spray nozzle will also work.
* Fertilizer (Optional): Radishes are pretty low-maintenance, but a little fertilizer can give them a boost. A balanced liquid fertilizer diluted to half strength is a good option.
* A Sunny Spot: Radishes need at least 6 hours of sunlight per day to thrive. Choose a location that gets plenty of sunshine.
* A Trowel or Small Shovel: For filling the pot with soil and making small holes for the seeds.
* Gardening Gloves (Optional): To keep your hands clean. I always wear them!
Planting Your Pink Radish Seeds: Getting Started
Now for the fun part! Planting the seeds is super easy, and you’ll be amazed at how quickly they sprout.
1. Fill the Pot with Potting Mix: Start by filling your pot with the potting mix, leaving about an inch of space at the top. Gently pat down the soil to remove any large air pockets.
2. Sow the Seeds: Radishes need space to grow, so don’t overcrowd them. Sprinkle the radish seeds evenly over the surface of the soil, spacing them about an inch apart. If you’re feeling ambitious, you can plant them in rows, but I usually just scatter them.
3. Cover the Seeds: Lightly cover the seeds with about half an inch of potting mix. Gently pat down the soil again.
4. Water Thoroughly: Water the pot thoroughly until the water drains out of the drainage holes. This will help the seeds settle into the soil and start the germination process.
5. Find a Sunny Spot: Place the pot in a sunny location that gets at least 6 hours of sunlight per day. A south-facing balcony or windowsill is ideal.
Caring for Your Radishes: Watering, Thinning, and Fertilizing
Once your radishes have sprouted, it’s important to provide them with the right care to ensure they grow into healthy, delicious roots.
1. Watering: Radishes need consistent moisture to grow properly. Water them regularly, especially during hot, dry weather. The soil should be moist but not soggy. Check the soil moisture by sticking your finger into the soil. If the top inch feels dry, it’s time to water. Avoid overwatering, as this can lead to root rot.
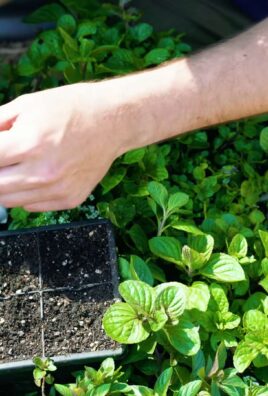
2. Thinning: Once the seedlings have emerged and have a few true leaves (the second set of leaves that appear after the initial seed leaves), it’s time to thin them out. This means removing some of the seedlings to give the remaining ones more space to grow. Thin the seedlings so that they are about 2 inches apart. Gently pull out the unwanted seedlings, being careful not to disturb the roots of the remaining plants. You can even eat the thinned seedlings! They have a mild radish flavor and are great in salads.
3. Fertilizing (Optional): If you want to give your radishes a boost, you can fertilize them with a balanced liquid fertilizer diluted to half strength. Apply the fertilizer every two weeks, following the instructions on the fertilizer label. Be careful not to over-fertilize, as this can lead to excessive leaf growth and small roots.
4. Weed Control: Keep an eye out for weeds and remove them as soon as you see them. Weeds can compete with your radishes for nutrients and water.
5. Pest Control: Radishes are generally pest-resistant, but they can sometimes be attacked by flea beetles. These tiny beetles can chew small holes in the leaves. If you see flea beetles, you can try spraying the plants with insecticidal soap or neem oil. You can also cover the plants with a floating row cover to prevent the beetles from reaching them.
Harvesting Your Pink Radishes: The Moment of Truth!
The best part of growing radishes is harvesting them! Radishes are quick growers, so you won’t have to wait long to enjoy your homegrown crop.
1. When to Harvest: Radishes are typically ready to harvest in about 3-4 weeks after planting, depending on the variety and growing conditions. The roots should be about 1 inch in diameter. You can check the size of the roots by gently brushing away the soil around the base of the plant.
2. How to Harvest: To harvest your radishes, gently pull them out of the soil. If the soil is dry, you may need to loosen it with a trowel first. Hold the radish by the base of the leaves and pull straight up.
3. Storing Your Radishes: After harvesting, remove the leaves and wash the radishes thoroughly. Store them in a plastic bag in the refrigerator. They will keep for about a week.
Troubleshooting: Common Radish Problems and Solutions
Even with the best care, you might encounter some problems while growing radishes. Here are some common issues and how to fix them:
* Radishes are not forming bulbs: This is usually caused by overcrowding, lack of sunlight, or poor soil. Make sure you thin the seedlings properly, provide at least 6 hours of sunlight per day, and use a good quality potting mix.
* Radishes are small and bitter: This can be caused by hot weather or lack of water. Radishes prefer cool weather and consistent moisture. Try planting them in the spring or fall, and make sure to water them regularly.
* Radishes are splitting: This is usually caused by inconsistent watering. Make sure to water your radishes regularly and avoid letting the soil dry out completely.
* Leaves are yellowing: This can be caused by overwatering, nutrient deficiency, or pest infestation. Check the soil moisture and adjust your watering schedule accordingly. Fertilize the plants with a balanced liquid fertilizer if necessary. Inspect the plants for pests and treat them as needed.
Enjoying Your Homegrown Radishes: Recipes and Ideas
Now that you’ve harvested your beautiful pink radishes, it’s time to enjoy them! Radishes are incredibly versatile and can be used in a variety of dishes.
* Eat them raw: Radishes are delicious eaten raw as a snack or added to salads. Their peppery flavor adds a nice kick to any dish.
* Make radish butter: Mix softened butter with finely chopped radishes, salt, and pepper. Spread on bread or crackers for a tasty appetizer.
* Roast them: Roasting radishes mellows out their flavor and makes them slightly sweet. Toss them with olive oil, salt, and pepper, and roast them in the oven until tender.
* Pickle them: Pickled radishes are a great way to preserve them and add a tangy flavor to your meals.
* Add them to tacos: Sliced radishes add a crunchy and refreshing element to tacos.
* Use the radish greens: Don’t throw away the radish greens! They are edible and nutritious. You can add them to salads, stir-fries, or soups.
Extra Tips for Radish-Growing Success
Here are a few extra tips to help you grow the best radishes possible:
* Succession Planting: Plant a new batch of radish seeds every few weeks to ensure a continuous harvest.
* Choose the Right
Conclusion
So, there you have it! Ditching harsh chemicals and embracing the power of vinegar for your laundry is not just a trend; it’s a game-changer for your clothes, your wallet, and the environment. We’ve explored how this humble kitchen staple can act as a natural fabric softener, a potent stain remover, and even a laundry booster, all while being gentle on your fabrics and your skin.
Why is this DIY trick a must-try? Because it’s effective, affordable, and eco-friendly. Commercial laundry products are often packed with synthetic fragrances, dyes, and chemicals that can irritate sensitive skin, damage your washing machine over time, and contribute to environmental pollution. Vinegar, on the other hand, is a natural, biodegradable alternative that gets the job done without the harmful side effects. You’ll notice softer clothes, brighter colors, and a fresher scent – all achieved with a simple ingredient you likely already have in your pantry.
But the benefits don’t stop there. Using vinegar in your laundry can also help to remove stubborn stains like grass, mud, and even deodorant marks. Its acidic properties break down the bonds that hold these stains to your fabrics, making them easier to wash away. Plus, vinegar can help to eliminate lingering odors, leaving your clothes smelling clean and fresh without the overpowering scent of artificial fragrances.
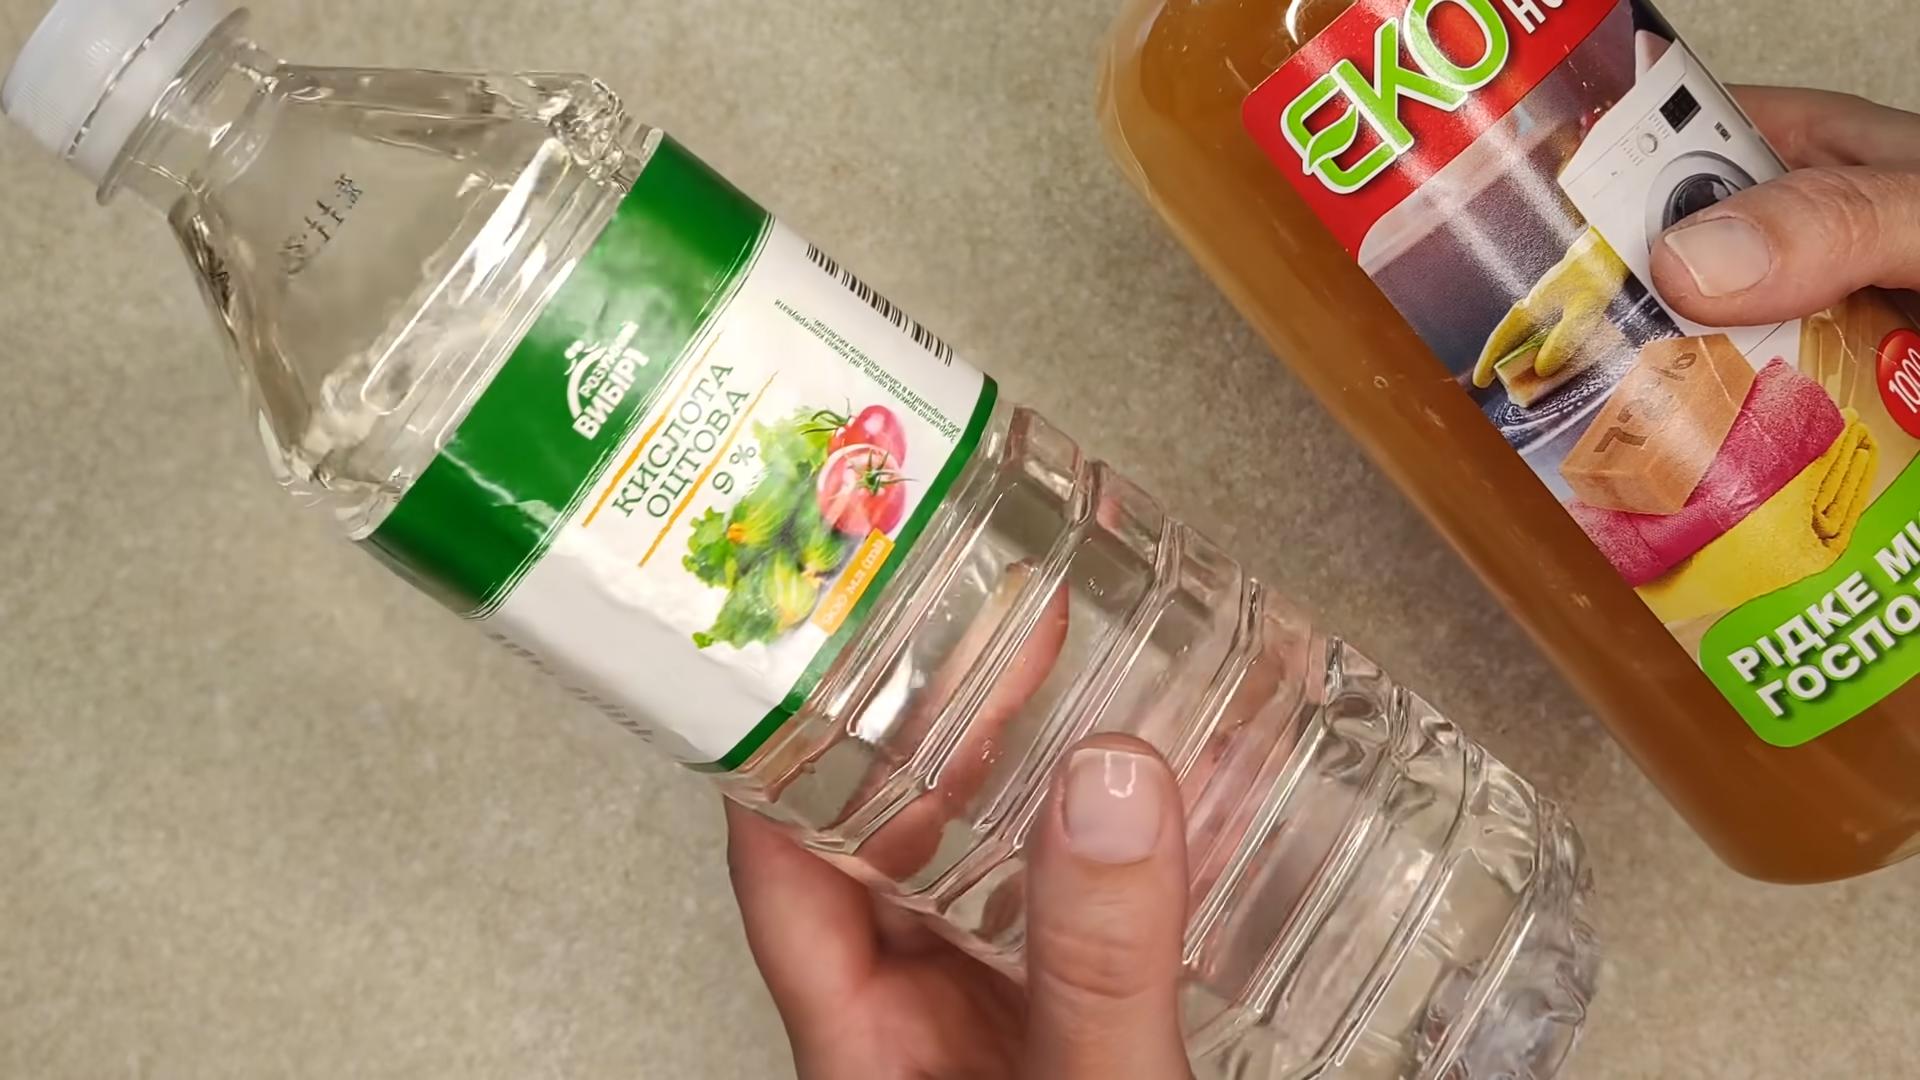
Looking for variations? Absolutely! For an extra boost of freshness, try adding a few drops of your favorite essential oil to the vinegar before adding it to your washing machine. Lavender, lemon, and eucalyptus are all great choices for a natural and uplifting scent. You can also experiment with different types of vinegar, such as white vinegar or apple cider vinegar, to see which one works best for your laundry needs. Remember to always use distilled white vinegar for the best results, as it’s clear and won’t stain your clothes.
For heavily soiled laundry, consider pre-soaking your clothes in a solution of vinegar and water before washing. This will help to loosen dirt and grime, making it easier to remove during the wash cycle. You can also add a cup of vinegar to your rinse cycle to help remove any lingering detergent residue, leaving your clothes feeling softer and cleaner.
We are confident that once you experience the transformative power of vinegar in your laundry routine, you’ll never go back to using harsh chemicals again. It’s a simple, effective, and sustainable way to keep your clothes clean, fresh, and looking their best.
So, what are you waiting for? Give this DIY trick a try and see the amazing results for yourself. We encourage you to experiment with different variations and find what works best for your laundry needs. And most importantly, we want to hear about your experience! Share your tips, tricks, and success stories in the comments below. Let’s create a community of vinegar-loving laundry enthusiasts who are committed to keeping our clothes clean and our planet healthy. Embrace the power of **vinegar and laundry cleaning** and discover a whole new world of natural and effective laundry care.
Frequently Asked Questions (FAQ)
Is it safe to use vinegar in my washing machine?
Yes, it is generally safe to use vinegar in your washing machine. Vinegar is a mild acid that is unlikely to damage the internal components of your washing machine. In fact, it can actually help to clean and deodorize your machine, preventing the buildup of soap scum and mineral deposits. However, it’s always a good idea to check your washing machine’s manual to ensure that using vinegar won’t void your warranty. Also, never mix vinegar with bleach, as this can create harmful fumes.
What type of vinegar should I use for laundry?
The best type of vinegar to use for laundry is distilled white vinegar. It’s clear, inexpensive, and readily available at most grocery stores. Avoid using colored vinegars, such as apple cider vinegar or balsamic vinegar, as they may stain your clothes, especially lighter-colored items. While apple cider vinegar can be used, it’s best to test it on an inconspicuous area of fabric first to ensure it doesn’t cause discoloration.
How much vinegar should I use in my laundry?
The amount of vinegar you use will depend on the size of your load and the desired effect. As a general guideline, use about ½ to 1 cup of vinegar per load of laundry. For fabric softening, add ½ cup of vinegar to the fabric softener dispenser. For stain removal, pre-soak your clothes in a solution of 1 part vinegar and 3 parts water before washing. For odor elimination, add 1 cup of vinegar to the wash cycle.
Can vinegar remove all types of stains?
While vinegar is effective at removing many types of stains, it may not work on all stains. It’s particularly effective at removing stains caused by grass, mud, deodorant, and sweat. However, it may not be as effective on oil-based stains or stains caused by certain dyes. For stubborn stains, you may need to pre-treat the stain with a stain remover before washing with vinegar.
Will vinegar make my clothes smell like vinegar?
No, vinegar will not make your clothes smell like vinegar after they are washed and dried. The vinegar smell will dissipate during the wash cycle, leaving your clothes smelling clean and fresh. If you’re concerned about the vinegar smell, you can add a few drops of essential oil to the vinegar before adding it to your washing machine.
Can I use vinegar in every load of laundry?
Yes, you can use vinegar in every load of laundry if you wish. It’s a gentle and effective way to keep your clothes clean, soft, and fresh. However, you may want to adjust the amount of vinegar you use depending on the size of your load and the desired effect.
Can I mix vinegar with laundry detergent?
While you can technically mix vinegar with laundry detergent, it’s generally not recommended. Vinegar is acidic, while most laundry detergents are alkaline. When mixed together, they can neutralize each other, reducing their effectiveness. It’s best to add vinegar to the fabric softener dispenser or directly to the wash cycle separately from the detergent.
Is vinegar safe for all types of fabrics?
Vinegar is generally safe for most types of fabrics, including cotton, linen, and synthetic fabrics. However, it’s best to avoid using vinegar on delicate fabrics like silk or wool, as it can damage the fibers. If you’re unsure whether vinegar is safe for a particular fabric, test it on an inconspicuous area first.
Can vinegar help with static cling?
Yes, vinegar can help to reduce static cling in your laundry. Adding ½ cup of vinegar to the rinse cycle can help to neutralize the static charge on your clothes, preventing them from clinging together.
Does vinegar help clean the washing machine itself?
Absolutely! Running an empty washing machine cycle with 2 cups of vinegar can help clean and deodorize the machine. This helps remove soap scum, mineral deposits, and mildew, keeping your washing machine running efficiently and smelling fresh. It’s recommended to do this every few months.

Leave a Comment