
Vinegar and Vaseline uses might sound like ingredients for a bizarre science experiment, but trust me, they’re secret weapons in the arsenal of any savvy home gardener! For generations, resourceful gardeners have relied on simple, readily available ingredients to nurture their plants and tackle common garden woes. Think of your grandmother’s garden – she probably had a trick or two up her sleeve involving everyday household items, passed down through years of experience.
I’m here to tell you that you don’t need to spend a fortune on fancy gardening products to achieve a thriving, beautiful garden. In fact, some of the most effective solutions are right there in your pantry and bathroom cabinet! This article is packed with clever DIY tricks and hacks using, you guessed it, vinegar and Vaseline uses that will save you time, money, and effort.
Why do you need these tricks? Because gardening should be enjoyable, not a constant battle against pests, diseases, and the elements. I’ll show you how to use these humble ingredients to deter unwanted critters, protect your plants from fungal infections, and even create the perfect environment for healthy growth. Get ready to unlock the potential of your garden with these simple, yet powerful, vinegar and Vaseline uses!
DIY Volcano: A Classic Kitchen Science Experiment
Alright, let’s dive into a super fun and educational project – building a volcano that erupts right in your kitchen! This is a classic science experiment that’s perfect for kids (and adults who are kids at heart!). It’s a great way to learn about chemical reactions in a hands-on way. Plus, it’s just plain cool to watch a volcano erupt!
Materials You’ll Need
Before we get started, let’s gather all the necessary supplies. Don’t worry, most of these are probably already in your pantry!
* Empty plastic bottle (a soda bottle or water bottle works great)
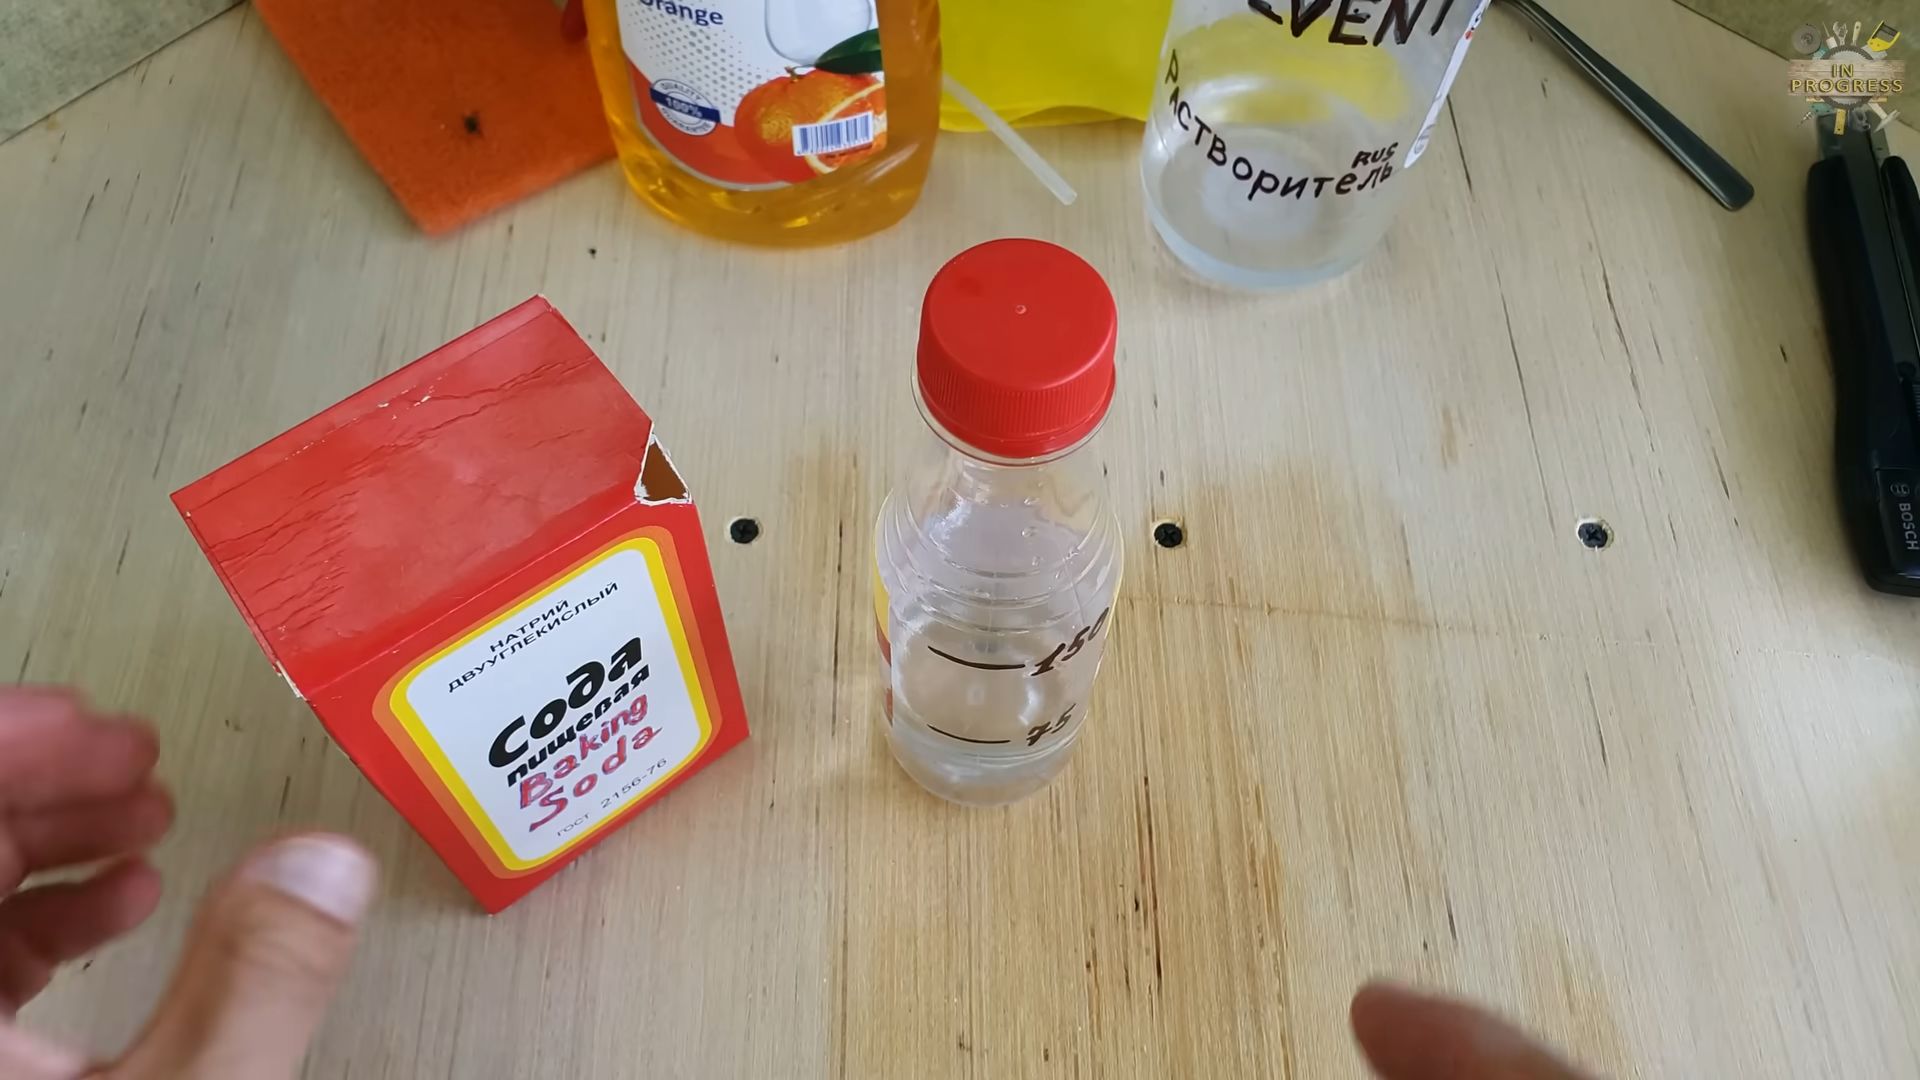
* Baking soda
* Vinegar (white vinegar is best)
* Dish soap (optional, but it makes the eruption foamy!)
* Food coloring (optional, for a more dramatic eruption)
* Modeling clay or playdough (for building the volcano structure)
* A tray or plate (to contain the mess!)
* Measuring spoons or cups
* Water (optional, to adjust the consistency of the clay)
Building the Volcano Structure
This is where your creativity can really shine! We’re going to build the volcano around the plastic bottle.
1. Prepare Your Base: Place your tray or plate on a flat surface. This will catch any overflow from the eruption, so don’t skip this step!
2. Position the Bottle: Set the empty plastic bottle in the center of the tray. This will be the “crater” of our volcano.
3. Start Building the Cone: Take your modeling clay or playdough and start molding it around the bottle. Begin at the base and work your way up, gradually shaping it into a cone.
4. Layer and Smooth: Add more clay, pressing it firmly against the bottle. Try to create a smooth, sloping surface that resembles a real volcano. If the clay is too dry, add a tiny bit of water to make it more pliable.
5. Shape the Crater: Leave the top of the bottle exposed to form the crater. You can shape the clay around the opening to create a more defined rim.
6. Add Details (Optional): Get creative! You can add details like ridges, valleys, or even “lava flows” using different colors of clay. You can also use small rocks or twigs to decorate the volcano.
7. Let it Dry (Optional): If you want your volcano to be more durable, you can let the clay dry completely before the eruption. This will take several hours or even overnight, depending on the type of clay you use.
Preparing for the Eruption
Now that our volcano is built, it’s time to get ready for the fun part!
1. Gather Your Ingredients: Make sure you have your baking soda, vinegar, dish soap (if using), and food coloring (if using) within easy reach.
2. Prepare the Baking Soda Mixture: In a small cup or bowl, mix about 2 tablespoons of baking soda with a few drops of dish soap (if using) and a few drops of food coloring (if using). The dish soap will create a foamy eruption, and the food coloring will make it look more like lava.
3. Add the Mixture to the Volcano: Carefully pour the baking soda mixture into the plastic bottle inside the volcano.
4. Get Ready to Erupt!: Have your vinegar ready to go. This is the key ingredient that will trigger the eruption!
The Eruption!
This is the moment we’ve all been waiting for!
1. Pour in the Vinegar: Pour about 1/2 cup of vinegar into the plastic bottle.
2. Watch the Magic Happen!: Stand back and watch as the volcano erupts! The baking soda and vinegar will react, creating carbon dioxide gas. The gas will build up pressure inside the bottle, forcing the mixture out of the crater in a foamy, colorful eruption.
3. Repeat the Eruption: You can repeat the eruption by adding more baking soda mixture and vinegar. You may need to adjust the amounts depending on the size of your bottle and the strength of the reaction.
Understanding the Science
This experiment is not just fun, it’s also a great way to learn about science!
* Chemical Reaction: The eruption is caused by a chemical reaction between baking soda (a base) and vinegar (an acid). When they mix, they create carbon dioxide gas.
* Carbon Dioxide: Carbon dioxide is the same gas that we breathe out and that plants use for photosynthesis. It’s also what makes soda fizzy!
* Pressure: The carbon dioxide gas builds up pressure inside the bottle. When the pressure becomes too great, it forces the mixture out of the crater.
* Foam: The dish soap (if used) helps to create a foamy eruption by trapping the carbon dioxide gas bubbles.
Tips and Tricks for a Better Eruption
Here are a few tips to make your volcano eruption even more spectacular:
* Use Warm Vinegar: Warm vinegar will react more quickly with the baking soda, creating a more vigorous eruption.
* Add More Dish Soap: More dish soap will create a thicker, foamier eruption.
* Experiment with Food Coloring: Try different colors of food coloring to create different types of “lava.” You can even mix colors to create a more realistic effect.
* Build a Bigger Volcano: Use a larger bottle and more clay to build a bigger volcano. This will create a larger eruption.
* Add Rocks and Plants: Decorate your volcano with rocks, plants, and other natural materials to make it look more realistic.
* Take Pictures and Videos: Capture the eruption with photos and videos to share with your friends and family.
Troubleshooting
Sometimes, things don’t go exactly as planned. Here are a few common problems and how to fix them:
* No Eruption: If your volcano doesn’t erupt, make sure you’re using enough vinegar and baking soda. Also, check that the baking soda is fresh. Old baking soda may not react as well.
* Weak Eruption: If the eruption is weak, try using warm vinegar or adding more dish soap.
* Messy Eruption: If the eruption is too messy, use a larger tray or plate to catch the overflow. You can also try using less vinegar.
* Clay is Cracking: If the clay is cracking, add a little bit of water to make it more pliable.
Safety First!
While this experiment is generally safe, it’s important to take a few precautions:
* Adult Supervision: Always supervise children when they are conducting this experiment.
* Eye Protection: Wear safety glasses or goggles to protect your eyes from splashes.
* Clean Up: Clean up any spills immediately. Baking soda and vinegar can be slippery.
* Ventilation: Conduct the experiment in a well-ventilated area.
Variations on the Theme
Once you’ve mastered the basic volcano, you can try some variations:
* Different Acids: Experiment with different acids, such as lemon juice or citric acid, to see how they affect the eruption.
* Different Bases: Try using different bases, such as washing soda or borax, instead of baking soda.
* Colored Vinegar: Add food coloring to the vinegar instead of the baking soda mixture.
* Glitter Lava: Add glitter to the baking soda mixture for a sparkly eruption.
* Dry Ice Volcano: For a truly spectacular eruption, use dry ice instead of baking soda and vinegar. However, dry ice is very cold and can cause burns, so use extreme caution and adult supervision is a must.
Educational Extensions
This experiment can be a springboard for further learning:
* Research Volcanoes: Learn about different types of volcanoes, how they are formed, and the impact they have on the environment.
* Study Chemical Reactions: Explore other types of chemical reactions and the principles behind them.
* Investigate Gases: Learn about different types of gases and their properties.
* Create a Science Fair Project: Use this experiment as the basis for a science fair project.
Final Thoughts
Building a volcano is a fun and educational activity that can be enjoyed by people of all ages. It’s a great way to learn about science, get creative, and spend quality time with family and friends. So gather your supplies, put on your lab coats (optional!), and get ready to erupt! I hope you have as much fun building and erupting your volcano as I do! Remember to experiment, be creative, and most importantly, have fun!
Conclusion
So, there you have it! This simple yet surprisingly effective DIY trick using vinegar and Vaseline offers a multitude of benefits, making it an absolute must-try for anyone seeking a natural, affordable, and versatile solution for various skin and household needs. Forget expensive creams and harsh chemicals; this dynamic duo provides a gentle yet powerful alternative.
The beauty of this DIY approach lies in its simplicity and accessibility. You likely already have these ingredients in your home, saving you a trip to the store and a dent in your wallet. But beyond the convenience, the combination of vinegar and Vaseline offers a unique synergy. The mild acidity of vinegar helps to exfoliate and brighten the skin, while Vaseline acts as a protective barrier, locking in moisture and promoting healing. This makes it ideal for addressing dry skin, minor cuts, and even stubborn calluses.
But don’t just take our word for it! The real magic happens when you experiment and discover the specific ways this DIY trick can benefit you.
Here are a few suggestions and variations to get you started:
* For Dry, Cracked Heels: Combine equal parts vinegar and Vaseline, apply liberally to your heels before bed, and cover with socks. Wake up to noticeably softer skin. For an extra boost, add a few drops of tea tree oil for its antifungal properties.
* For Minor Cuts and Scrapes: Clean the affected area with mild soap and water, then apply a thin layer of the vinegar and Vaseline mixture. The Vaseline will protect the wound from infection, while the vinegar can help to prevent scarring.
* For Removing Stubborn Calluses: Soak the affected area in warm water for 15 minutes, then apply a thick layer of the vinegar and Vaseline mixture. Cover with a bandage and leave overnight. The vinegar will help to soften the callus, making it easier to remove.
* For a Gentle Facial Exfoliant: Mix a very small amount of vinegar (apple cider vinegar is recommended) with Vaseline and gently massage onto your face in circular motions. Rinse thoroughly with warm water. Be cautious and avoid sensitive areas around the eyes. Always patch test first to ensure you don’t have an adverse reaction.
* Vinegar and Vaseline for Eczema Relief: Some users have found that a diluted vinegar and Vaseline mixture can help soothe eczema flare-ups. However, it’s crucial to consult with a dermatologist before trying this, as vinegar can irritate sensitive skin. If your doctor approves, use a very diluted solution and monitor your skin closely for any signs of irritation.
Remember, consistency is key. While you might see some immediate improvements, the best results come from incorporating this DIY trick into your regular skincare or household routine.
We are confident that you’ll be amazed by the versatility and effectiveness of this simple combination. So, go ahead, give it a try! We encourage you to experiment, adapt the recipe to your specific needs, and most importantly, share your experiences with us. Let us know how this **vinegar and Vaseline** trick has worked for you in the comments below. We can’t wait to hear your success stories and learn from your unique applications!
Frequently Asked Questions (FAQ)
What type of vinegar is best to use?
While white vinegar is generally suitable for most applications, apple cider vinegar (ACV) is often preferred for skincare due to its gentler acidity and additional beneficial properties. ACV contains malic acid, which can help exfoliate the skin and improve its overall tone. However, always dilute ACV before applying it to your skin, especially if you have sensitive skin. For household cleaning purposes, white vinegar is usually the most cost-effective and readily available option.
Is this DIY trick safe for all skin types?
While generally safe, it’s essential to exercise caution, especially if you have sensitive skin. Vinegar, even diluted, can be irritating for some individuals. Always perform a patch test on a small, inconspicuous area of your skin before applying the mixture to a larger area. If you experience any redness, itching, or burning, discontinue use immediately. If you have any underlying skin conditions, such as eczema or rosacea, consult with a dermatologist before trying this DIY trick.
How often can I use this vinegar and Vaseline mixture?
The frequency of use depends on the specific application and your skin’s tolerance. For dry, cracked heels, you can use it nightly. For minor cuts and scrapes, apply it as needed. For facial exfoliation, limit use to once or twice a week, and always dilute the vinegar significantly. Pay close attention to how your skin reacts and adjust the frequency accordingly.
Can I use this on my face?
Yes, you can use a diluted vinegar and Vaseline mixture on your face as a gentle exfoliant. However, it’s crucial to use apple cider vinegar and dilute it significantly with Vaseline. Avoid sensitive areas around the eyes and mouth. Always perform a patch test before applying it to your entire face. If you have sensitive skin, it’s best to consult with a dermatologist before trying this.
Can I add other ingredients to the mixture?
Yes, you can add other ingredients to enhance the benefits of the vinegar and Vaseline mixture. For example, you can add a few drops of tea tree oil for its antifungal and antibacterial properties, especially when treating cracked heels or minor cuts. You can also add a small amount of honey for its moisturizing and antibacterial benefits. However, be mindful of potential allergies and always test any new ingredients on a small area of your skin before applying the mixture to a larger area.
How long does the mixture last?
The vinegar and Vaseline mixture doesn’t typically expire quickly, as both ingredients have a long shelf life. However, it’s best to store the mixture in an airtight container in a cool, dark place to prevent contamination and maintain its effectiveness. If you notice any changes in color, texture, or odor, discard the mixture.
Can I use this on my pets?
It’s generally not recommended to use this vinegar and Vaseline mixture on your pets without consulting with a veterinarian. While Vaseline is generally safe for pets in small amounts, vinegar can be irritating to their skin and mucous membranes. Additionally, pets may be tempted to lick the mixture off, which could cause digestive upset.
What are the potential side effects?
The most common side effects are skin irritation, redness, and itching, especially if you use too much vinegar or have sensitive skin. In rare cases, allergic reactions to vinegar or Vaseline can occur. If you experience any severe side effects, such as swelling, hives, or difficulty breathing, seek medical attention immediately.
Can I use this to treat fungal infections?
While vinegar has some antifungal properties, it’s not a substitute for prescription antifungal medications. However, some people have found that a diluted vinegar and Vaseline mixture can help relieve the symptoms of mild fungal infections, such as athlete’s foot. If you suspect you have a fungal infection, it’s best to consult with a doctor or podiatrist for proper diagnosis and treatment.
Is there anything else I can use instead of Vaseline?
If you’re looking for a natural alternative to Vaseline, you can try using coconut oil, shea butter, or beeswax. These ingredients have moisturizing and protective properties similar to Vaseline. However, keep in mind that they may have a different consistency and absorption rate.
Leave a Comment