
Whiten Grout with Peroxide: Are you tired of staring at dingy, discolored grout lines that make your otherwise sparkling clean tiles look, well, not so sparkling? I know I was! It’s amazing how something so small can have such a big impact on the overall appearance of a room. For generations, homeowners have battled the bane of dirty grout, trying everything from harsh chemicals to elbow grease that leaves you aching for days.
But what if I told you there’s a simple, effective, and relatively inexpensive solution hiding in your medicine cabinet? That’s right, we’re talking about hydrogen peroxide! This humble household staple isn’t just for cuts and scrapes; it’s a fantastic grout cleaner. In this DIY guide, I’m going to show you exactly how to whiten grout with peroxide, transforming your bathroom or kitchen from drab to fab in no time.
Why is this DIY trick so essential? Because clean grout instantly brightens a space, making it feel fresher and more inviting. Plus, tackling grout stains prevents the build-up of mold and mildew, contributing to a healthier home environment. So, ditch the harsh chemicals and get ready to discover the power of peroxide! Let’s get started and bring back the sparkle to your tiles!
DIY Grout Whitening with Hydrogen Peroxide: A Sparkling Clean Guide
Okay, let’s face it: dingy grout is the bane of every homeowner’s existence. It doesn’t matter how spotless your tiles are; if the grout is gray and grimy, the whole room looks dirty. But don’t despair! You don’t need to hire a professional or resort to harsh chemicals. I’m going to show you how to whiten your grout using the power of hydrogen peroxide 鈥?a safe, effective, and relatively inexpensive solution.
What You’ll Need
Before we dive in, let’s gather our supplies. This is a pretty straightforward project, so the list is short and sweet:
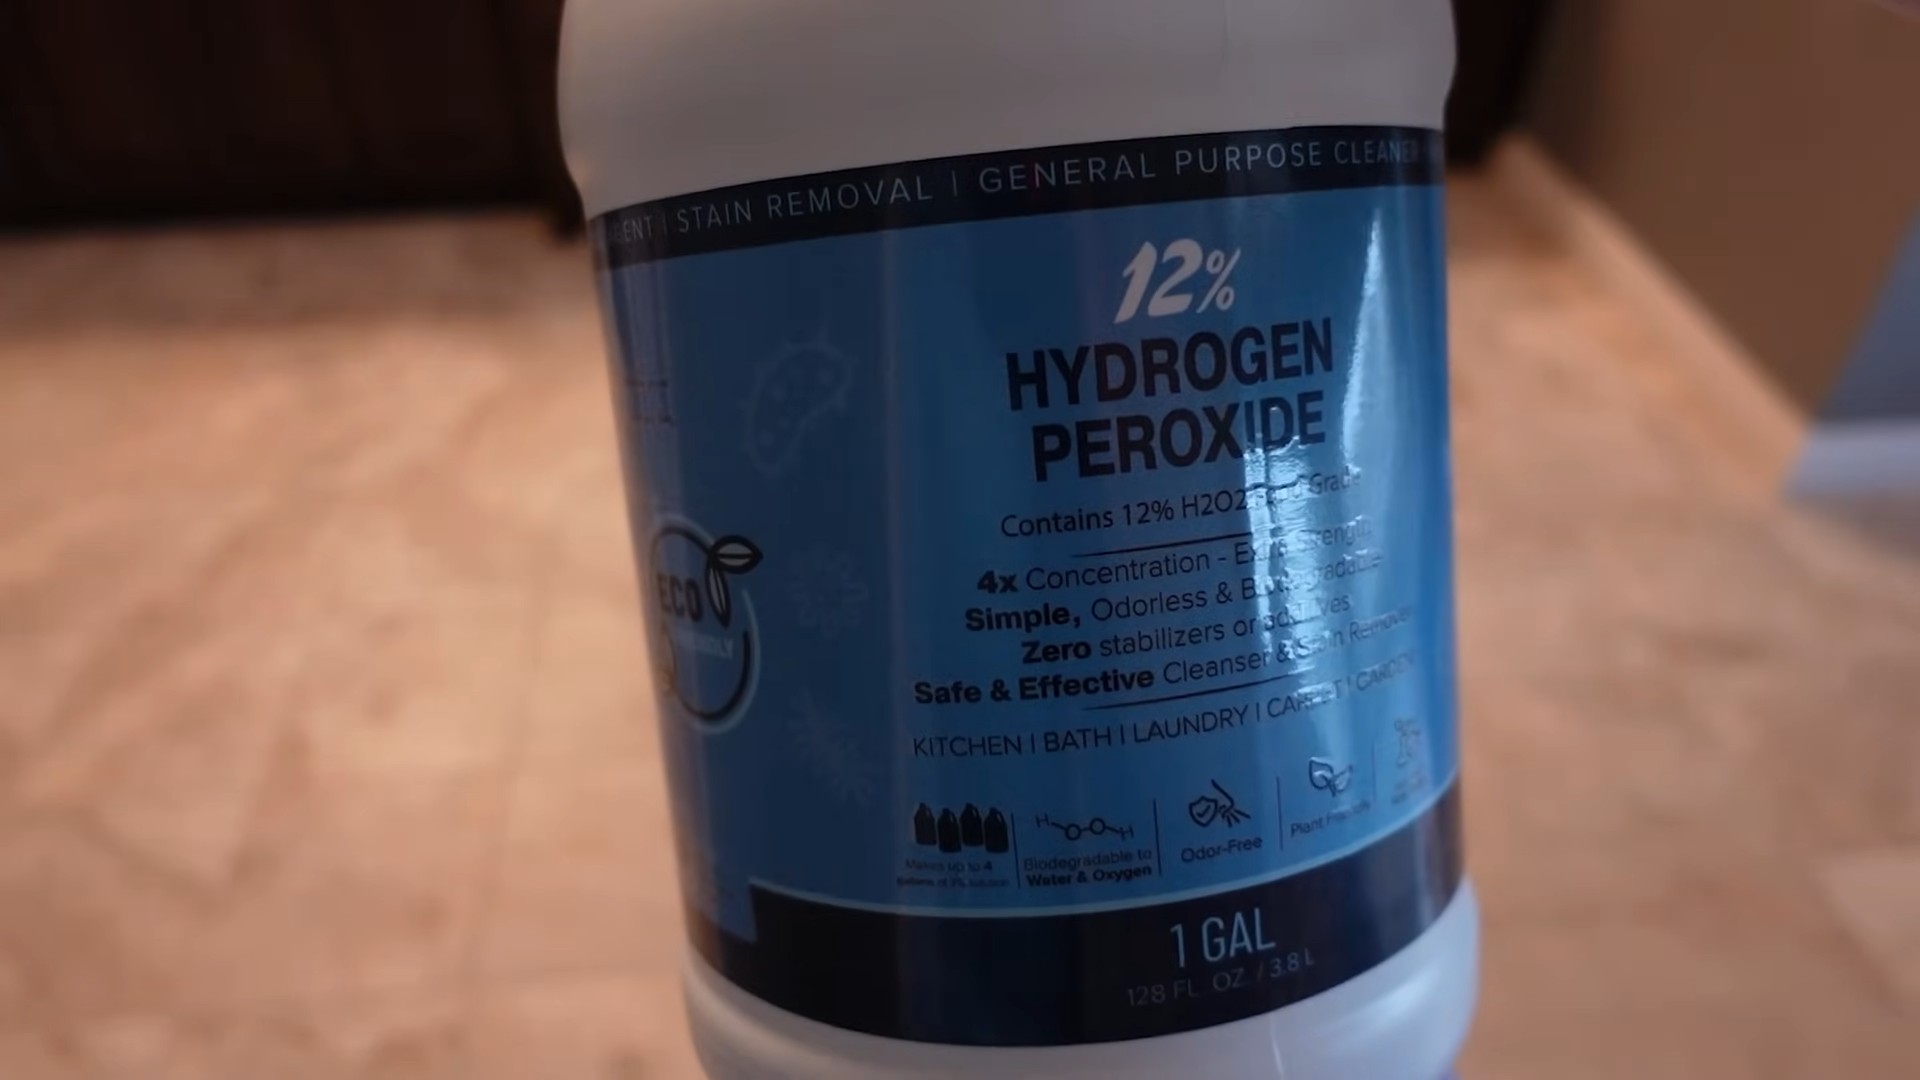
* Hydrogen Peroxide (3%): This is the standard concentration you can find at any drugstore or supermarket. Don’t go for anything stronger unless you know what you’re doing.
* Baking Soda (Optional, but Recommended): This will create a paste that clings to the grout better and provides a gentle abrasive action.
* Spray Bottle: For applying the hydrogen peroxide solution.
* Old Toothbrush or Grout Brush: Essential for scrubbing the grout lines. An electric toothbrush with a small head can also work wonders!
* Gloves: Protect your hands from the hydrogen peroxide, especially if you have sensitive skin.
* Eye Protection: Safety first! Goggles or safety glasses will prevent any accidental splashes from getting into your eyes.
* Clean Rags or Paper Towels: For wiping up excess solution and drying the grout.
* Small Bowl (If using baking soda): For mixing the paste.
* Spoon or Stirring Stick (If using baking soda): For mixing the paste.
* Vacuum or Broom: To remove loose debris before you start.
* Optional: Hair Dryer: To speed up the drying process.
Preparing the Area
Before you start slathering on the hydrogen peroxide, it’s important to prep the area. This will ensure the best possible results and prevent any unwanted messes.
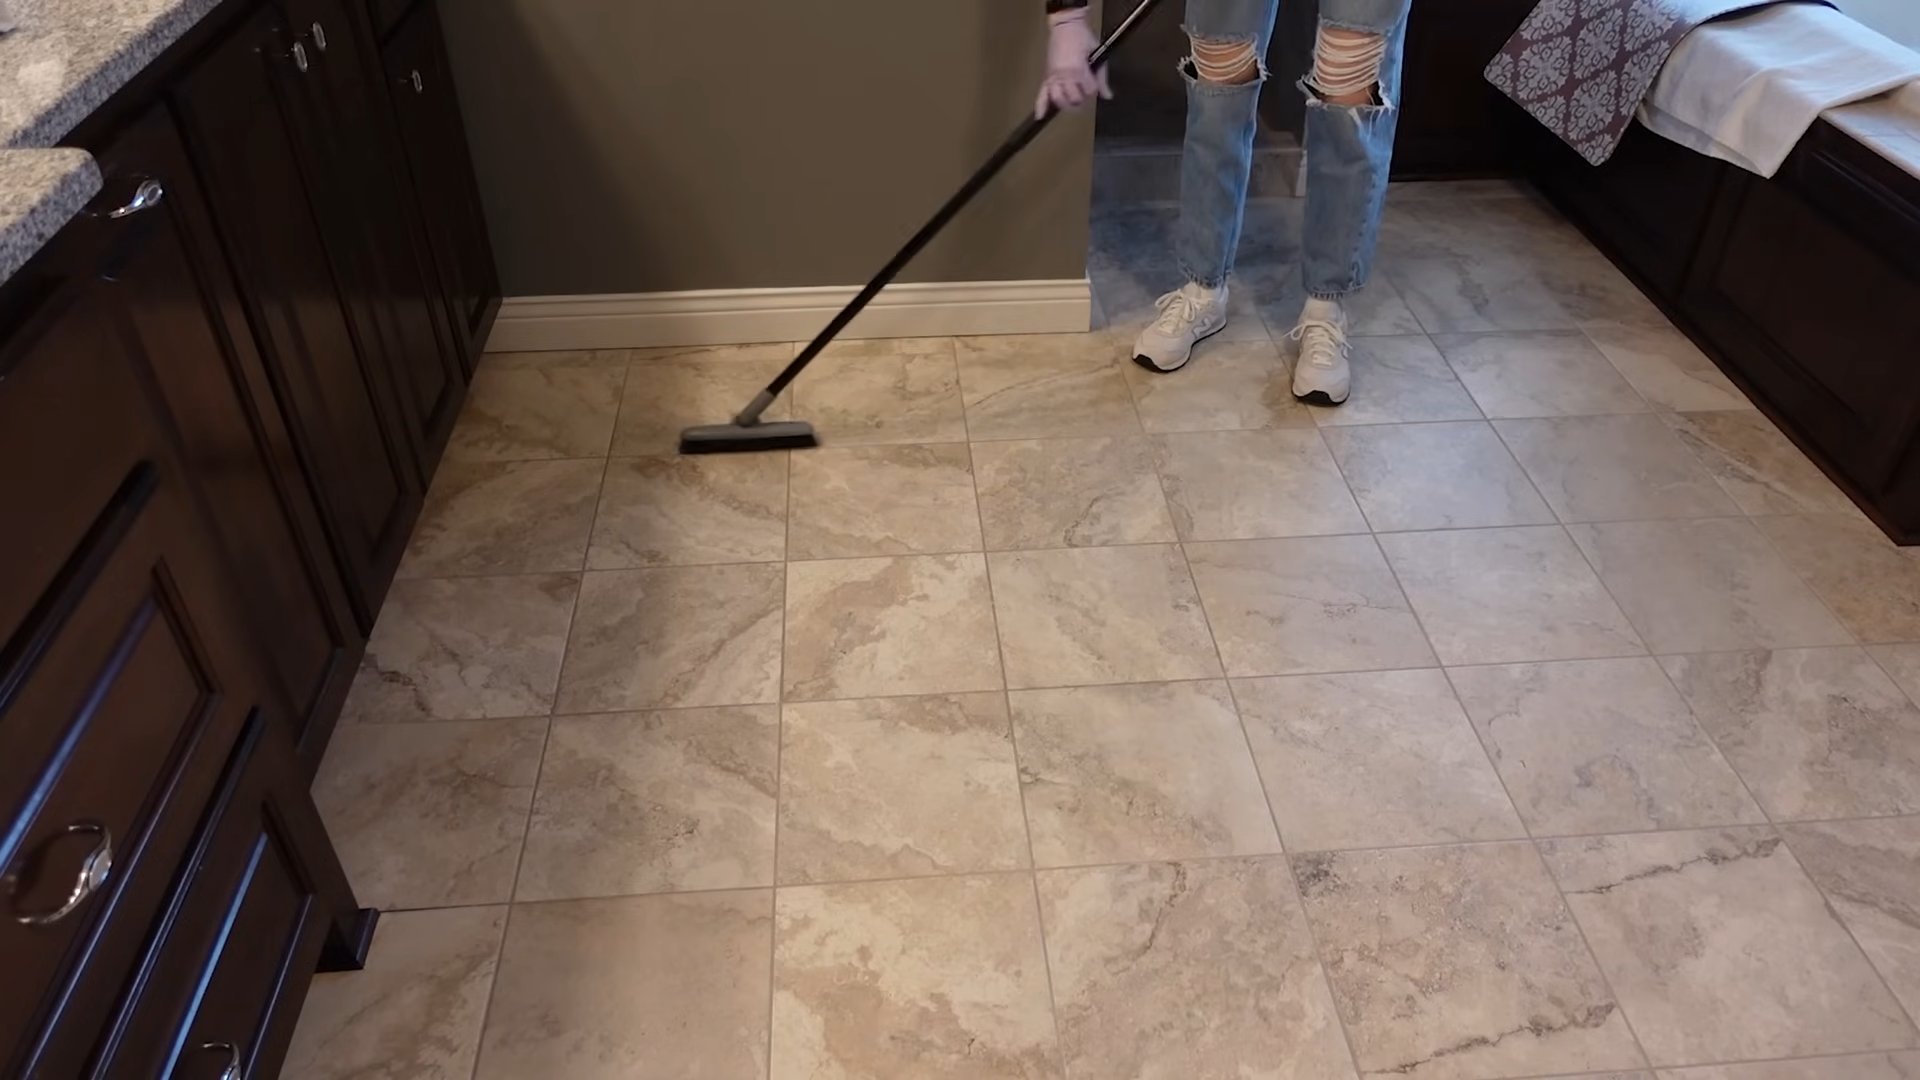
1. Clear the Area: Remove any rugs, bath mats, or other items that might get in the way. You want to have easy access to all the grout lines.
2. Sweep or Vacuum: Get rid of any loose dirt, dust, or debris on the tiles and grout. This will allow the hydrogen peroxide to penetrate the grout more effectively.
3. Ventilate the Room: Open a window or turn on a fan to ensure good ventilation. While hydrogen peroxide is relatively safe, it’s always a good idea to have fresh air circulating.
4. Test in an Inconspicuous Area: Before applying the hydrogen peroxide to the entire area, test it on a small, hidden section of grout to make sure it doesn’t discolor the tiles. This is especially important if you have colored grout or delicate tiles. Apply the solution, let it sit for the recommended time, and then wipe it clean. Check for any adverse reactions.
Method 1: Hydrogen Peroxide Spray
This is the simplest method, perfect for lightly stained grout.
1. Fill the Spray Bottle: Pour the 3% hydrogen peroxide into the spray bottle.
2. Spray the Grout: Generously spray the hydrogen peroxide onto the grout lines, making sure to saturate them thoroughly.
3. Let it Sit: Allow the hydrogen peroxide to sit on the grout for at least 10-15 minutes. For heavily stained grout, you can let it sit for up to 30 minutes. The longer it sits, the more time it has to break down the stains.
4. Scrub the Grout: Using your old toothbrush or grout brush, scrub the grout lines in a back-and-forth motion. Apply firm pressure to remove the stains. You’ll likely see the dirt and grime lifting away.
5. Wipe Clean: Use a clean rag or paper towel to wipe away the excess hydrogen peroxide and loosened dirt.
6. Rinse (Optional): If you want to be extra thorough, you can rinse the tiles with clean water after wiping them down.
7. Dry: Allow the grout to air dry completely. You can speed up the drying process with a hair dryer on a low setting.
8. Repeat if Necessary: For stubborn stains, you may need to repeat the process a few times.
Method 2: Hydrogen Peroxide and Baking Soda Paste
This method is more effective for tackling tougher stains and grime. The baking soda acts as a gentle abrasive, helping to scrub away the dirt.
1. Make the Paste: In a small bowl, mix together hydrogen peroxide and baking soda until you form a thick paste. The consistency should be similar to toothpaste. Start with a few tablespoons of baking soda and gradually add hydrogen peroxide until you reach the desired consistency.
2. Apply the Paste: Using your fingers (with gloves on!), a spoon, or a small spatula, apply the paste to the grout lines. Make sure to cover the entire grout line with a thick layer of paste.
3. Let it Sit: Allow the paste to sit on the grout for at least 30-60 minutes. For heavily stained grout, you can even let it sit overnight. The longer it sits, the more effective it will be.
4. Scrub the Grout: Using your old toothbrush or grout brush, scrub the grout lines in a back-and-forth motion. Apply firm pressure to remove the stains. The baking soda will provide a gentle abrasive action, helping to lift away the dirt.
5. Wipe Clean: Use a clean rag or paper towel to wipe away the excess paste and loosened dirt. You may need to use a damp rag to remove all the residue.
6. Rinse: Rinse the tiles with clean water to remove any remaining baking soda residue.
7. Dry: Allow the grout to air dry completely. You can speed up the drying process with a hair dryer on a low setting.
8. Repeat if Necessary: For stubborn stains, you may need to repeat the process a few times.
Tips and Tricks for Sparkling Grout
Here are a few extra tips to help you achieve the best possible results:
* Use a Stiff-Bristled Brush: A stiff-bristled brush will be more effective at scrubbing away the dirt and grime.
* Apply Pressure: Don’t be afraid to apply firm pressure when scrubbing the grout. This will help to loosen the stains.
* Work in Small Sections: Work in small sections at a time to prevent the hydrogen peroxide from drying out before you have a chance to scrub it.
* Be Patient: Whitening grout can take some time and effort, especially if the grout is heavily stained. Don’t get discouraged if you don’t see results immediately. Just keep scrubbing and repeating the process as needed.
* Prevent Future Stains: Once you’ve whitened your grout, take steps to prevent future stains. Seal the grout with a grout sealer to protect it from dirt and moisture. Clean up spills immediately to prevent them from soaking into the grout. Regularly clean your tiles and grout with a mild cleaner to keep them looking their best.
* Consider a Grout Pen: For grout that is permanently stained or discolored, you can use a grout pen to cover up the stains. Grout pens are available in a variety of colors to match your grout.
* Don’t Mix with Other Cleaners: Never mix hydrogen peroxide with other cleaners, especially bleach. This can create dangerous fumes.
* Proper Storage: Store hydrogen peroxide in a cool, dark place, away from direct sunlight and heat. Keep it out of reach of children and pets.
Safety Precautions
While hydrogen peroxide is generally safe, it’s important to take a few precautions:
* Wear Gloves: Hydrogen peroxide can irritate the skin, so it’s important to wear gloves to protect your hands.
* Wear Eye Protection: Protect your eyes from accidental splashes by wearing goggles or safety glasses.
* Ventilate the Room: Ensure good ventilation by opening a window or turning on a fan.
* Keep Away from Children and Pets: Store hydrogen peroxide out of reach of children and pets.
* If Swallowed: If hydrogen peroxide is swallowed, drink plenty of water and seek medical attention.
* Skin Contact: If hydrogen peroxide comes into contact with your skin, rinse it off immediately with water.
* Eye Contact: If hydrogen peroxide gets into your eyes, rinse them immediately with water for at least 15 minutes and seek medical attention.
I hope this guide helps you achieve sparkling clean grout! Remember to be patient, follow the instructions carefully, and take the necessary safety precautions. With a little elbow grease and the power of hydrogen peroxide, you can transform your dingy grout into a bright and beautiful feature of your home. Good luck!
Conclusion
So, there you have it! A simple, effective, and budget-friendly way to tackle dingy grout and restore your tile surfaces to their former glory. This DIY trick to whiten grout with peroxide is more than just a cleaning hack; it’s a game-changer for anyone who wants a sparkling clean home without resorting to harsh chemicals or expensive professional services.
Why is this a must-try? Because it works! The combination of baking soda and hydrogen peroxide creates a powerful, yet gentle, cleaning paste that lifts stains, eliminates mildew, and brightens grout lines with minimal effort. Forget spending hours scrubbing with ineffective cleaners. This method cuts through the grime quickly and efficiently, leaving you with visibly cleaner and brighter grout.
But the benefits don’t stop there. This DIY solution is also incredibly versatile. While we’ve focused on using it for bathroom and kitchen tile, you can also use it on other tiled surfaces around your home, such as entryways or even outdoor patios (though you may need to adjust the concentration of peroxide for tougher outdoor stains).
Looking for variations? Consider adding a few drops of your favorite essential oil, like tea tree or eucalyptus, to the paste for an extra boost of cleaning power and a refreshing scent. For particularly stubborn stains, you can let the paste sit on the grout for a longer period, even overnight, before scrubbing. You can also use an old toothbrush or a specialized grout brush for more targeted cleaning. If you’re dealing with colored grout, test the solution in an inconspicuous area first to ensure it doesn’t affect the color. A less concentrated solution might be better for colored grout.
We’re confident that once you try this DIY trick to whiten grout with peroxide, you’ll be amazed by the results. It’s a simple, effective, and affordable way to transform your tiled surfaces and create a cleaner, brighter, and more inviting home.
Don’t just take our word for it 鈥?give it a try! We encourage you to experiment with the recipe, adapt it to your specific needs, and share your experiences with us. Let us know what worked best for you, any variations you tried, and the amazing results you achieved. Share your before-and-after photos and inspire others to embrace this simple yet powerful cleaning solution. We can’t wait to hear your success stories!
Frequently Asked Questions (FAQs)
Is hydrogen peroxide safe to use on all types of grout?
While hydrogen peroxide is generally safe for most types of grout, it’s always a good idea to test it in an inconspicuous area first, especially if you have colored grout. A less concentrated solution (3% hydrogen peroxide) is typically safe for most grout types, but stronger concentrations could potentially lighten or discolor colored grout. If you’re unsure, start with a small test patch and observe the results before applying it to the entire area. Also, ensure proper ventilation when working with hydrogen peroxide.
How long should I leave the peroxide and baking soda paste on the grout?
The ideal time to leave the paste on the grout depends on the severity of the staining. For light stains, 15-30 minutes may be sufficient. For more stubborn stains, you can leave it on for several hours, or even overnight. Just be sure to keep the paste moist by occasionally spritzing it with water. If you’re leaving it on for an extended period, cover the area with plastic wrap to prevent the paste from drying out. Remember to test a small area first to ensure no discoloration occurs, especially with colored grout.
What kind of brush is best for scrubbing the grout?
A stiff-bristled brush is essential for effectively scrubbing the grout. An old toothbrush works well for small areas or detail work. However, for larger areas, a specialized grout brush with a narrow head and angled bristles is more efficient. You can find grout brushes at most hardware stores or online retailers. Avoid using metal brushes, as they can scratch the tile surface.
Can I use this method on other surfaces besides tile grout?
While this method is primarily designed for cleaning tile grout, it can also be used on other surfaces that are stained or discolored. However, it’s crucial to test the solution in an inconspicuous area first to ensure it doesn’t damage the surface. For example, you might be able to use it on stained porcelain sinks or countertops, but avoid using it on delicate surfaces like marble or natural stone, as the peroxide could etch or damage them.
Is it necessary to wear gloves when using this cleaning solution?
Yes, it’s highly recommended to wear gloves when working with hydrogen peroxide and baking soda. While both ingredients are generally safe, hydrogen peroxide can irritate the skin, especially with prolonged exposure. Gloves will protect your hands from irritation and dryness. Eye protection is also recommended to prevent accidental splashes.
How often should I clean my grout using this method?
The frequency of cleaning depends on the amount of traffic and moisture in the area. In high-traffic areas like bathrooms and kitchens, you may need to clean your grout every few weeks to prevent the buildup of dirt and mildew. In less frequently used areas, you can clean it every few months. Regular cleaning will prevent stains from becoming deeply embedded and make the cleaning process easier.
What if the grout is still stained after using this method?
If the grout is still stained after using this method, there are a few things you can try. First, repeat the process, leaving the paste on for a longer period. You can also try using a stronger concentration of hydrogen peroxide (but be cautious with colored grout). For extremely stubborn stains, you may need to use a commercial grout cleaner specifically designed for removing tough stains. As a last resort, you can consider re-grouting the area.
How do I prevent grout from getting stained in the first place?
Prevention is key to keeping your grout clean and stain-free. Regularly wipe down tiled surfaces after use to remove spills and moisture. Use a squeegee in the shower after each use to prevent water buildup. Seal your grout with a grout sealer to protect it from stains and moisture. Reapply the sealer every year or two, or as recommended by the manufacturer. Good ventilation in bathrooms and kitchens can also help prevent mildew growth.
Can I use this method on epoxy grout?
Epoxy grout is generally more resistant to staining than cement-based grout. While this method may work on some stains, it’s important to check the manufacturer’s recommendations for cleaning epoxy grout. Some cleaning agents can damage the epoxy. A mild soap and water solution is often sufficient for cleaning epoxy grout. If you’re unsure, test the peroxide and baking soda paste in an inconspicuous area first.
Where can I buy hydrogen peroxide and baking soda?
Hydrogen peroxide and baking soda are readily available at most grocery stores, pharmacies, and discount retailers. You can typically find hydrogen peroxide in the first aid section and baking soda in the baking aisle. Both ingredients are inexpensive and easy to find.

Leave a Comment